Enjoying the second half of life homesteading on our 10-acre farm and plowing through a piecemeal restoration of its bungalow, many outbuildings, three koi ponds, pastures and woodlands.
Born with a green thumb and rough edges, I am "planted for life" here... raising, growing, and enjoying REAL FOOD, spending as many hours as life allows in my kitchen, crop field, among our livestock and near my husband/best friend.
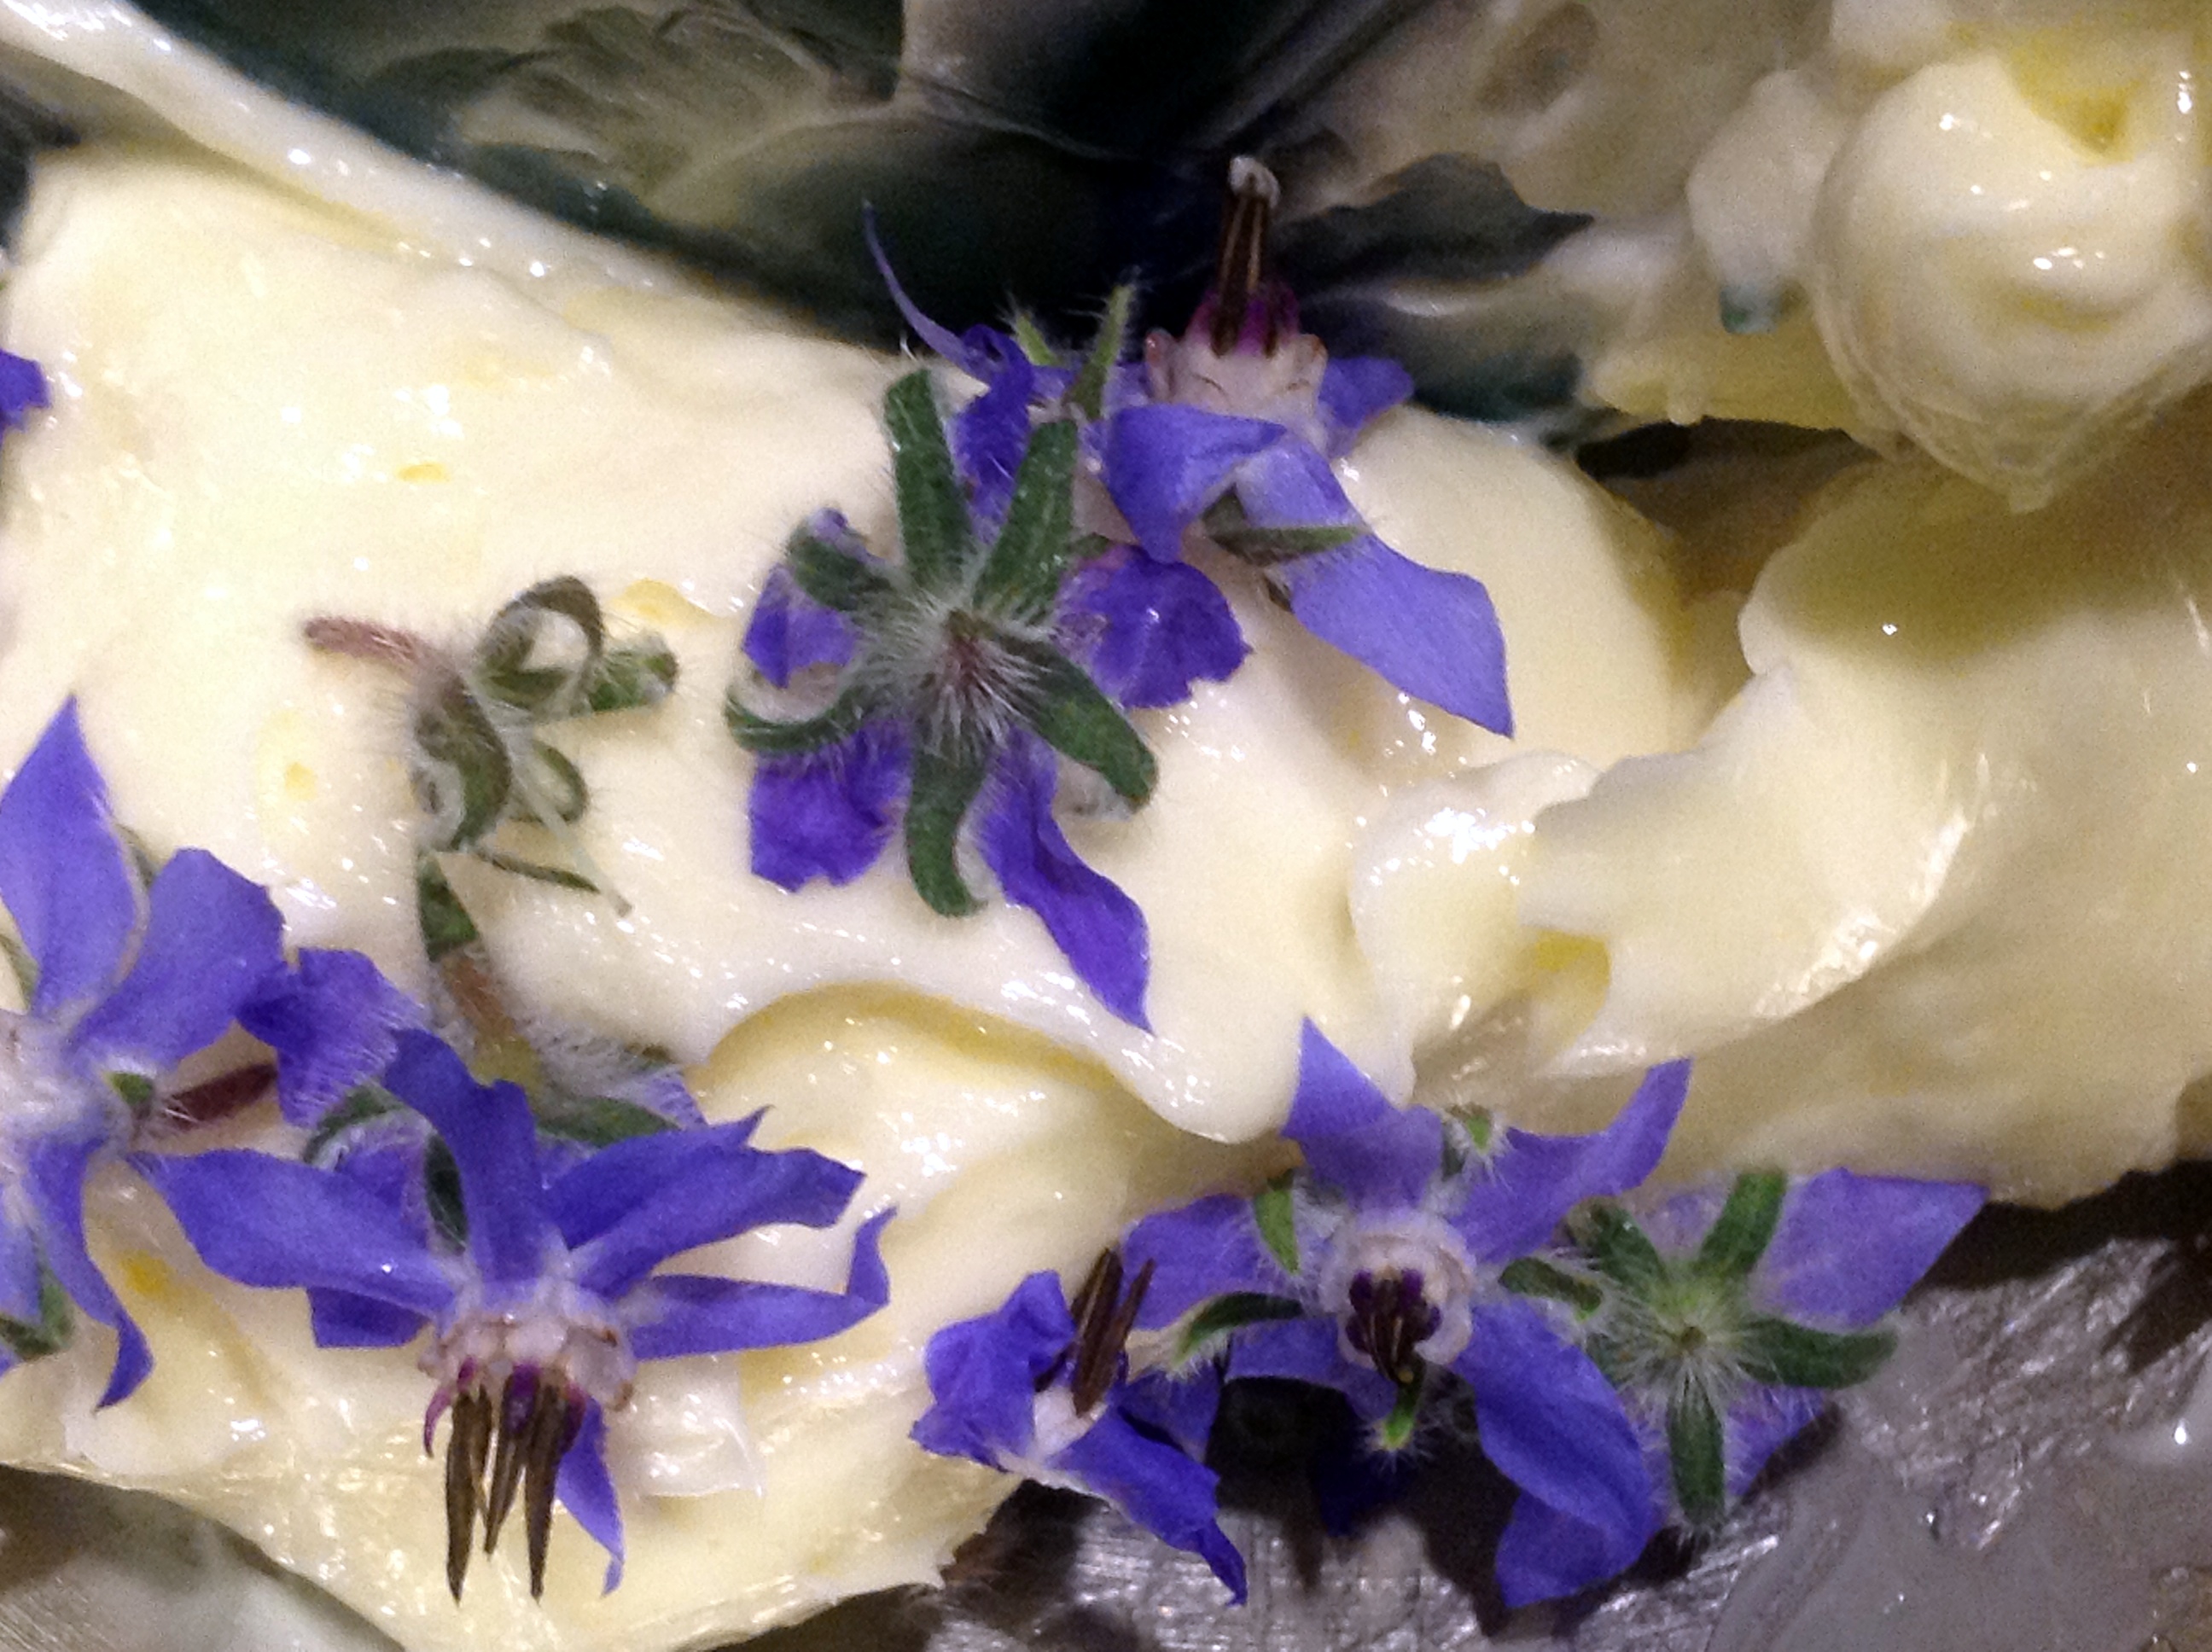
Borage, a garden “alien,” is an herb that grows freely among the rows, borders and raised beds here. It’s a great companion plant, especially for squash, tomatoes and strawberries, and attracts pollinators to the garden. Its beautifully unique blue or purple-hued flowers are one of the few “blues” that are edible, as are its fuzzy leaves. It grows fairly tall and can get top heavy with buds and flowers, spindly or gangly-looking if planted as a standalone, but mine are always interspersed among the crops and other flowers so as to showcase the dainty edible flowers.
When you always have an abundance of fresh eggs, you’re naturally always pondering interesting ways to use them up. Add to this the current, albeit short, season of meyer lemon availability, a local food swap haul that included some homemade lemon curd and a generous Mason jar of Lauren’s luscious homemade creamy limoncello, and options begin to present themselves. Then into my head pops a recent proclamation of Greg’s that The Cellar (a/k/a Chef Vola’s) made the world’s best ricotta cheesecake. I don’t know about you, but when a spouse has the audacity to proclaim anyone but you makes the world’s best anything, that’s cause enough to start setting that record straight 😉
Williams-Sonoma’s inspiration cake
Rarely do I not [Google] [Images] [Keywords] when I’m about to embark on a new recipe, or just head to Pinterest and keyword search. If the visuals grab me, I’ll visit the site and read the text; recipes, ingredients and technique. I’ll usually take a few recipes that appeal to me, and “use” them as a foundation for creating one of my own. The majority of this inspirational credit goes to Williams-Sonoma’s recipe.
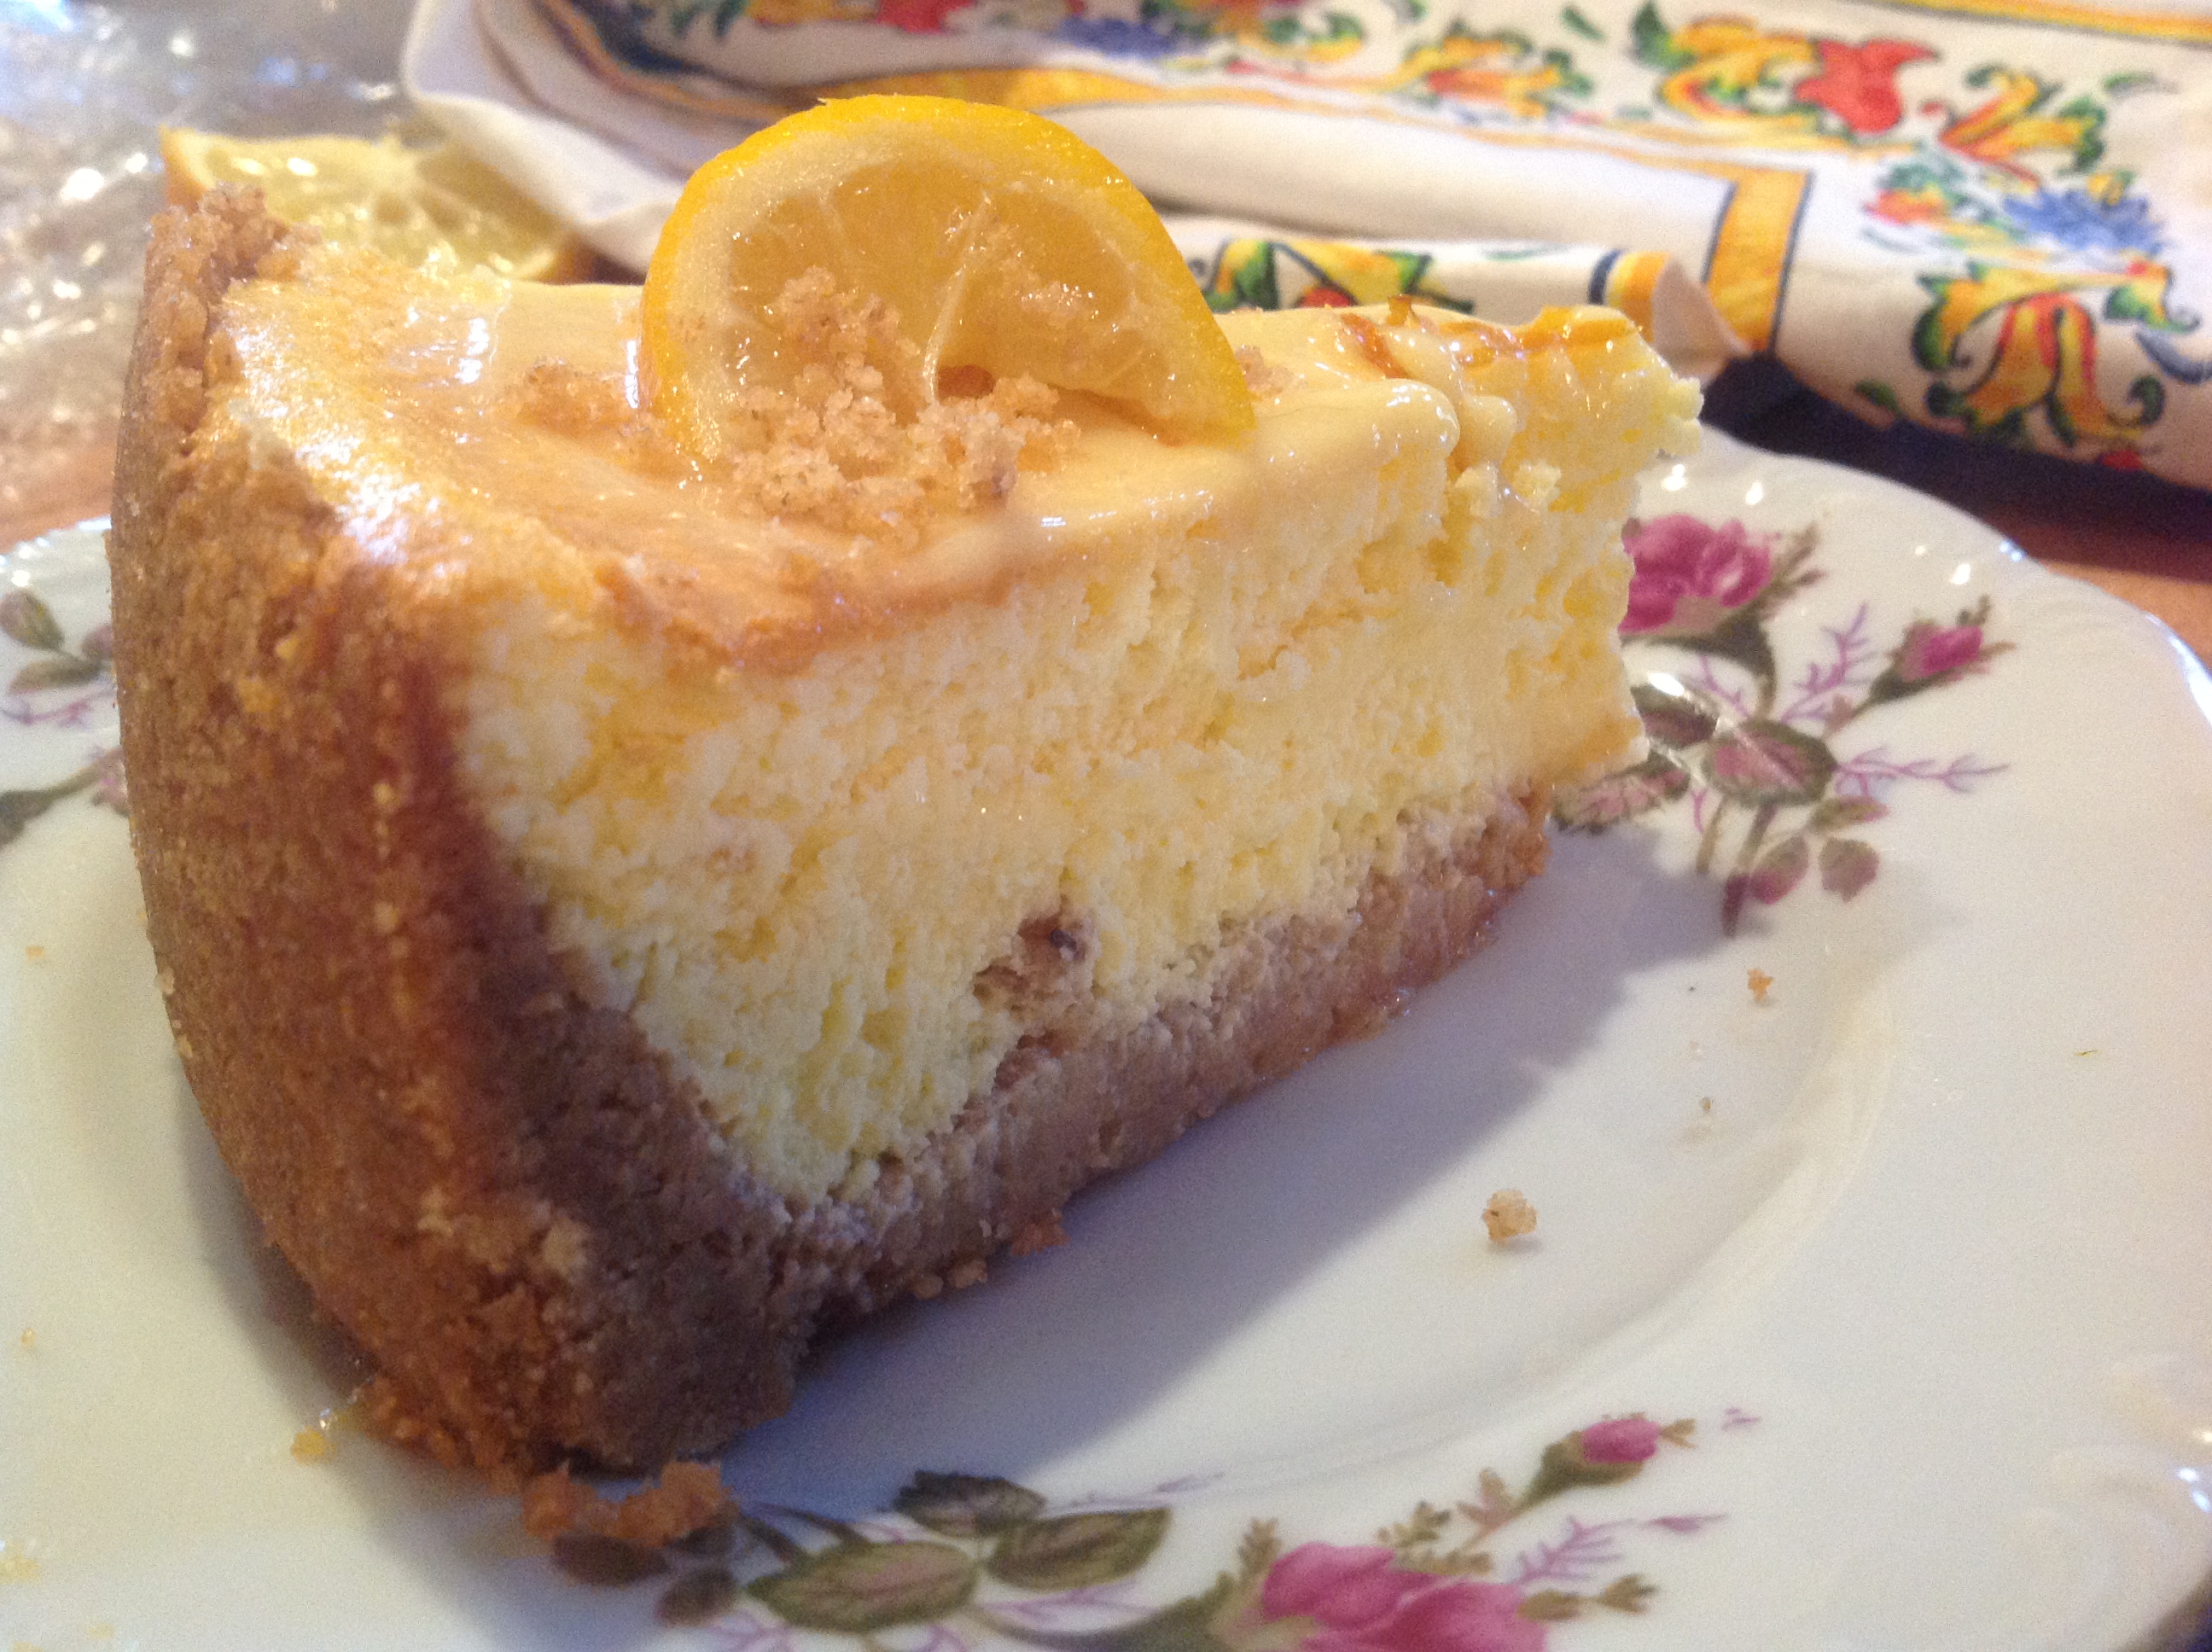
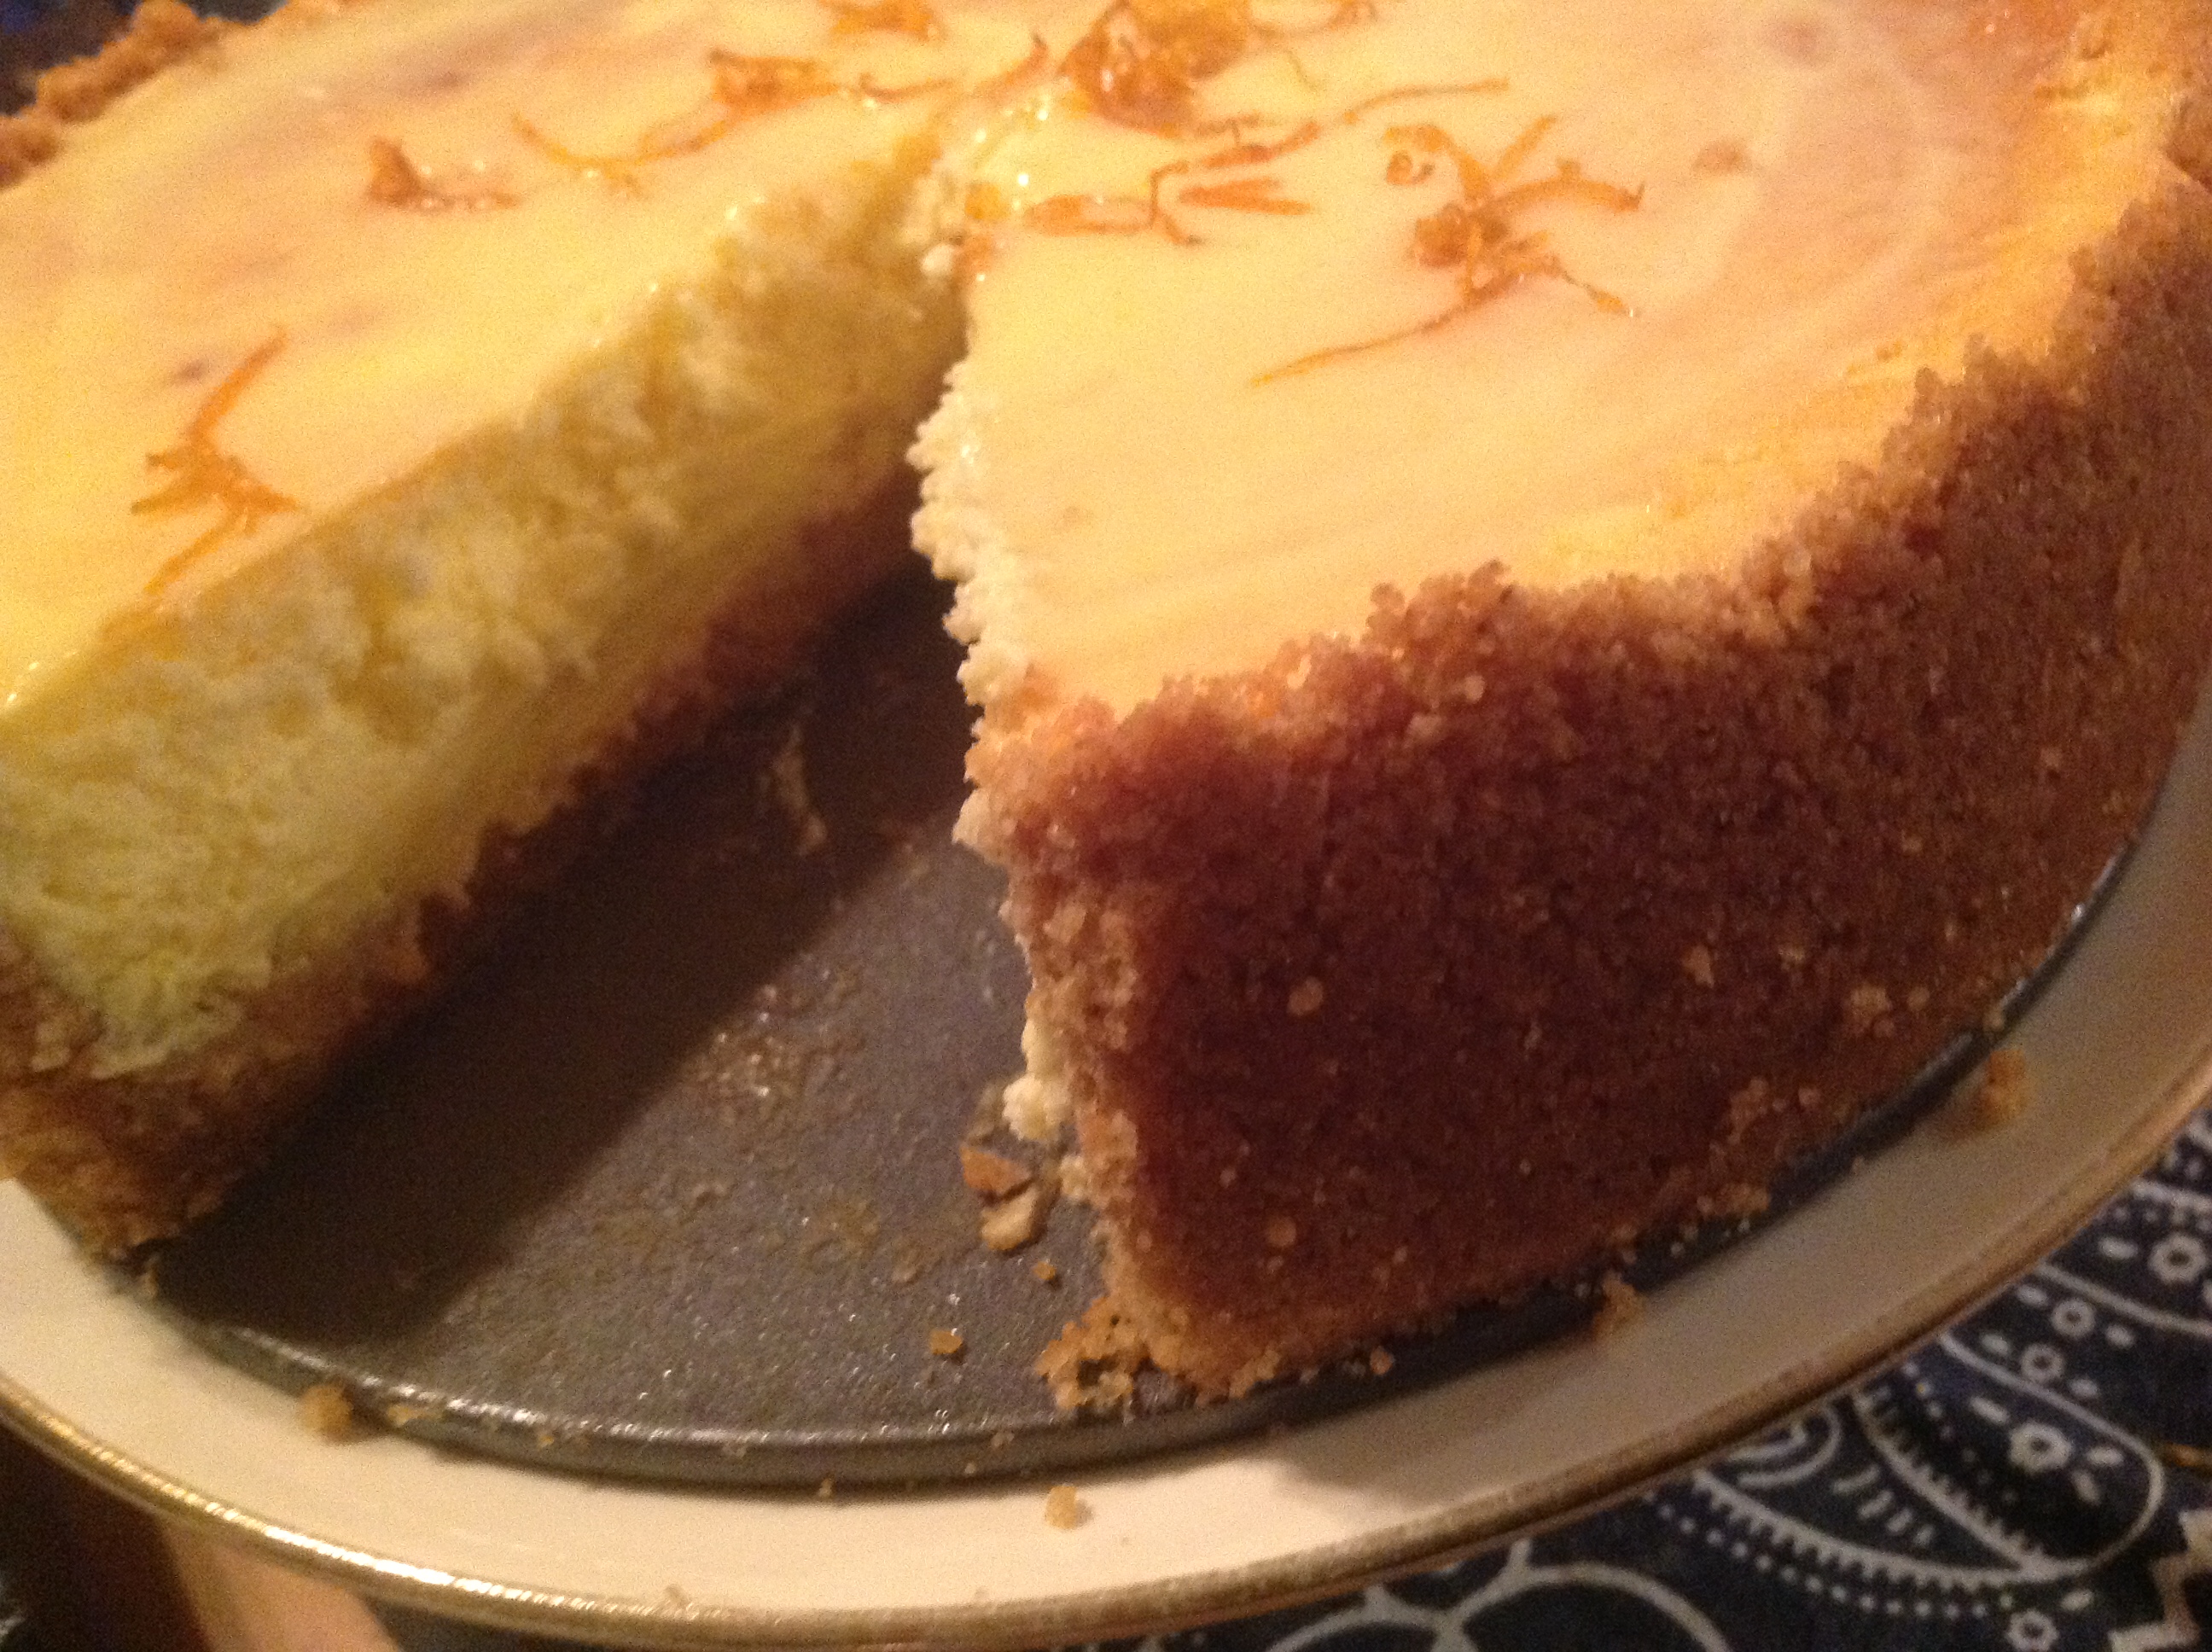
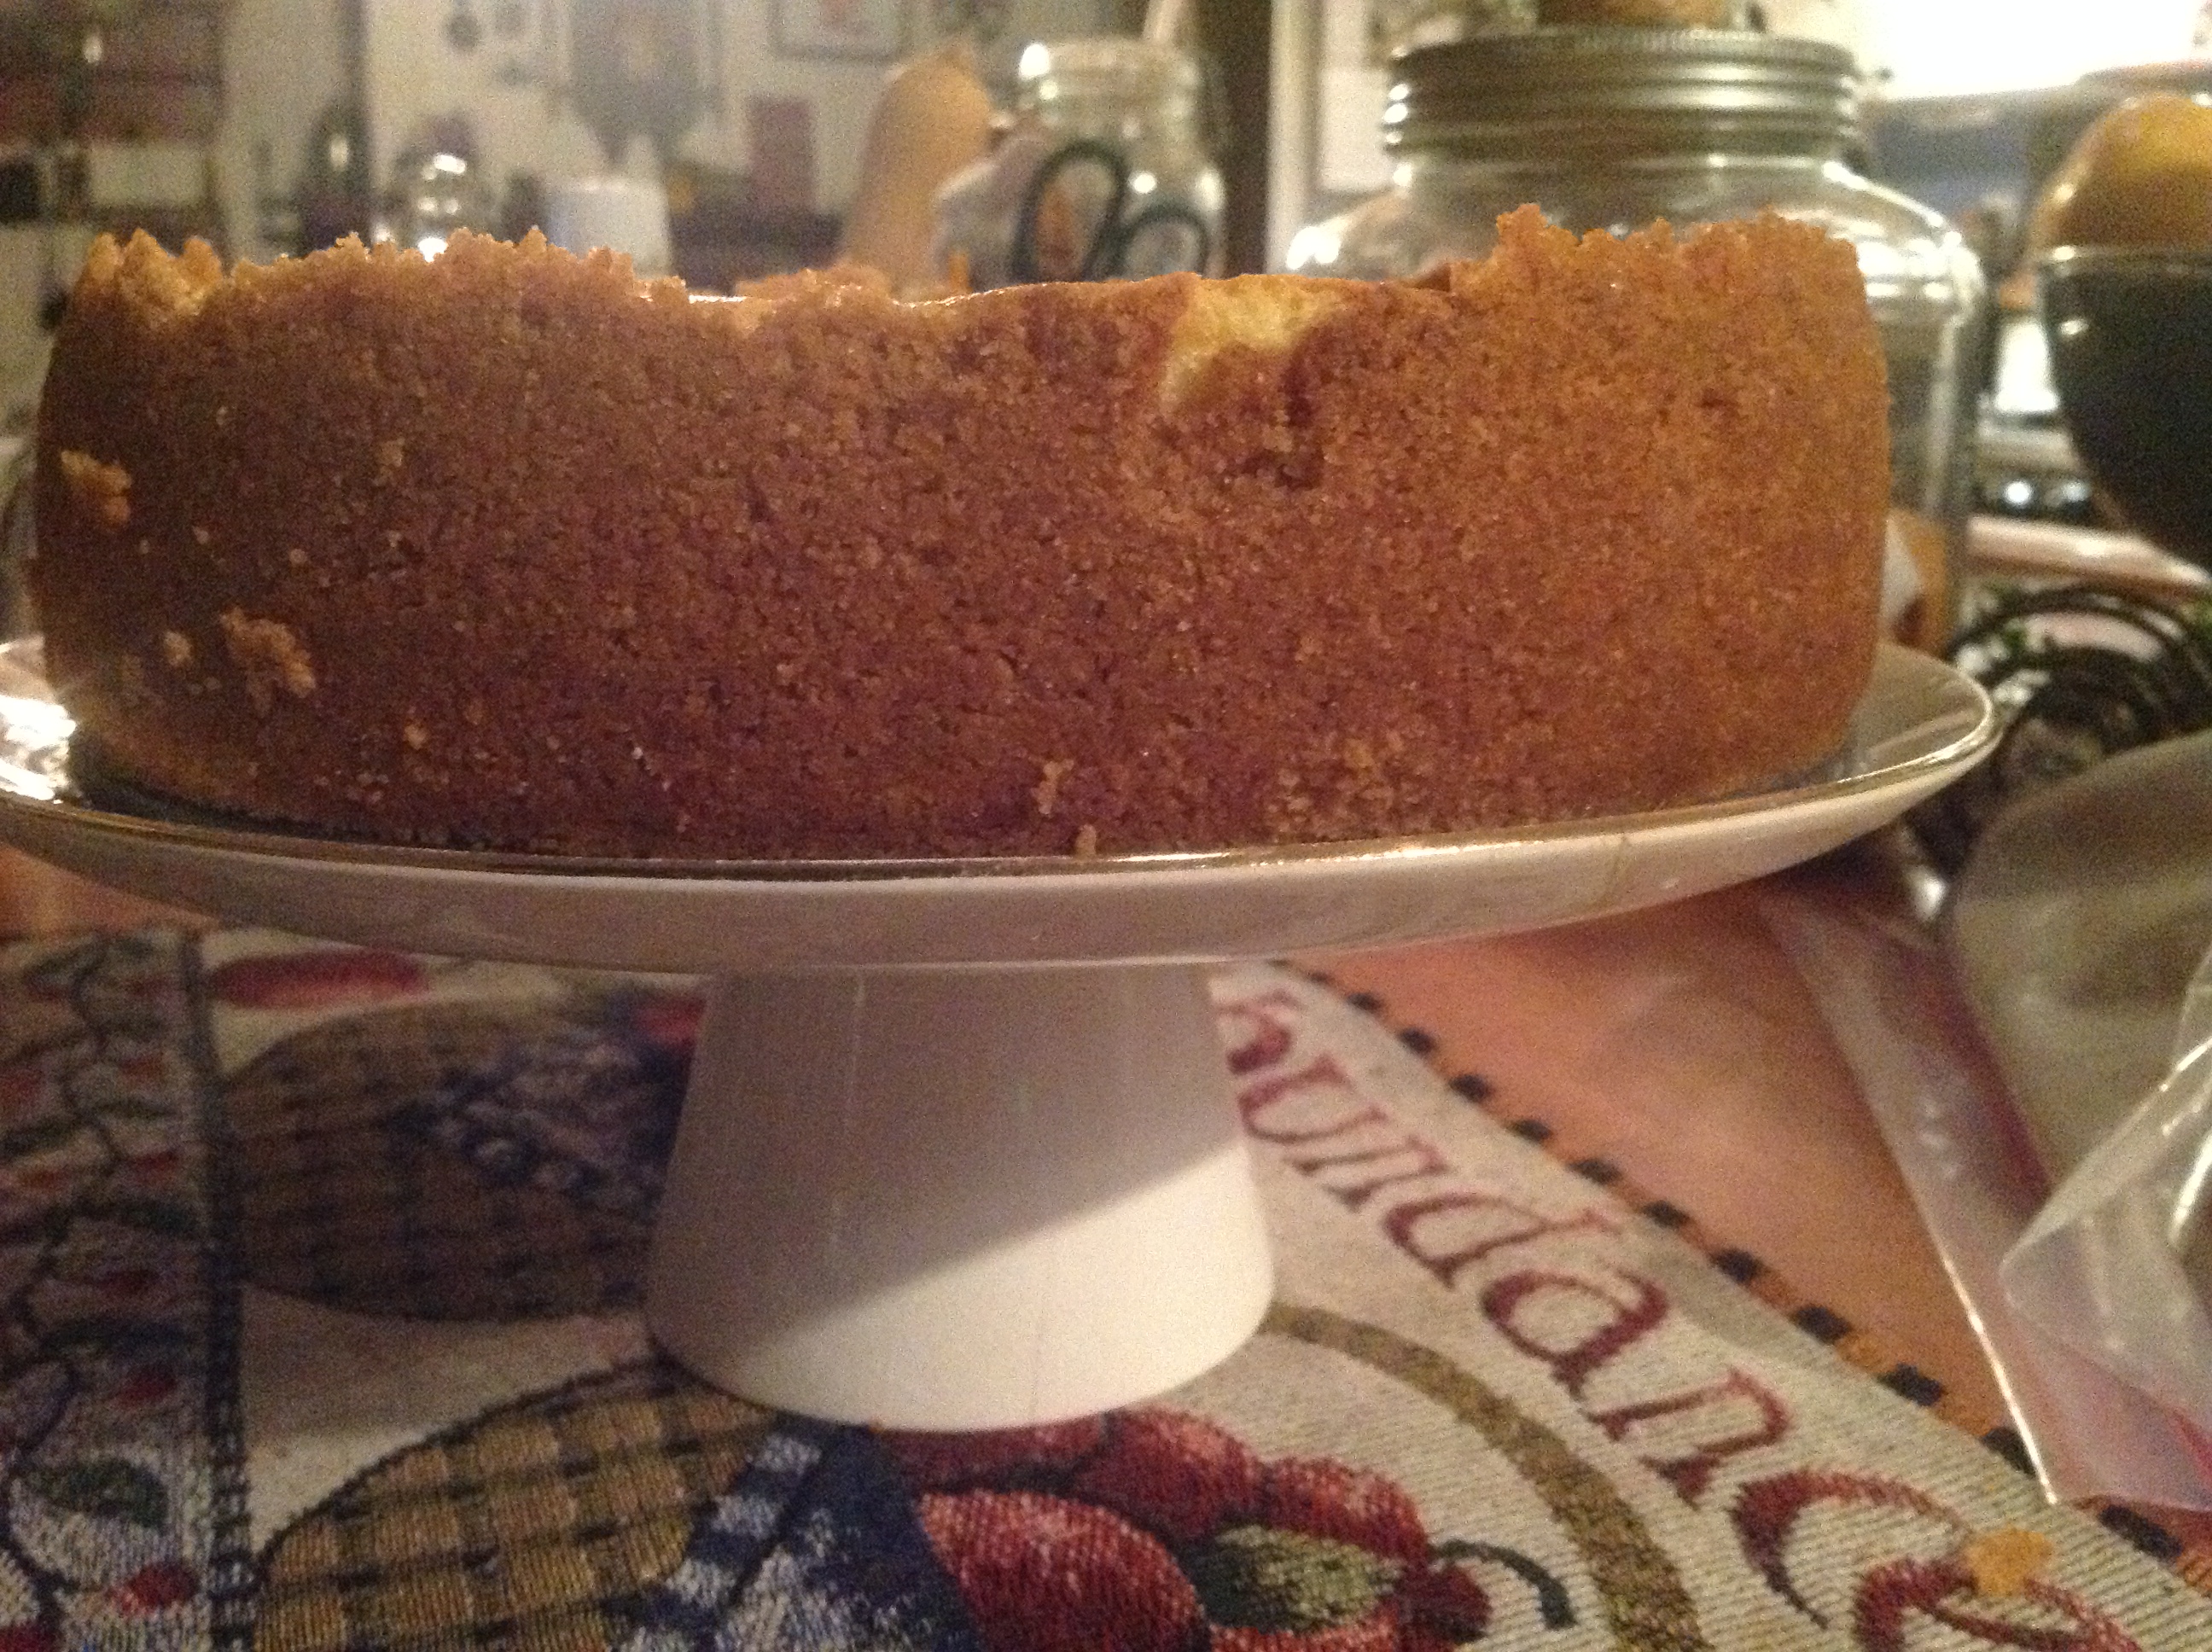
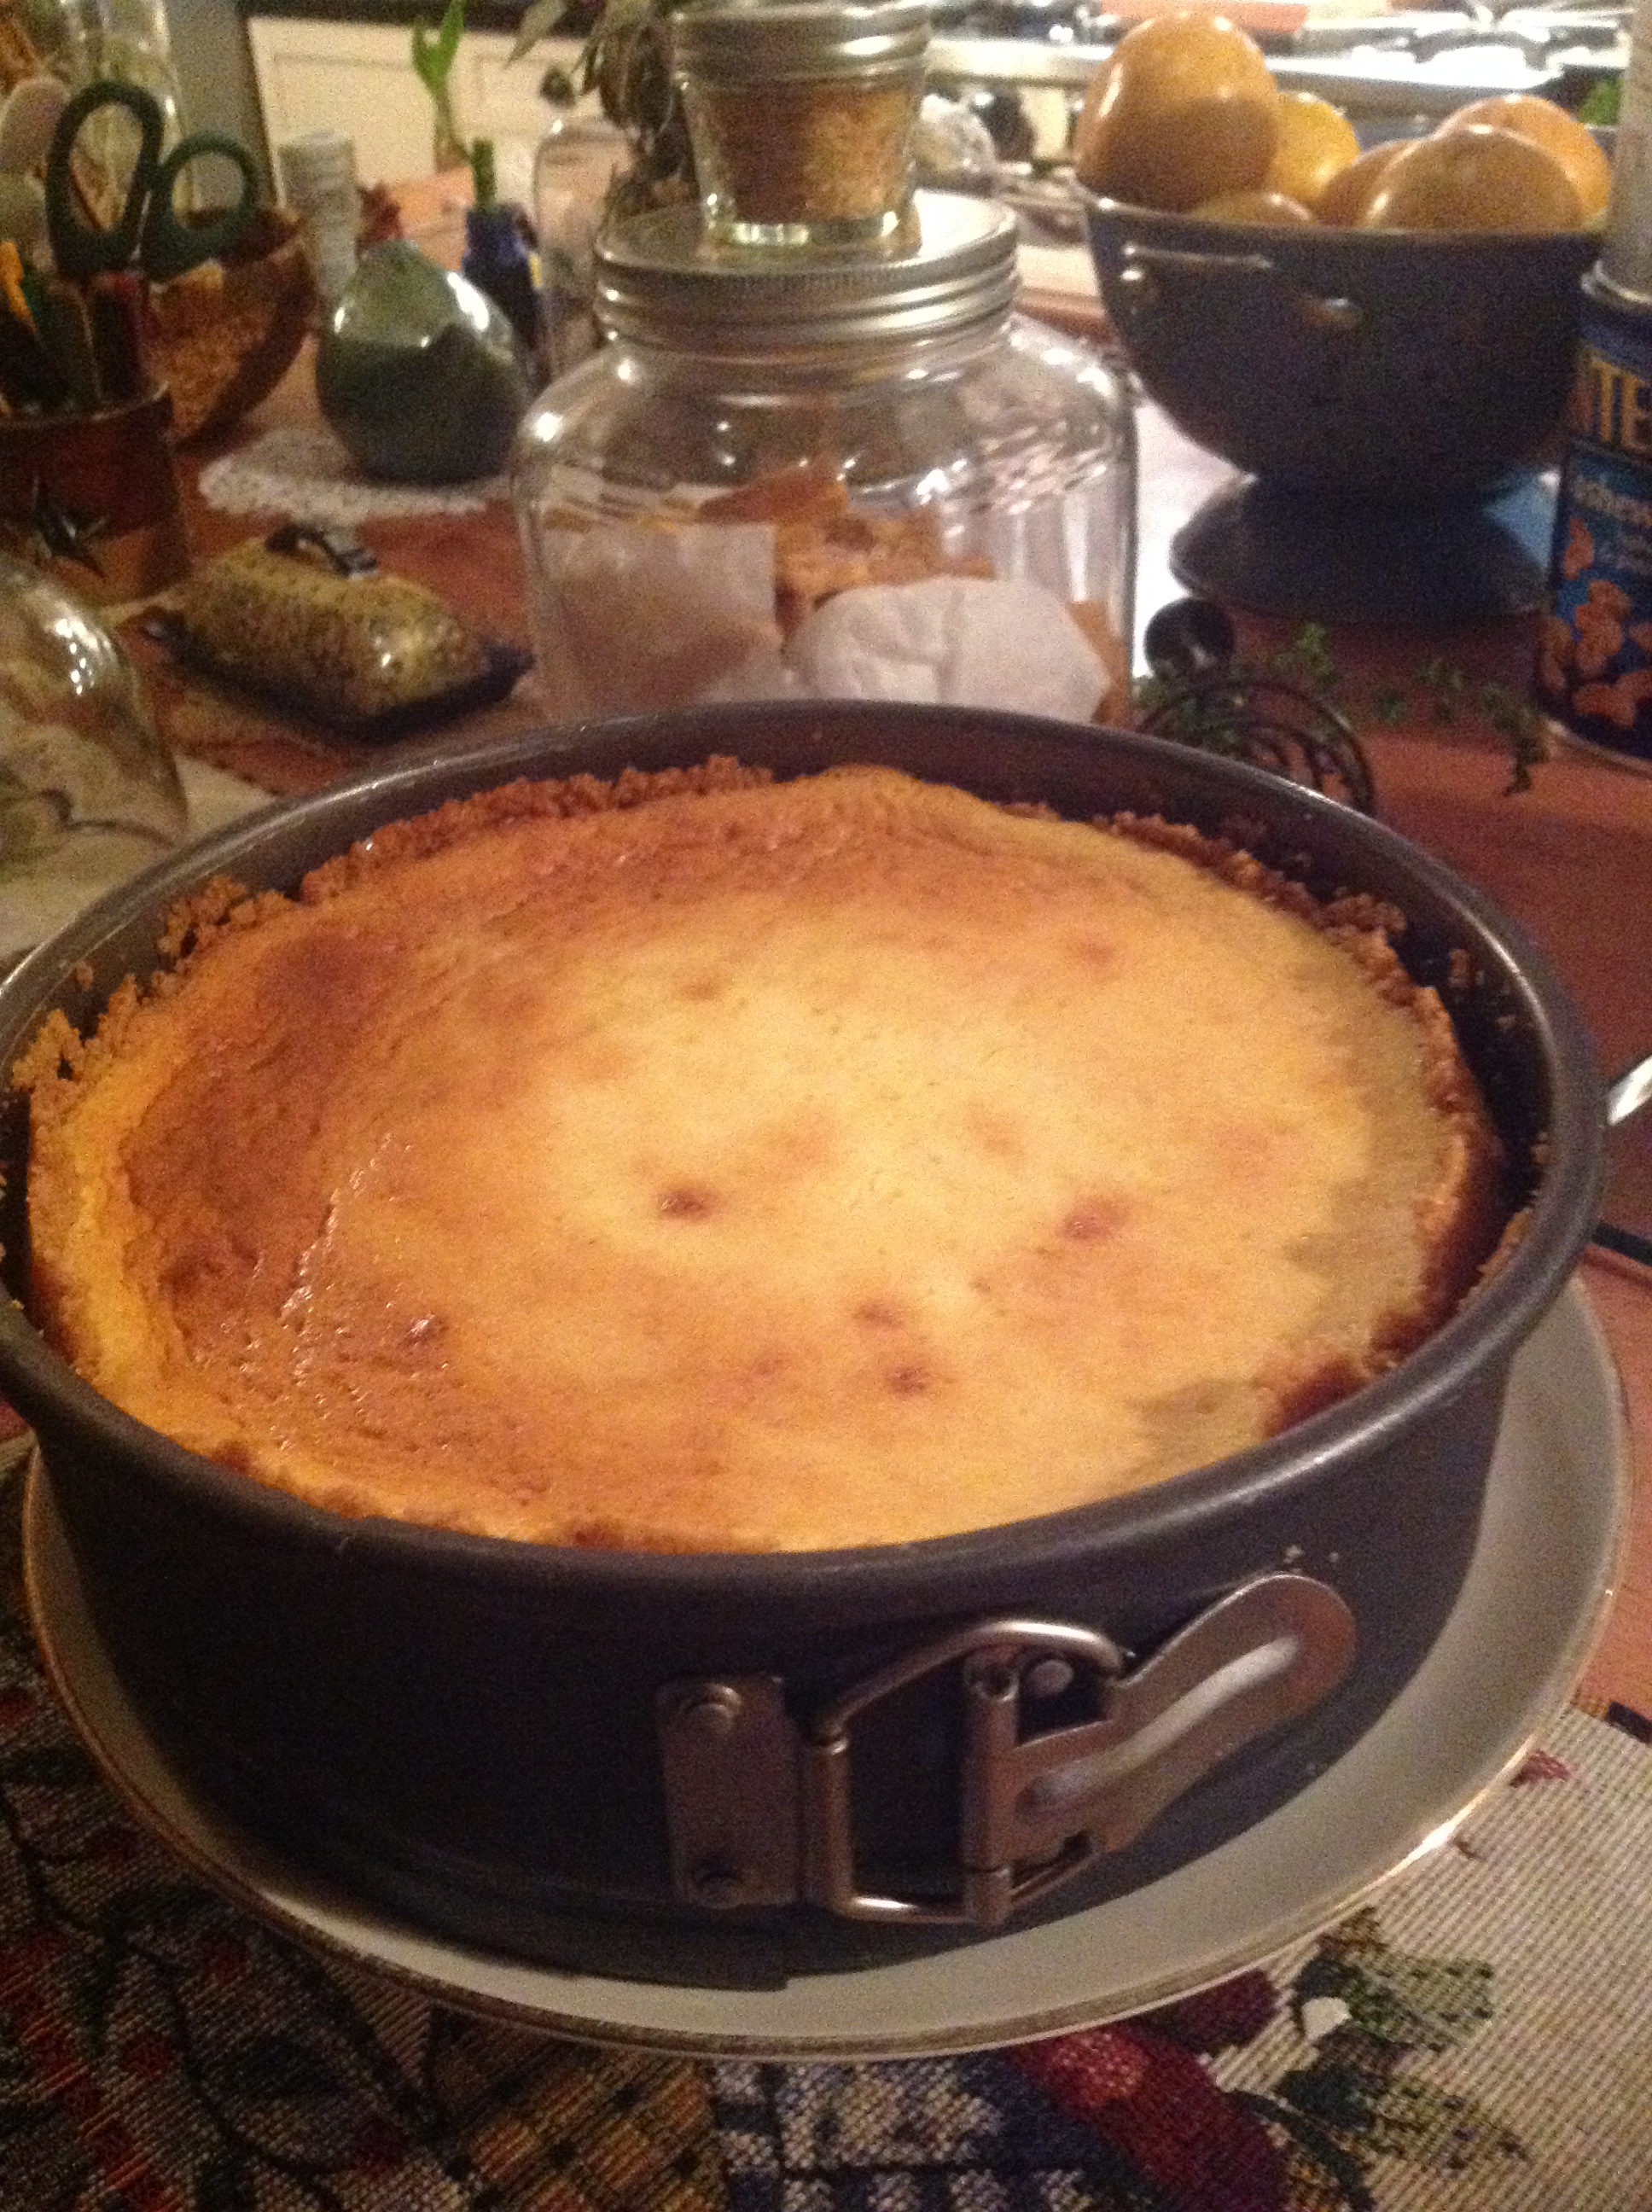
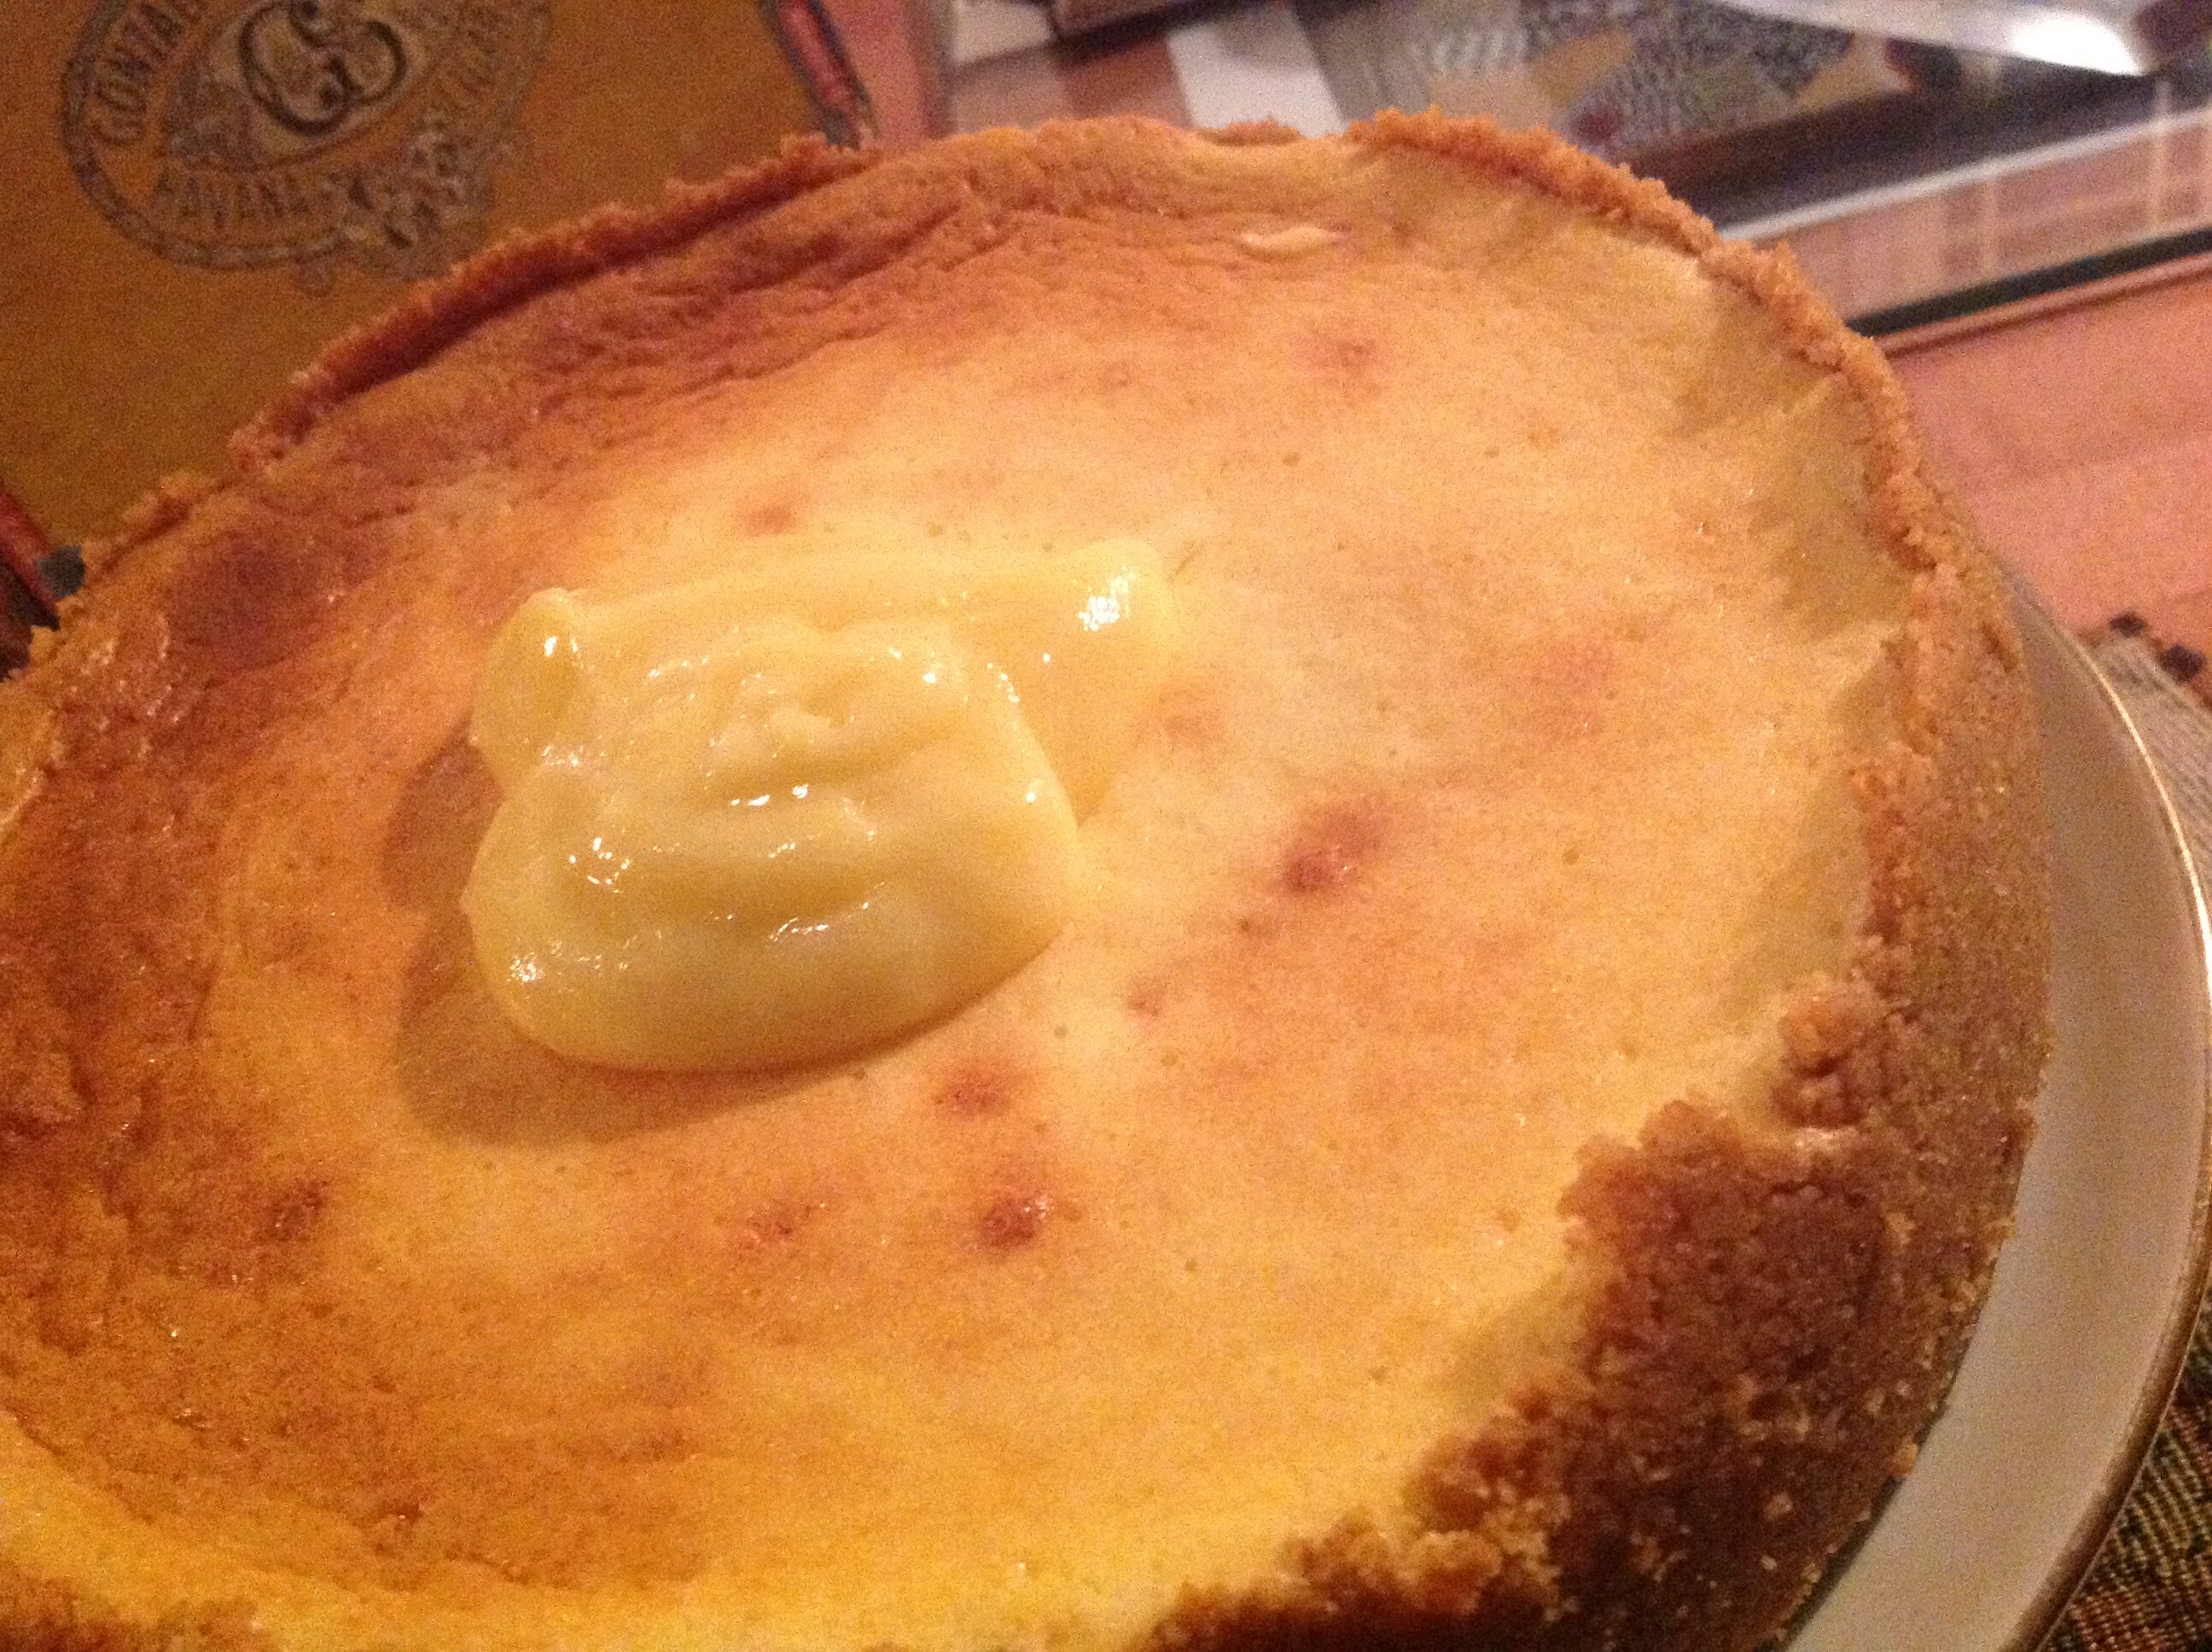
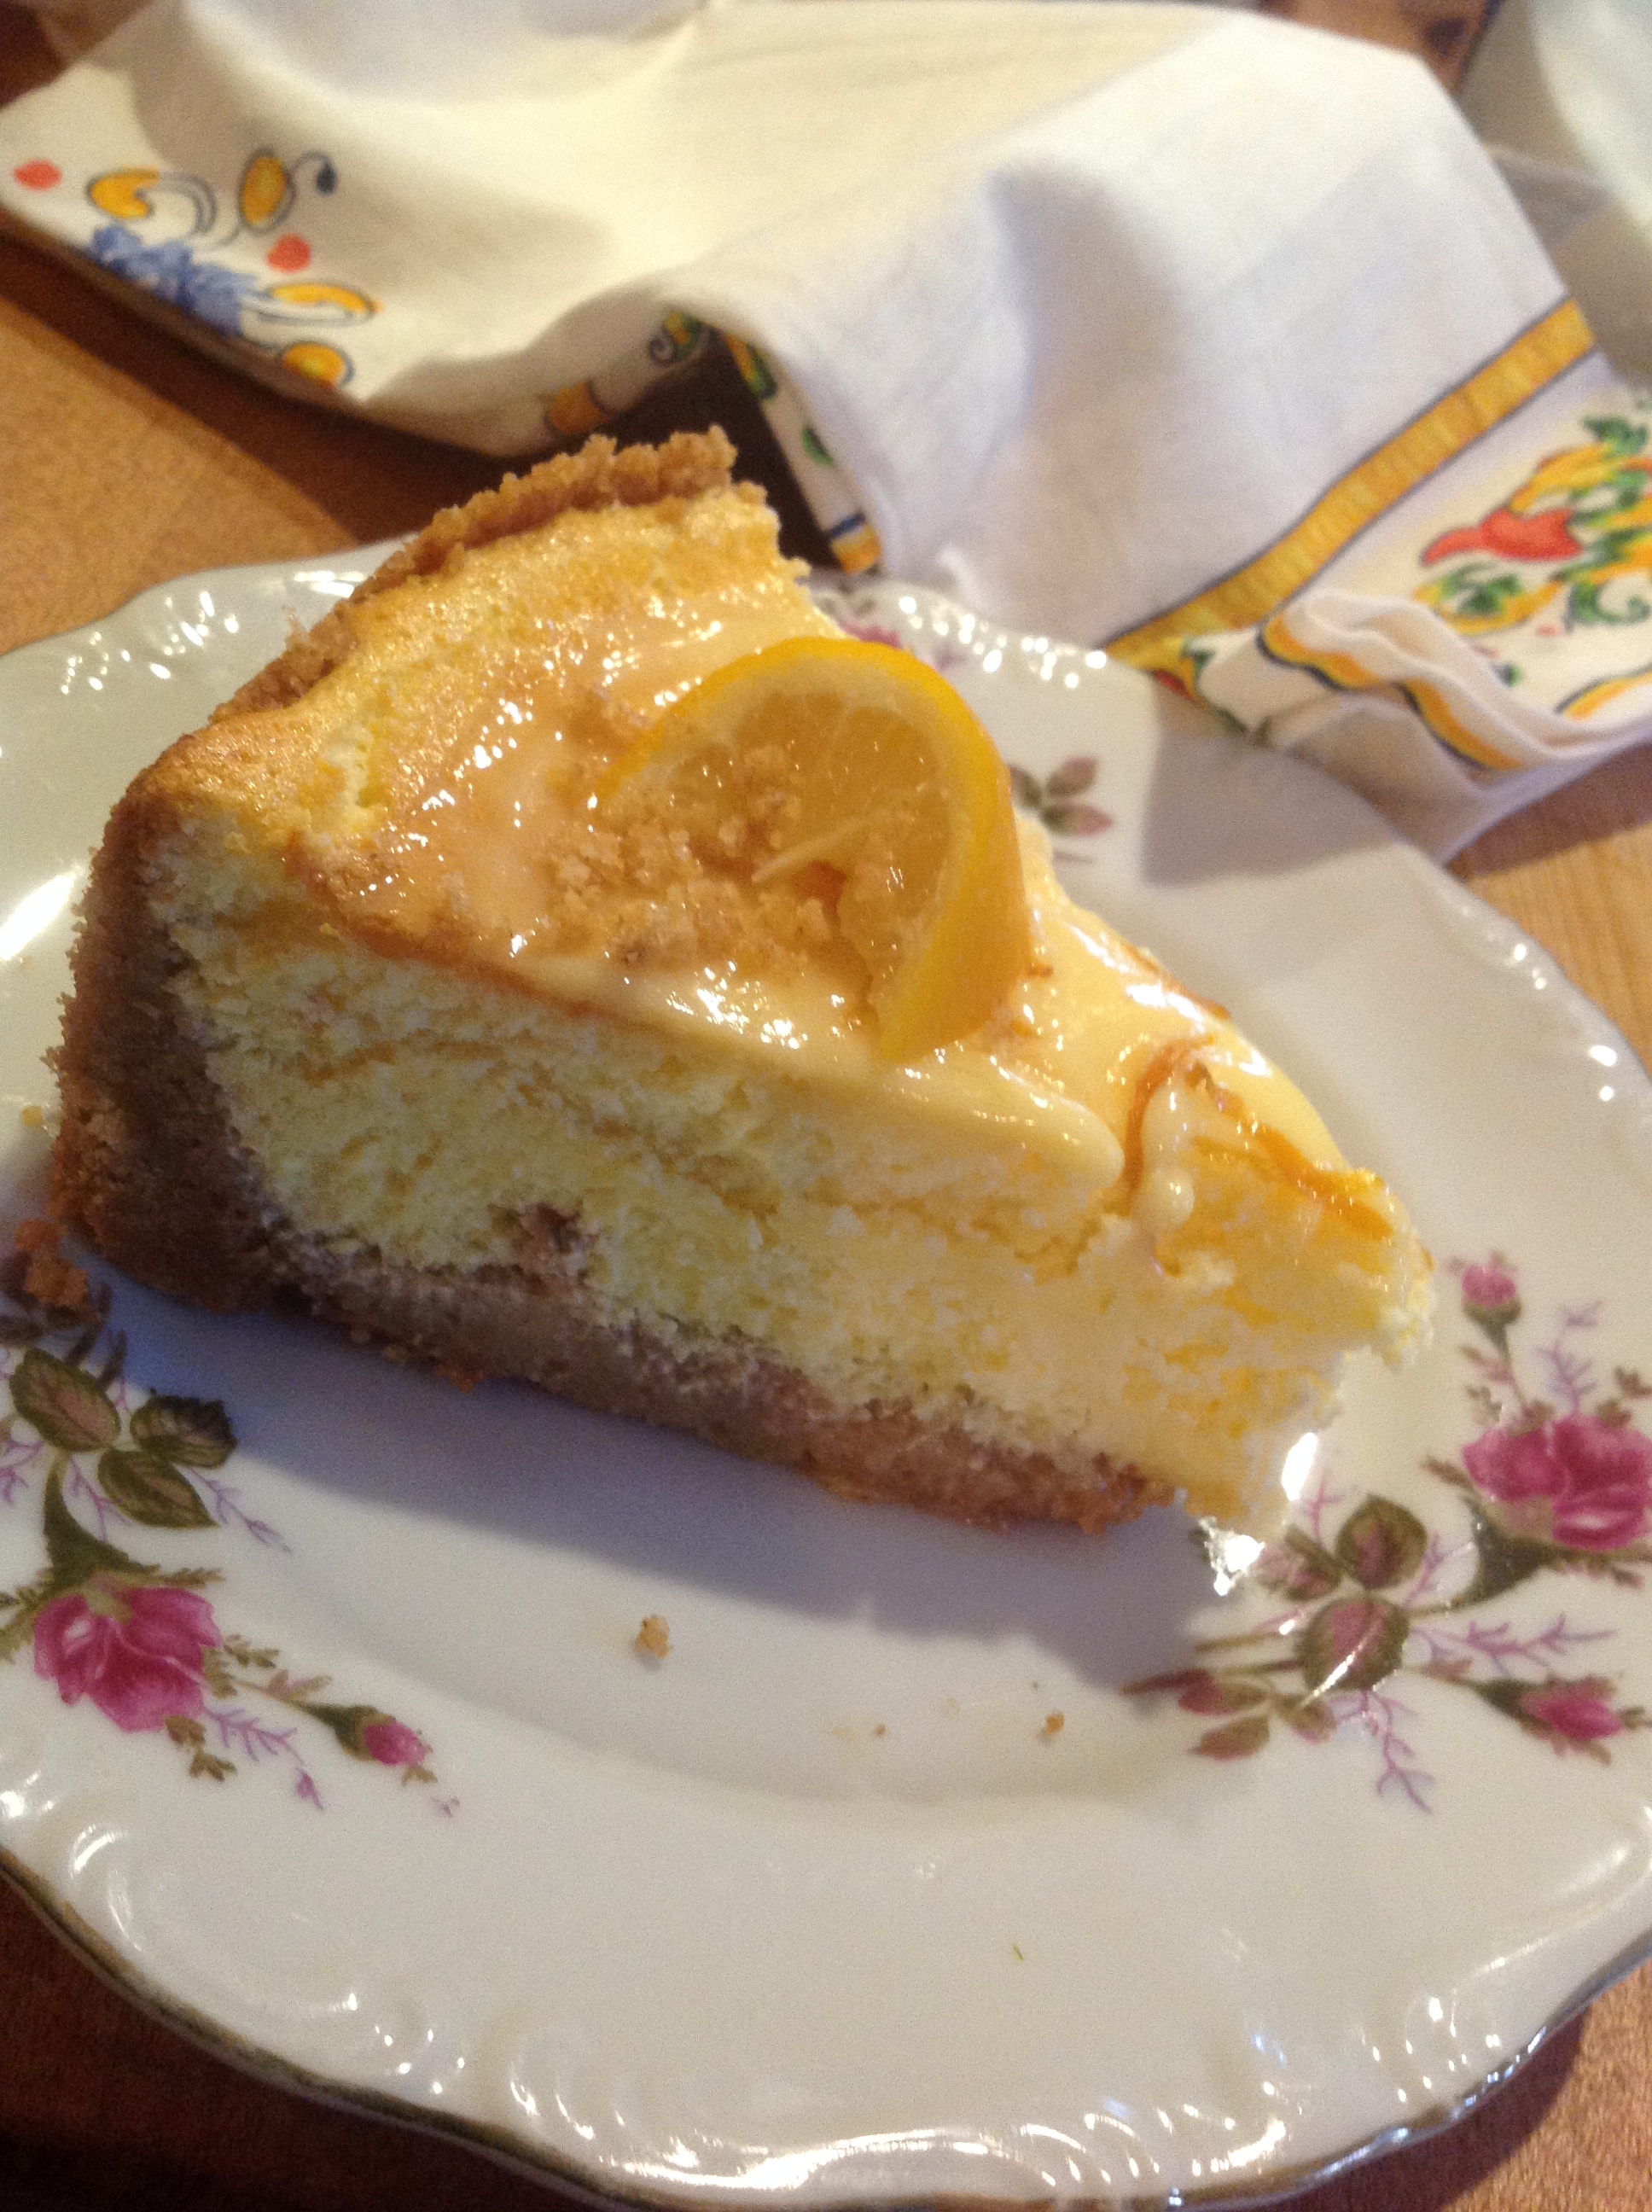
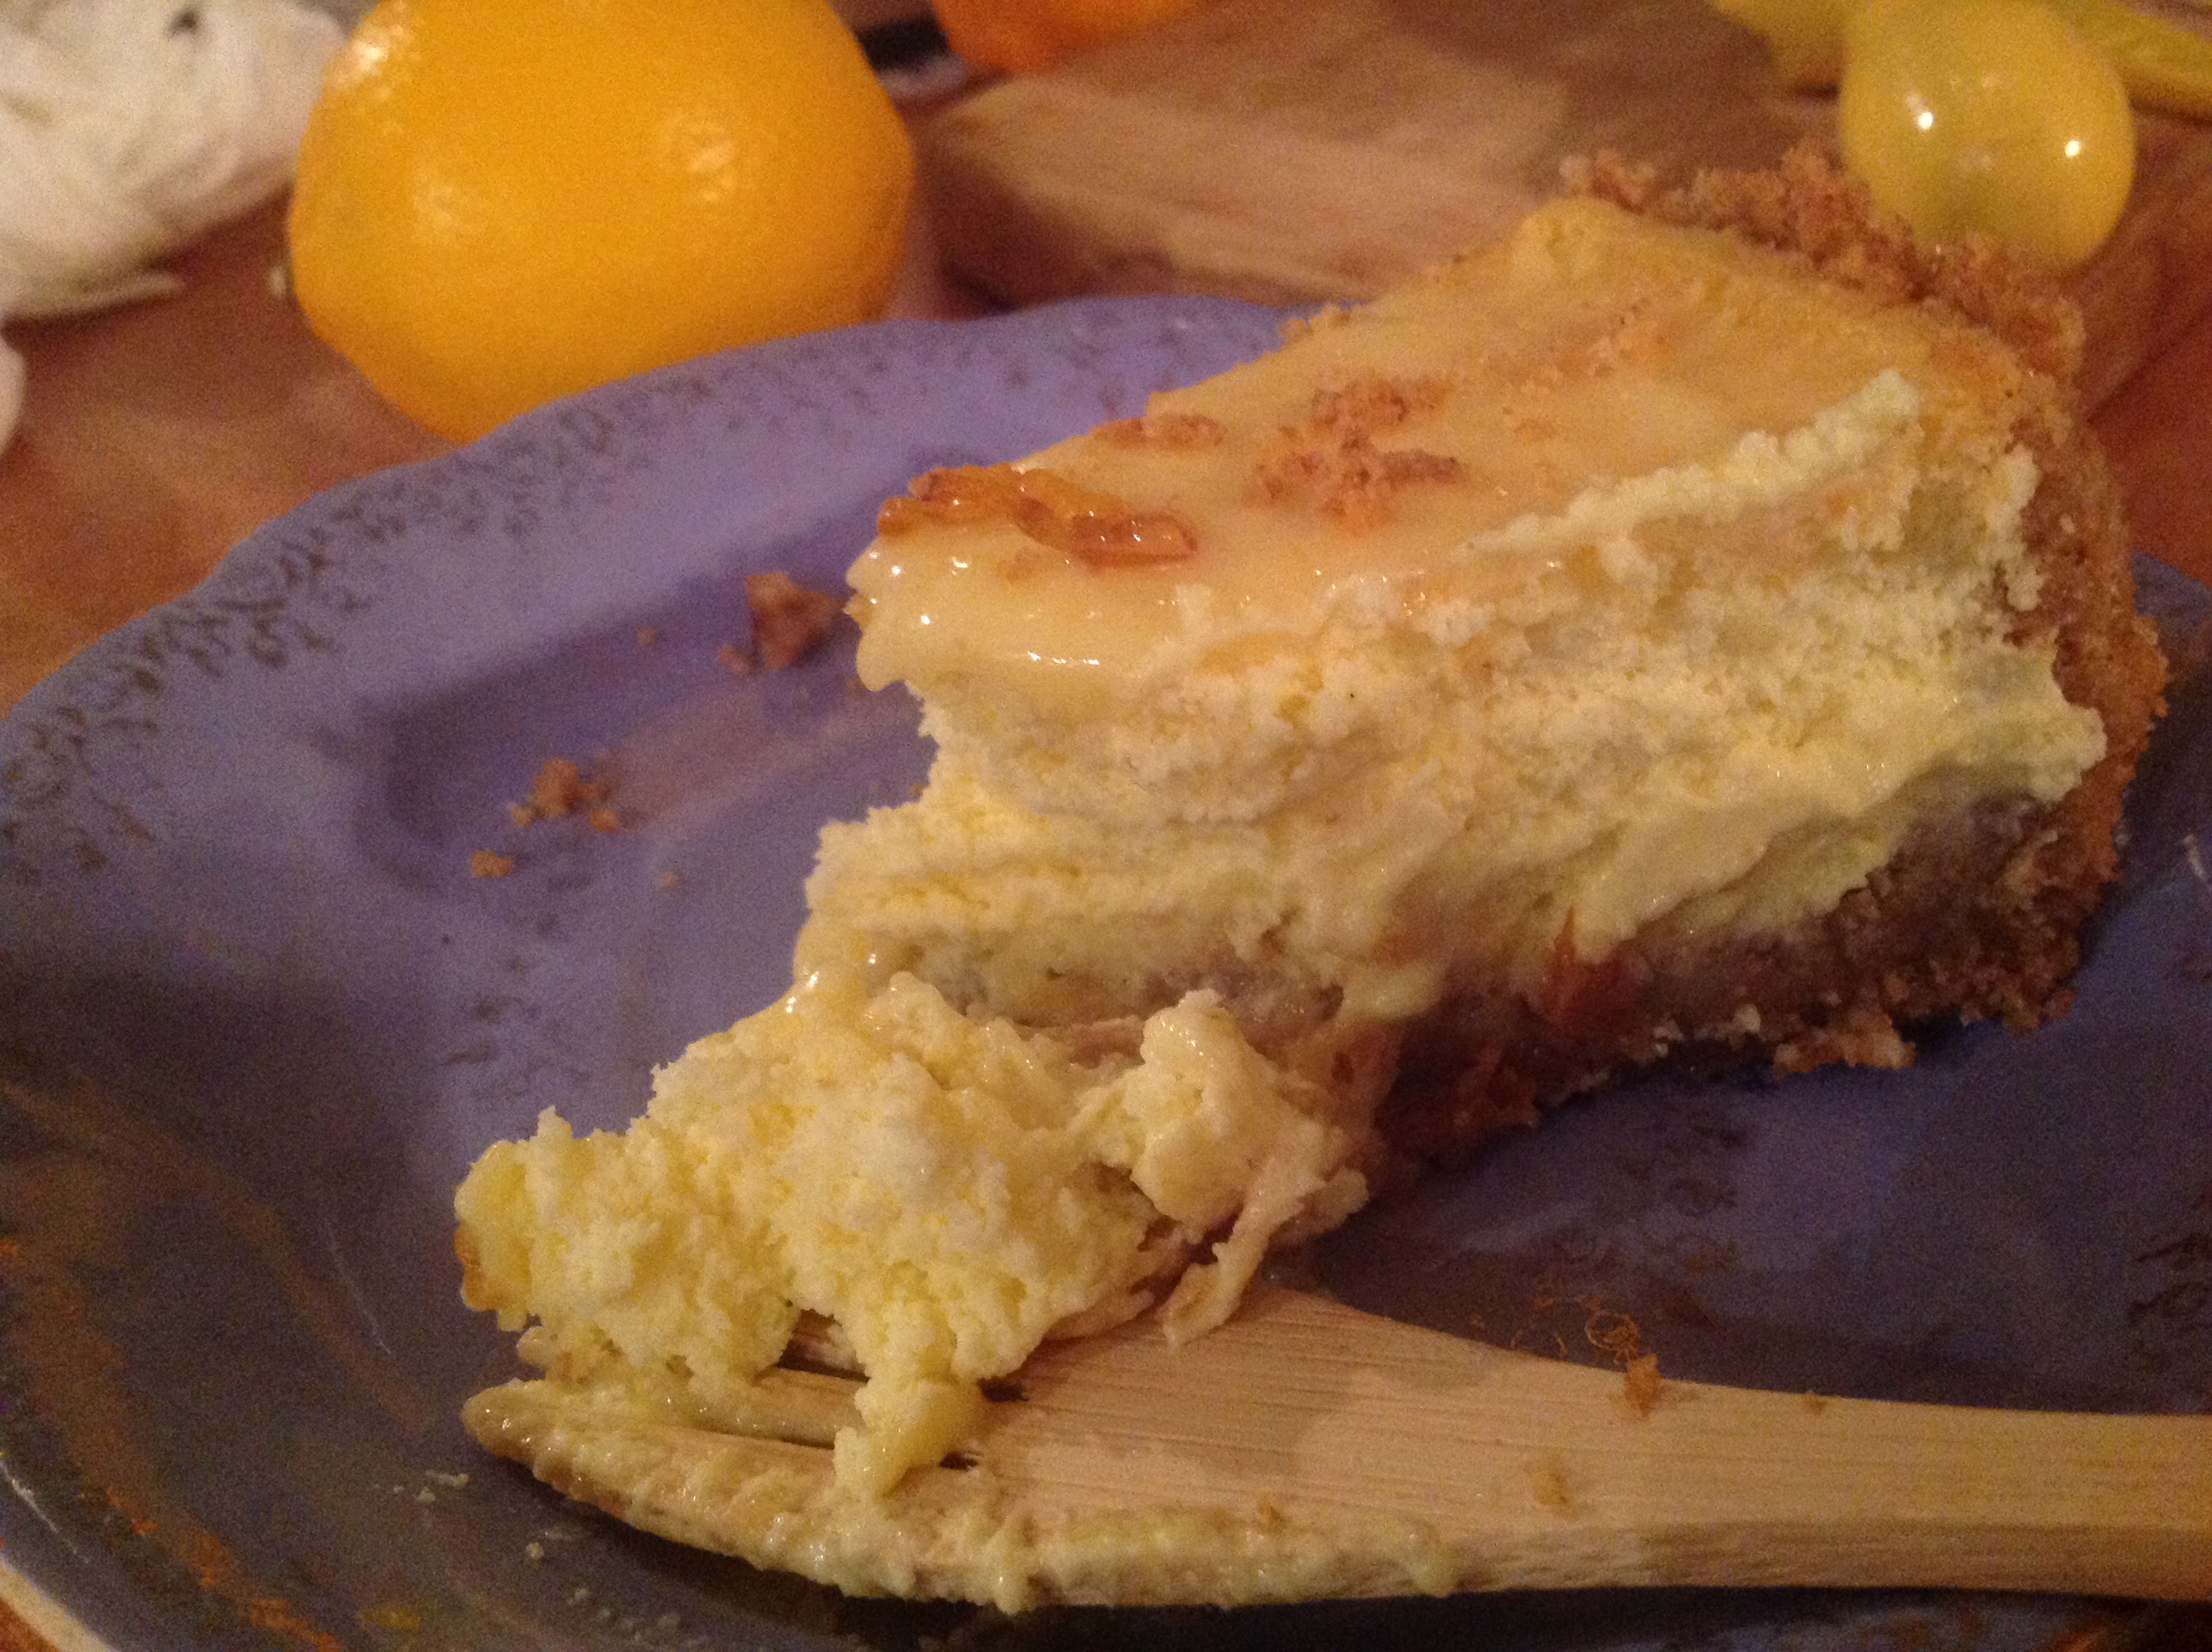
The walnut crust really caught my attention, as did the “fall” in the center. Mine did not crack and fall, but no matter because I topped with lemon curd rather than a dusting of 10x.
I made notes of my tweaks as best I could as I went along, just in case I did manage to “set the record straight” with it. I tend to cut the sugar, “up” the total amount of crust ingredients, and nearly always add another egg, a duck egg, the whites of which I always whip. It just makes everything “lighter.” I also tend to shy away from cheesecake recipes that call for more than one block of cream cheese. If you like the heavy NY style cheesecakes, you’ll probably want to pass on any of my cheesecake recipes.
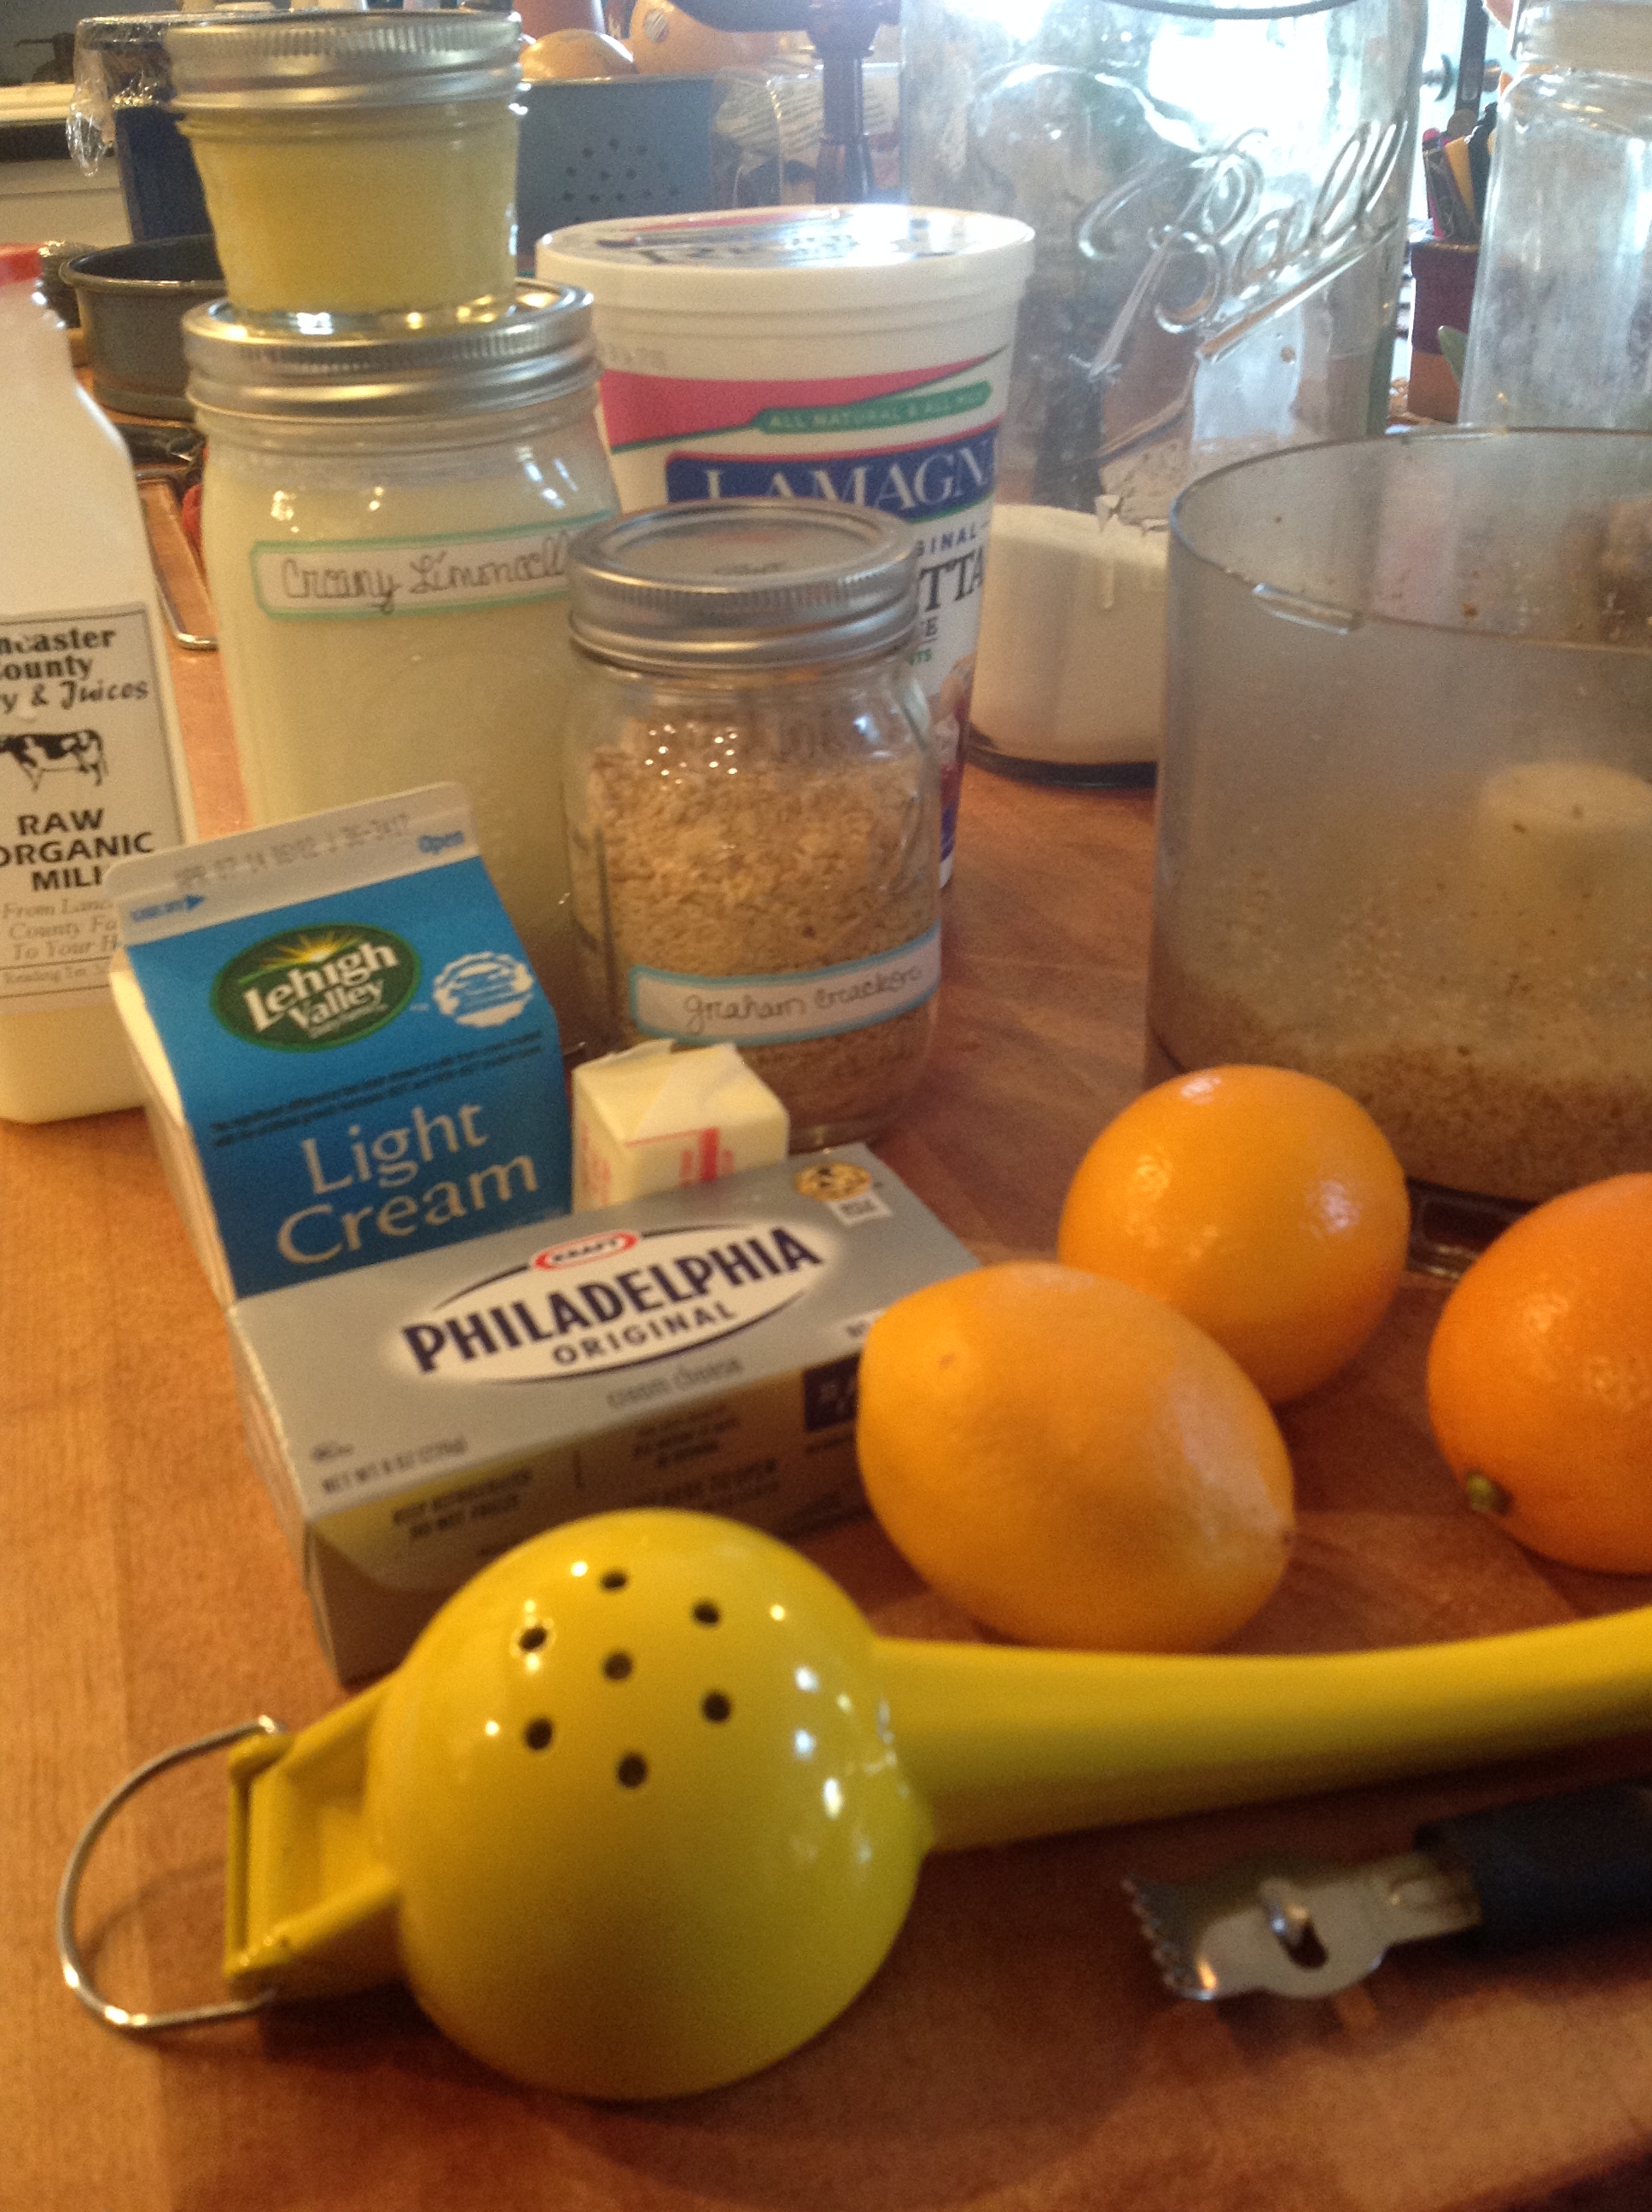
I always gather all ingredients, utensils, monkey dishes and gadgets (mise en place) first, especially when room temp is involved, as it is with most baking projects, and read the recipe(s) in full, in advance, more than once. For example, this recipe calls for some preplanning in that the crust needs to bake, cool down, and then go into the freezer, the cake sits in a dormant oven for up to three hours and then gets refrigerated for a minimum of four hours thereafter! So time it out so it’s gloriously ready when you were hoping to serve it. Best advice: make it the day before.
When I’m on a recipe mission, I’ll admit I’m sometimes dismissive of the “background noise” chit-chat of a sweet blogger whose lovely image captured my attention enough to make the click. Despite this, I am “one of them.” I do like lots of images, though, and I am also “one of them.” I’ll post the tweaked recipe here in the middle; further background noise chit-chat relegated to the bottom of the page.
Meyer Lemon Limoncello Ricotta Cheesecake with Walnut Graham Crust and Lemon Curd Topping
Walnut-graham crust:
8 – 10 oz. crushed graham crackers
1 1/2 cups walnuts
1/4 cup sugar
6 Tbs. unsalted butter, or as needed for texture, melted
(reserve some for garnishing)
Ricotta Lemon Filling:
1/2 lb. (8 oz.) cream cheese, at room temperature
1 cup (8 oz.) fresh whole-milk ricotta cheese
1 cup (8 oz.) sugar
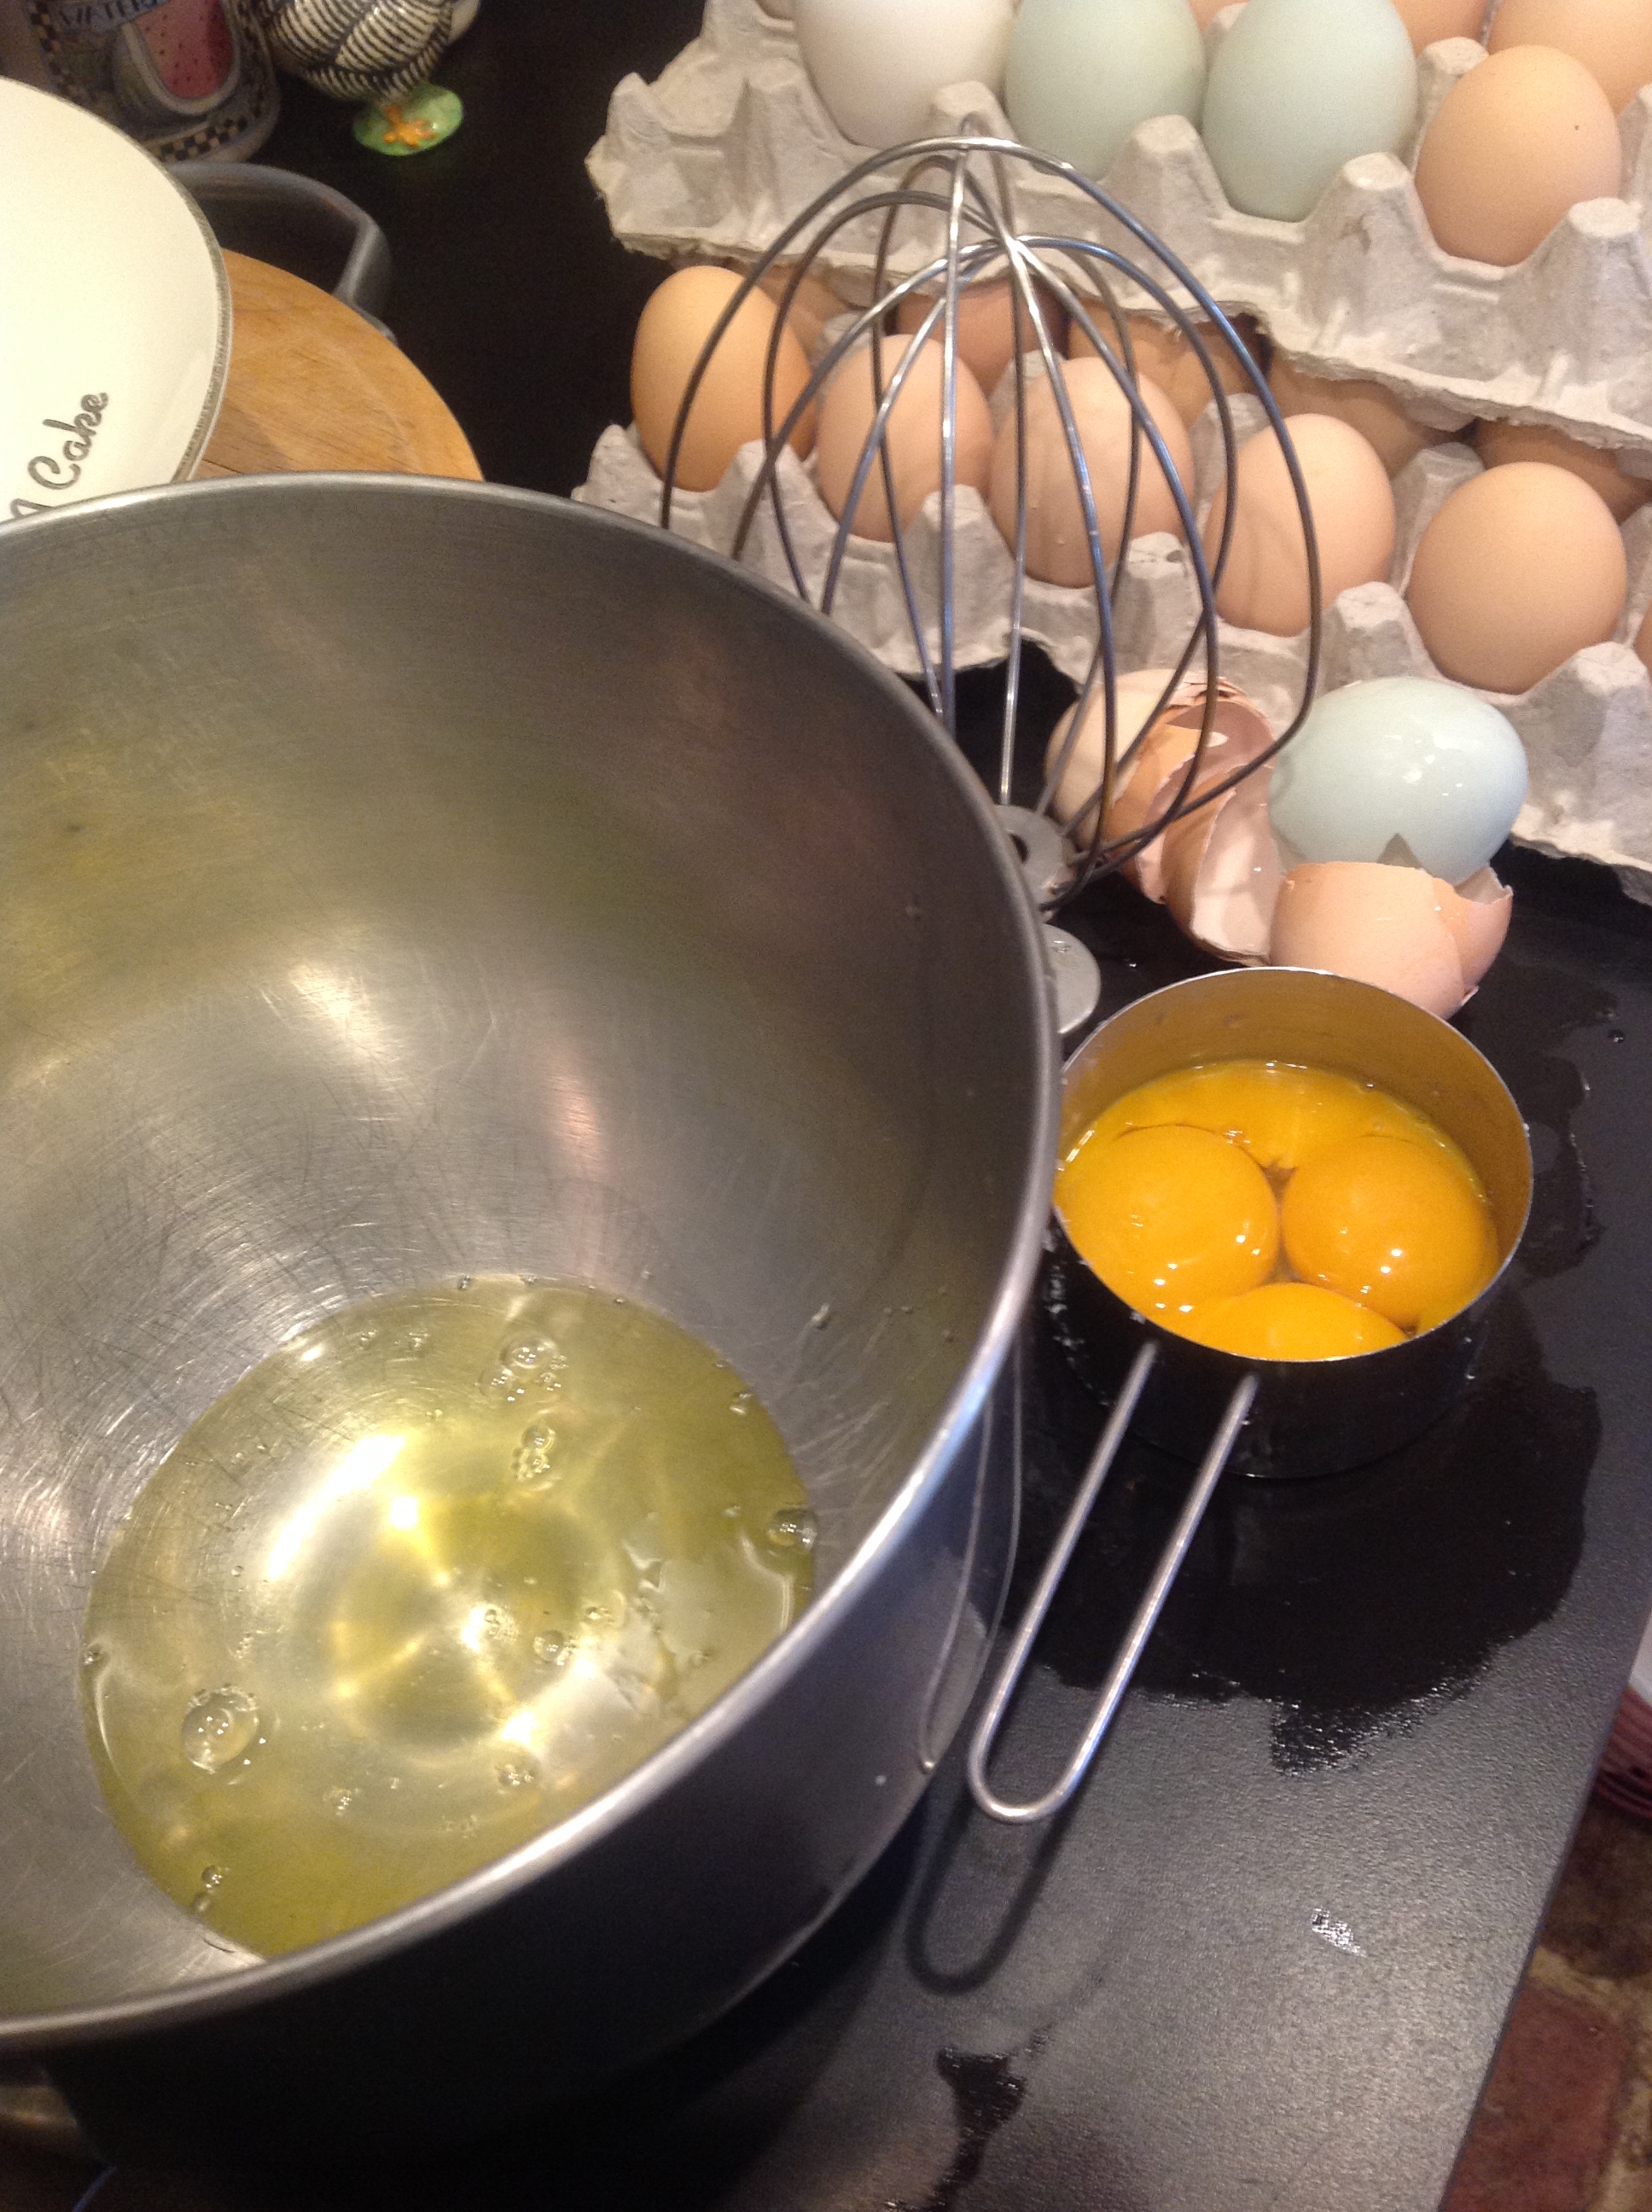
4 large eggs, separated, at room temperature
1/4 cup light cream
1/4 cup creamy limoncello
Finely grated zest of 2 meyer lemons (reserve some for garnishing)
1/4 cup (2 fl. oz.) freshly-squeezed meyer lemon juice
1/4 tsp. Fiora de Sicilia (or tsp of vanilla)
1/8 tsp. salt
Topping (garnish):
4 to 6 oz. fresh lemon curd
reserved lemon zest
reserved walnut-graham crust
lemon slivers
Make the crust first. Preheat oven to 325. In a food processor, pulse the grahams until finely ground. Transfer to a mixing bowl while you process the walnuts until finely ground. Add graham crumbs back to processor bowl, along with sugar and about 5 tablespoons of the melted butter (drizzling it all over and around the crumbs). Pulse, pulse, pulse to incorporate, scraping down and adding more butter if necessary just to the point that the crumbs come together when you pinch lightly between your fingers. Transfer to a lightly buttered 9-inch springform pan and *lightly* press over the bottom and as far up the sides as possible without “collapsing.” (See “noise” below.) Bake until lightly browned (8-10 minutes), let it cool down, then place in freezer until ready to use.
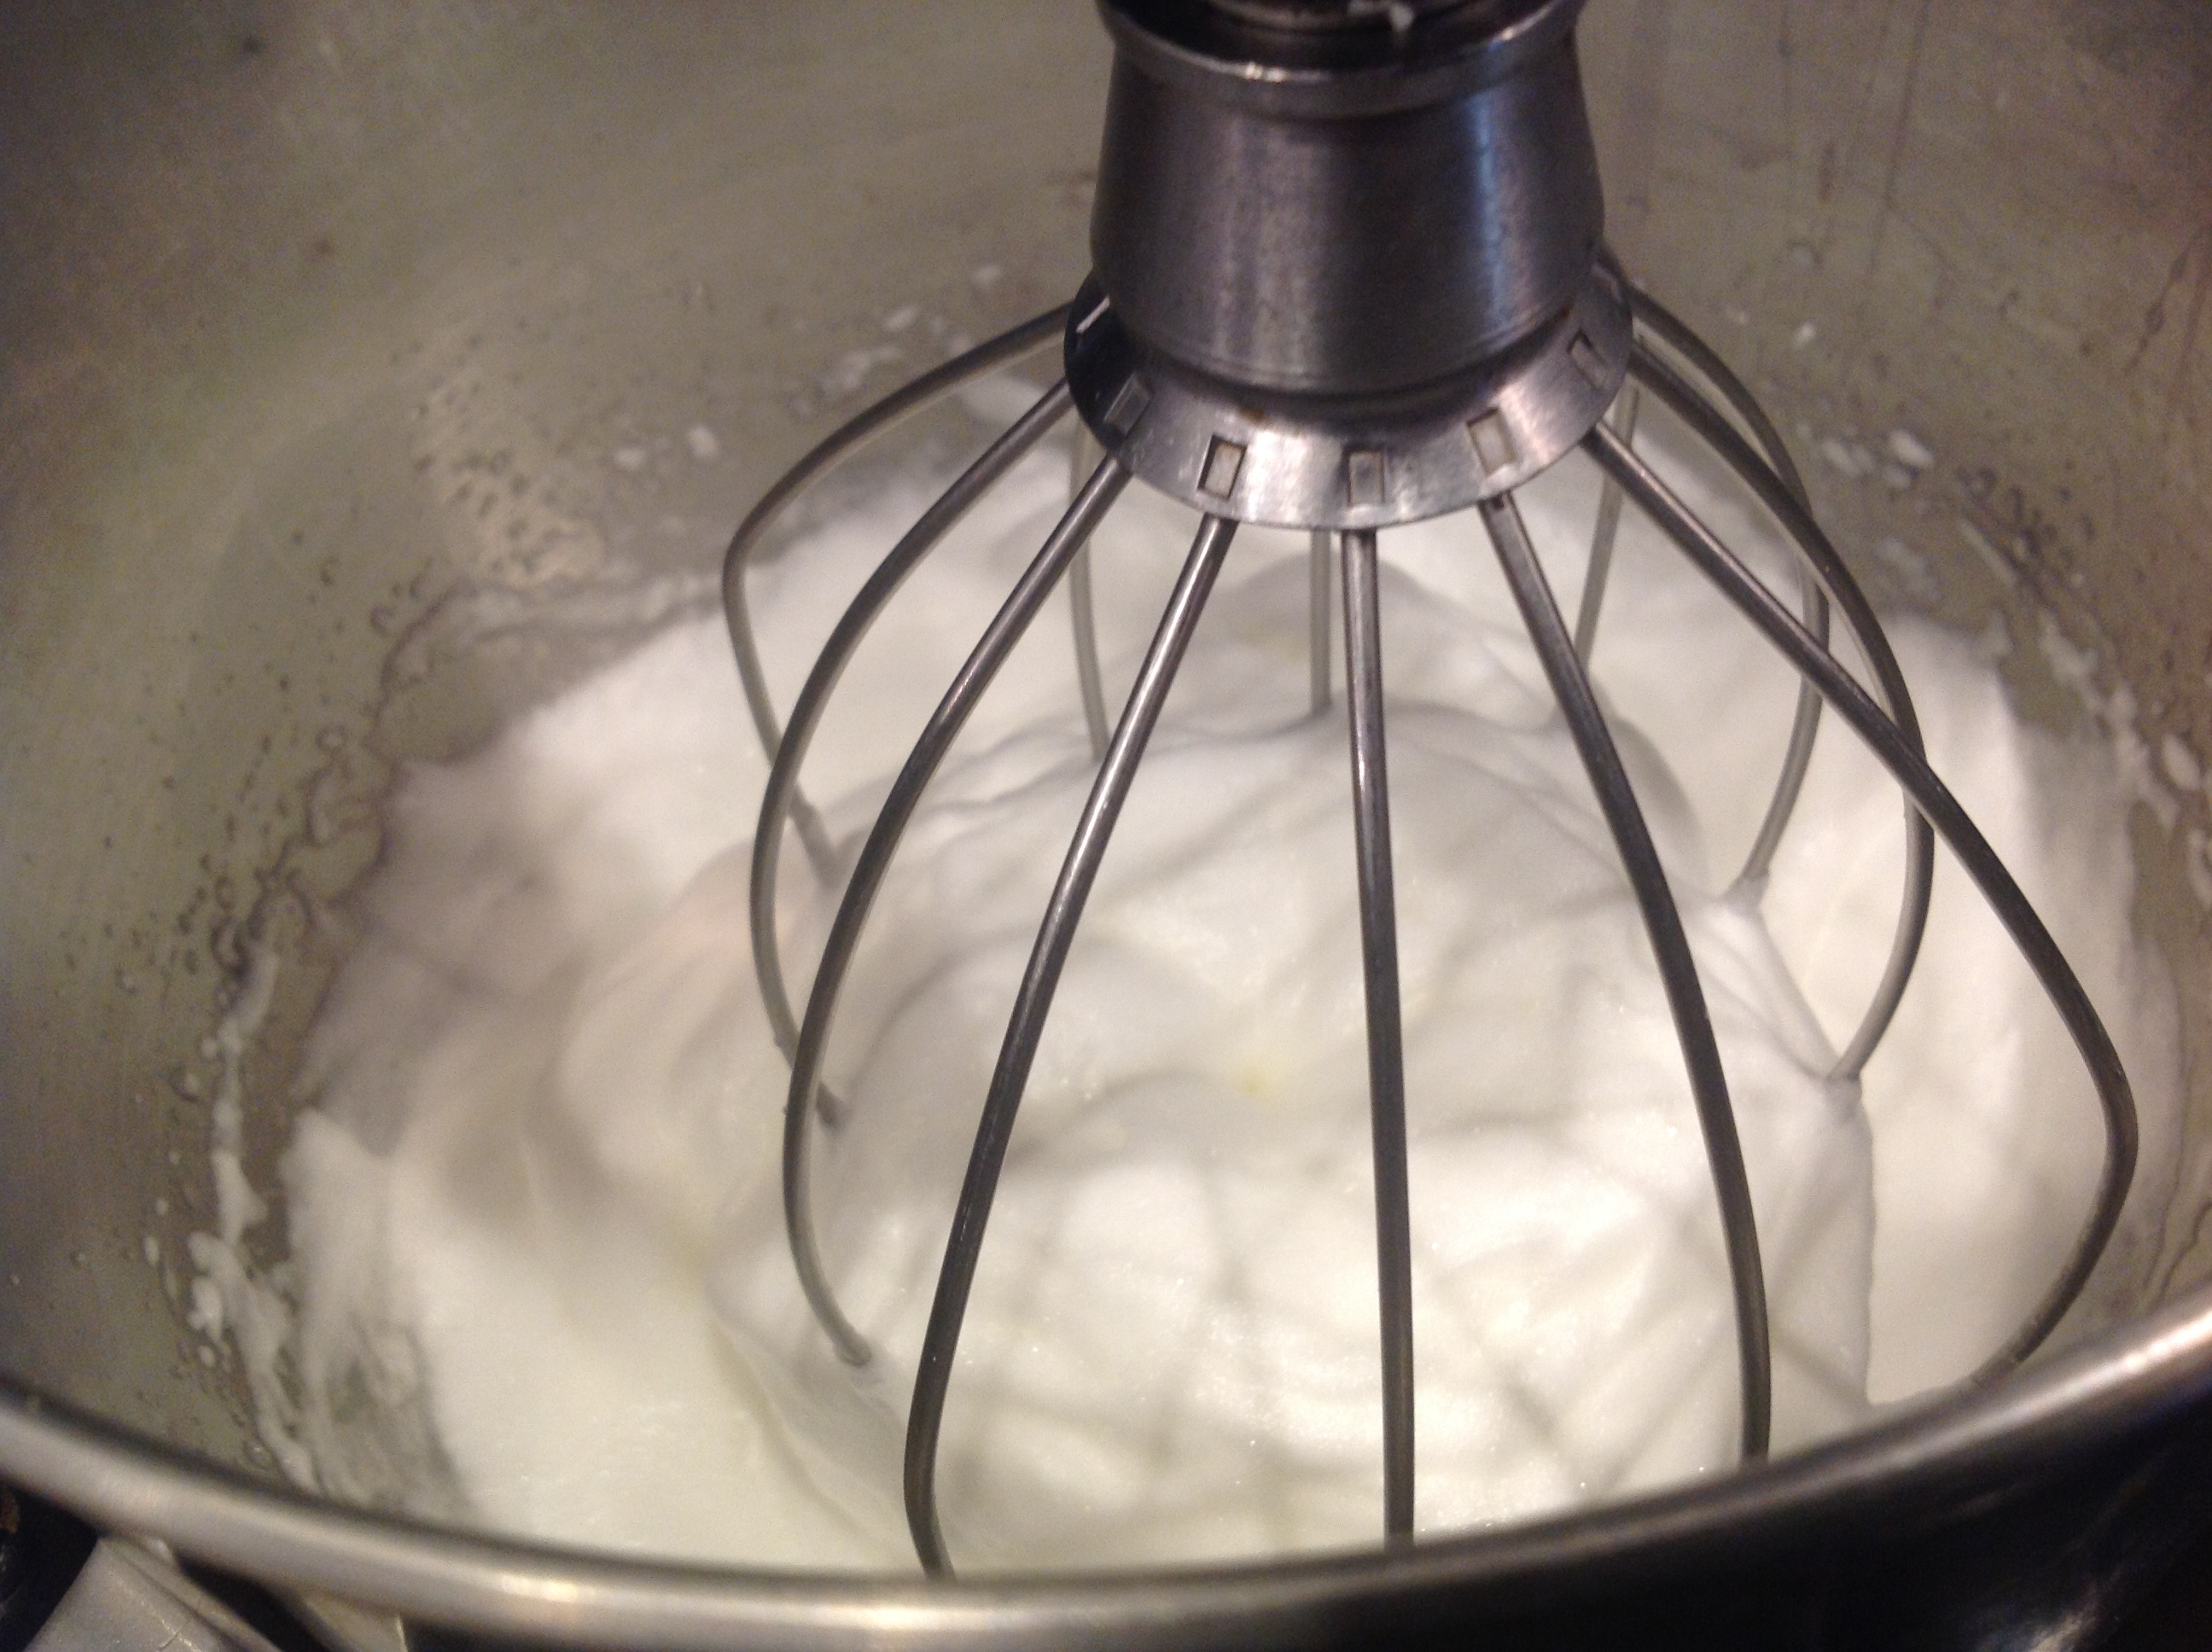
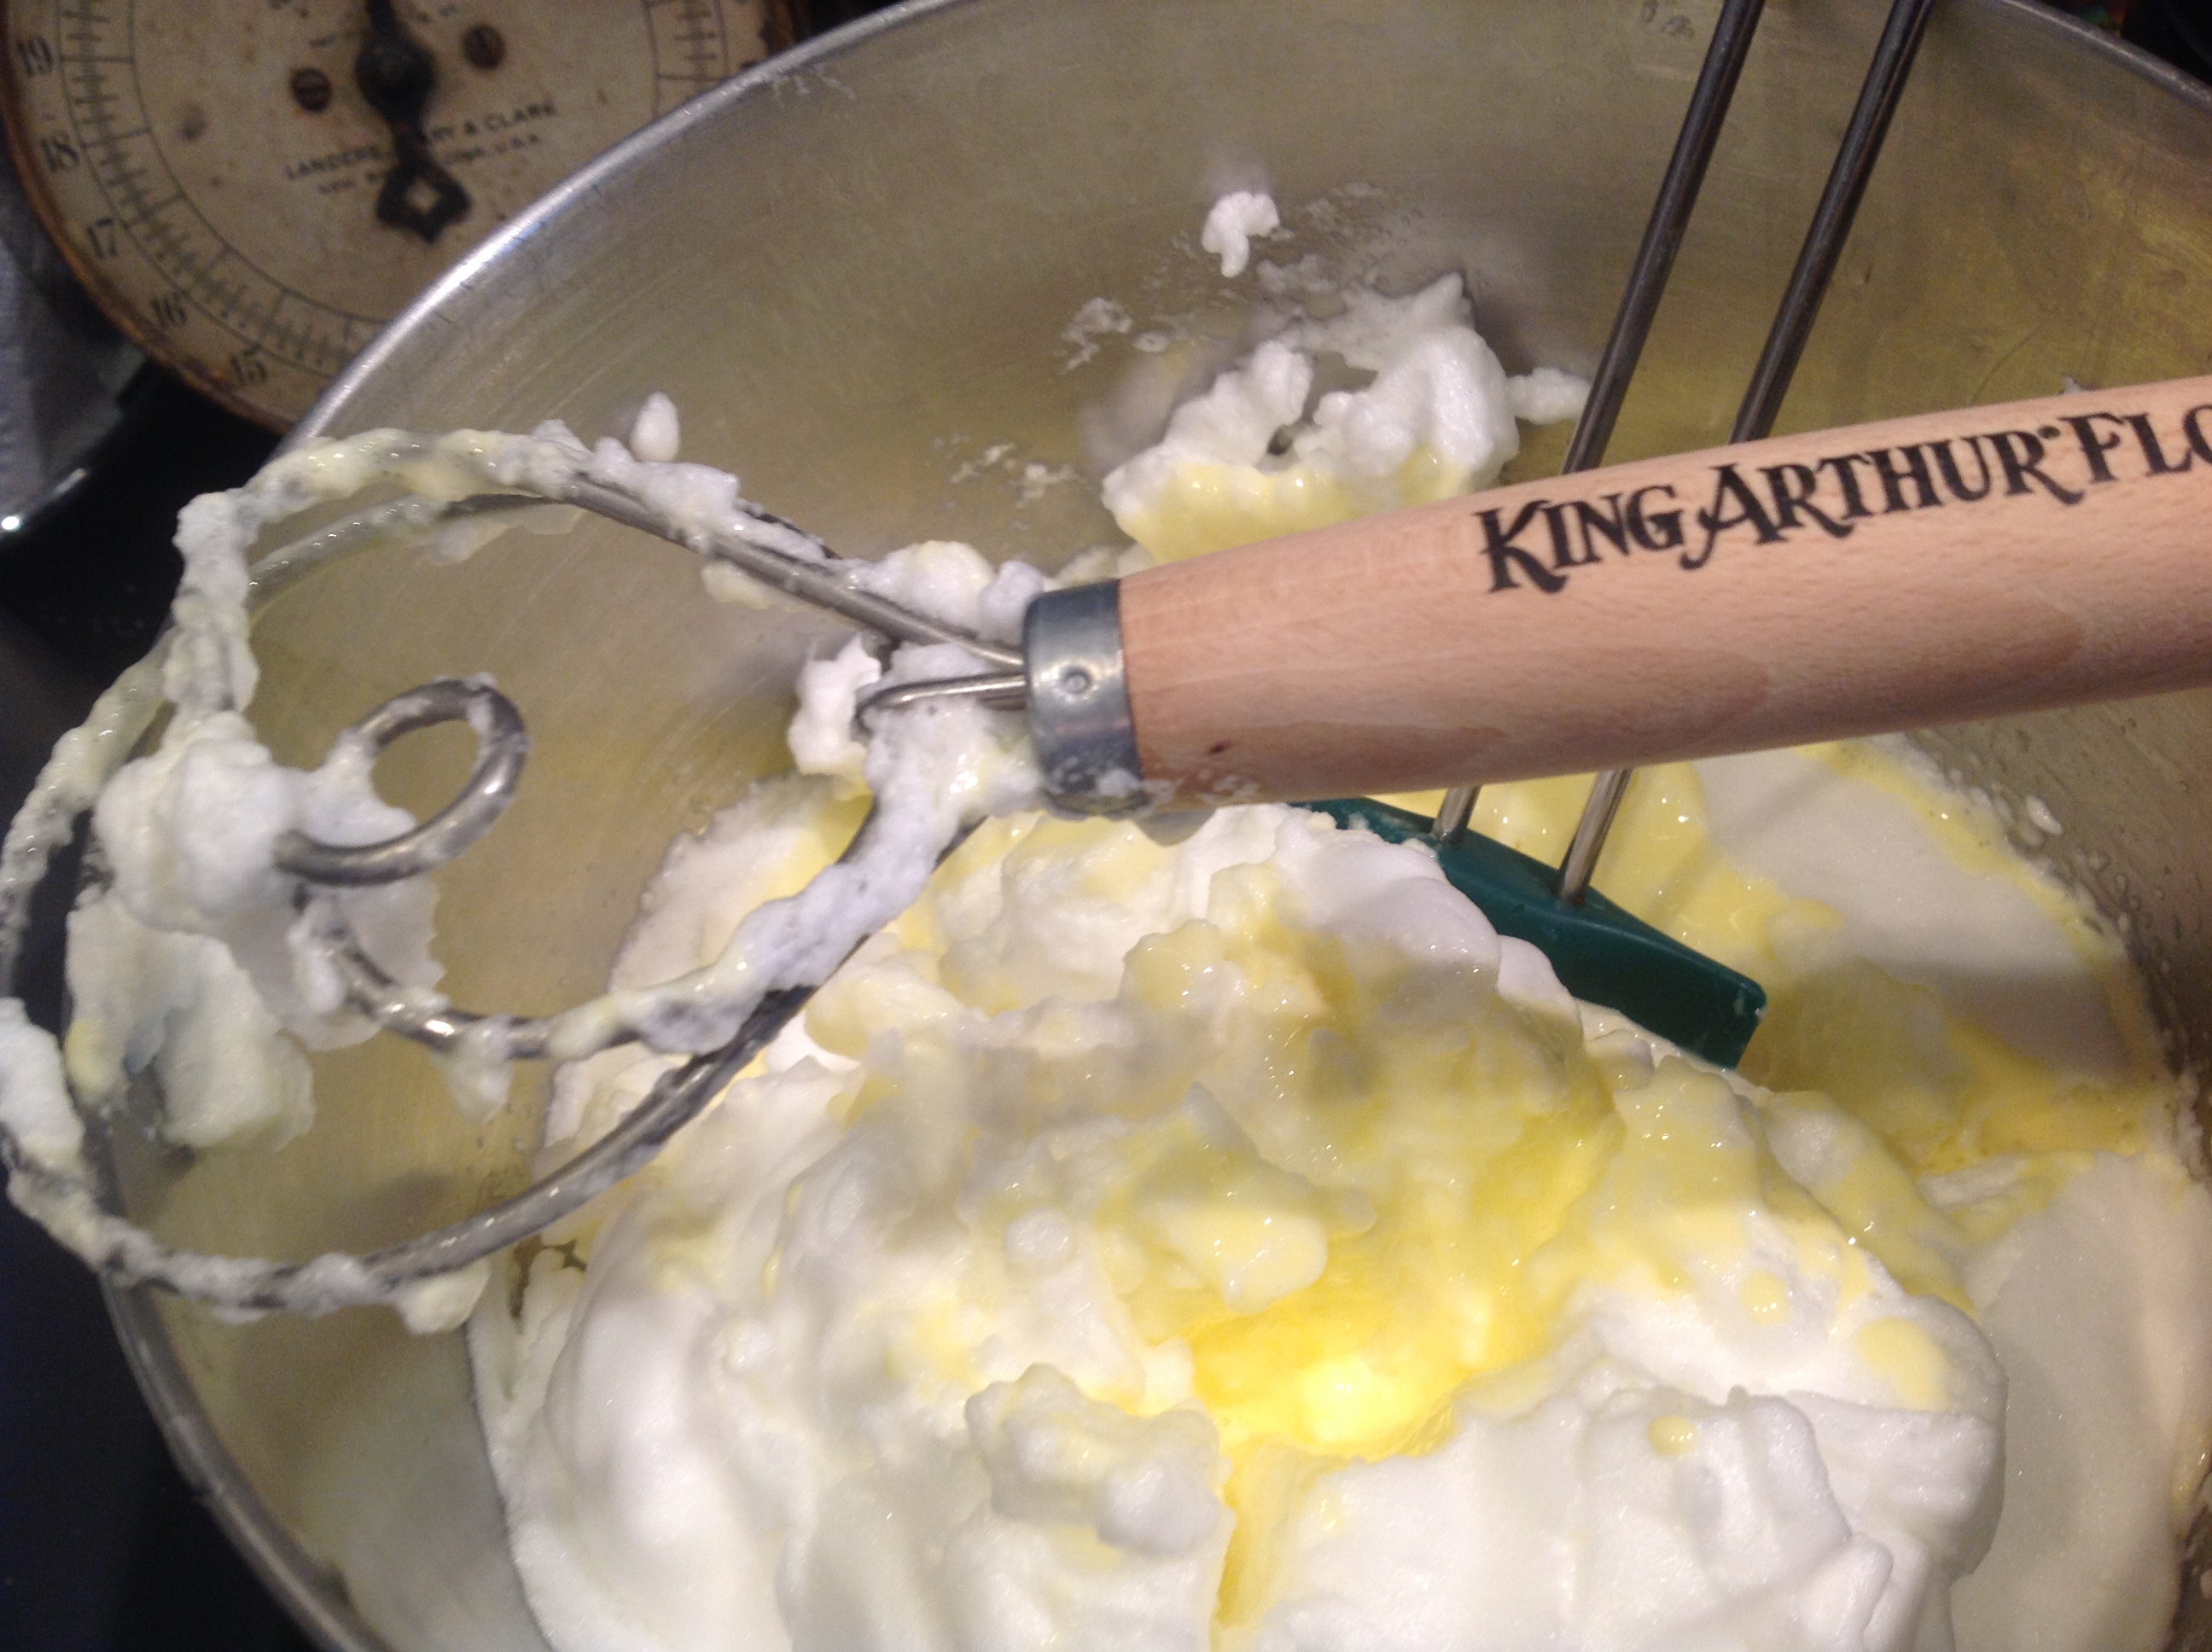
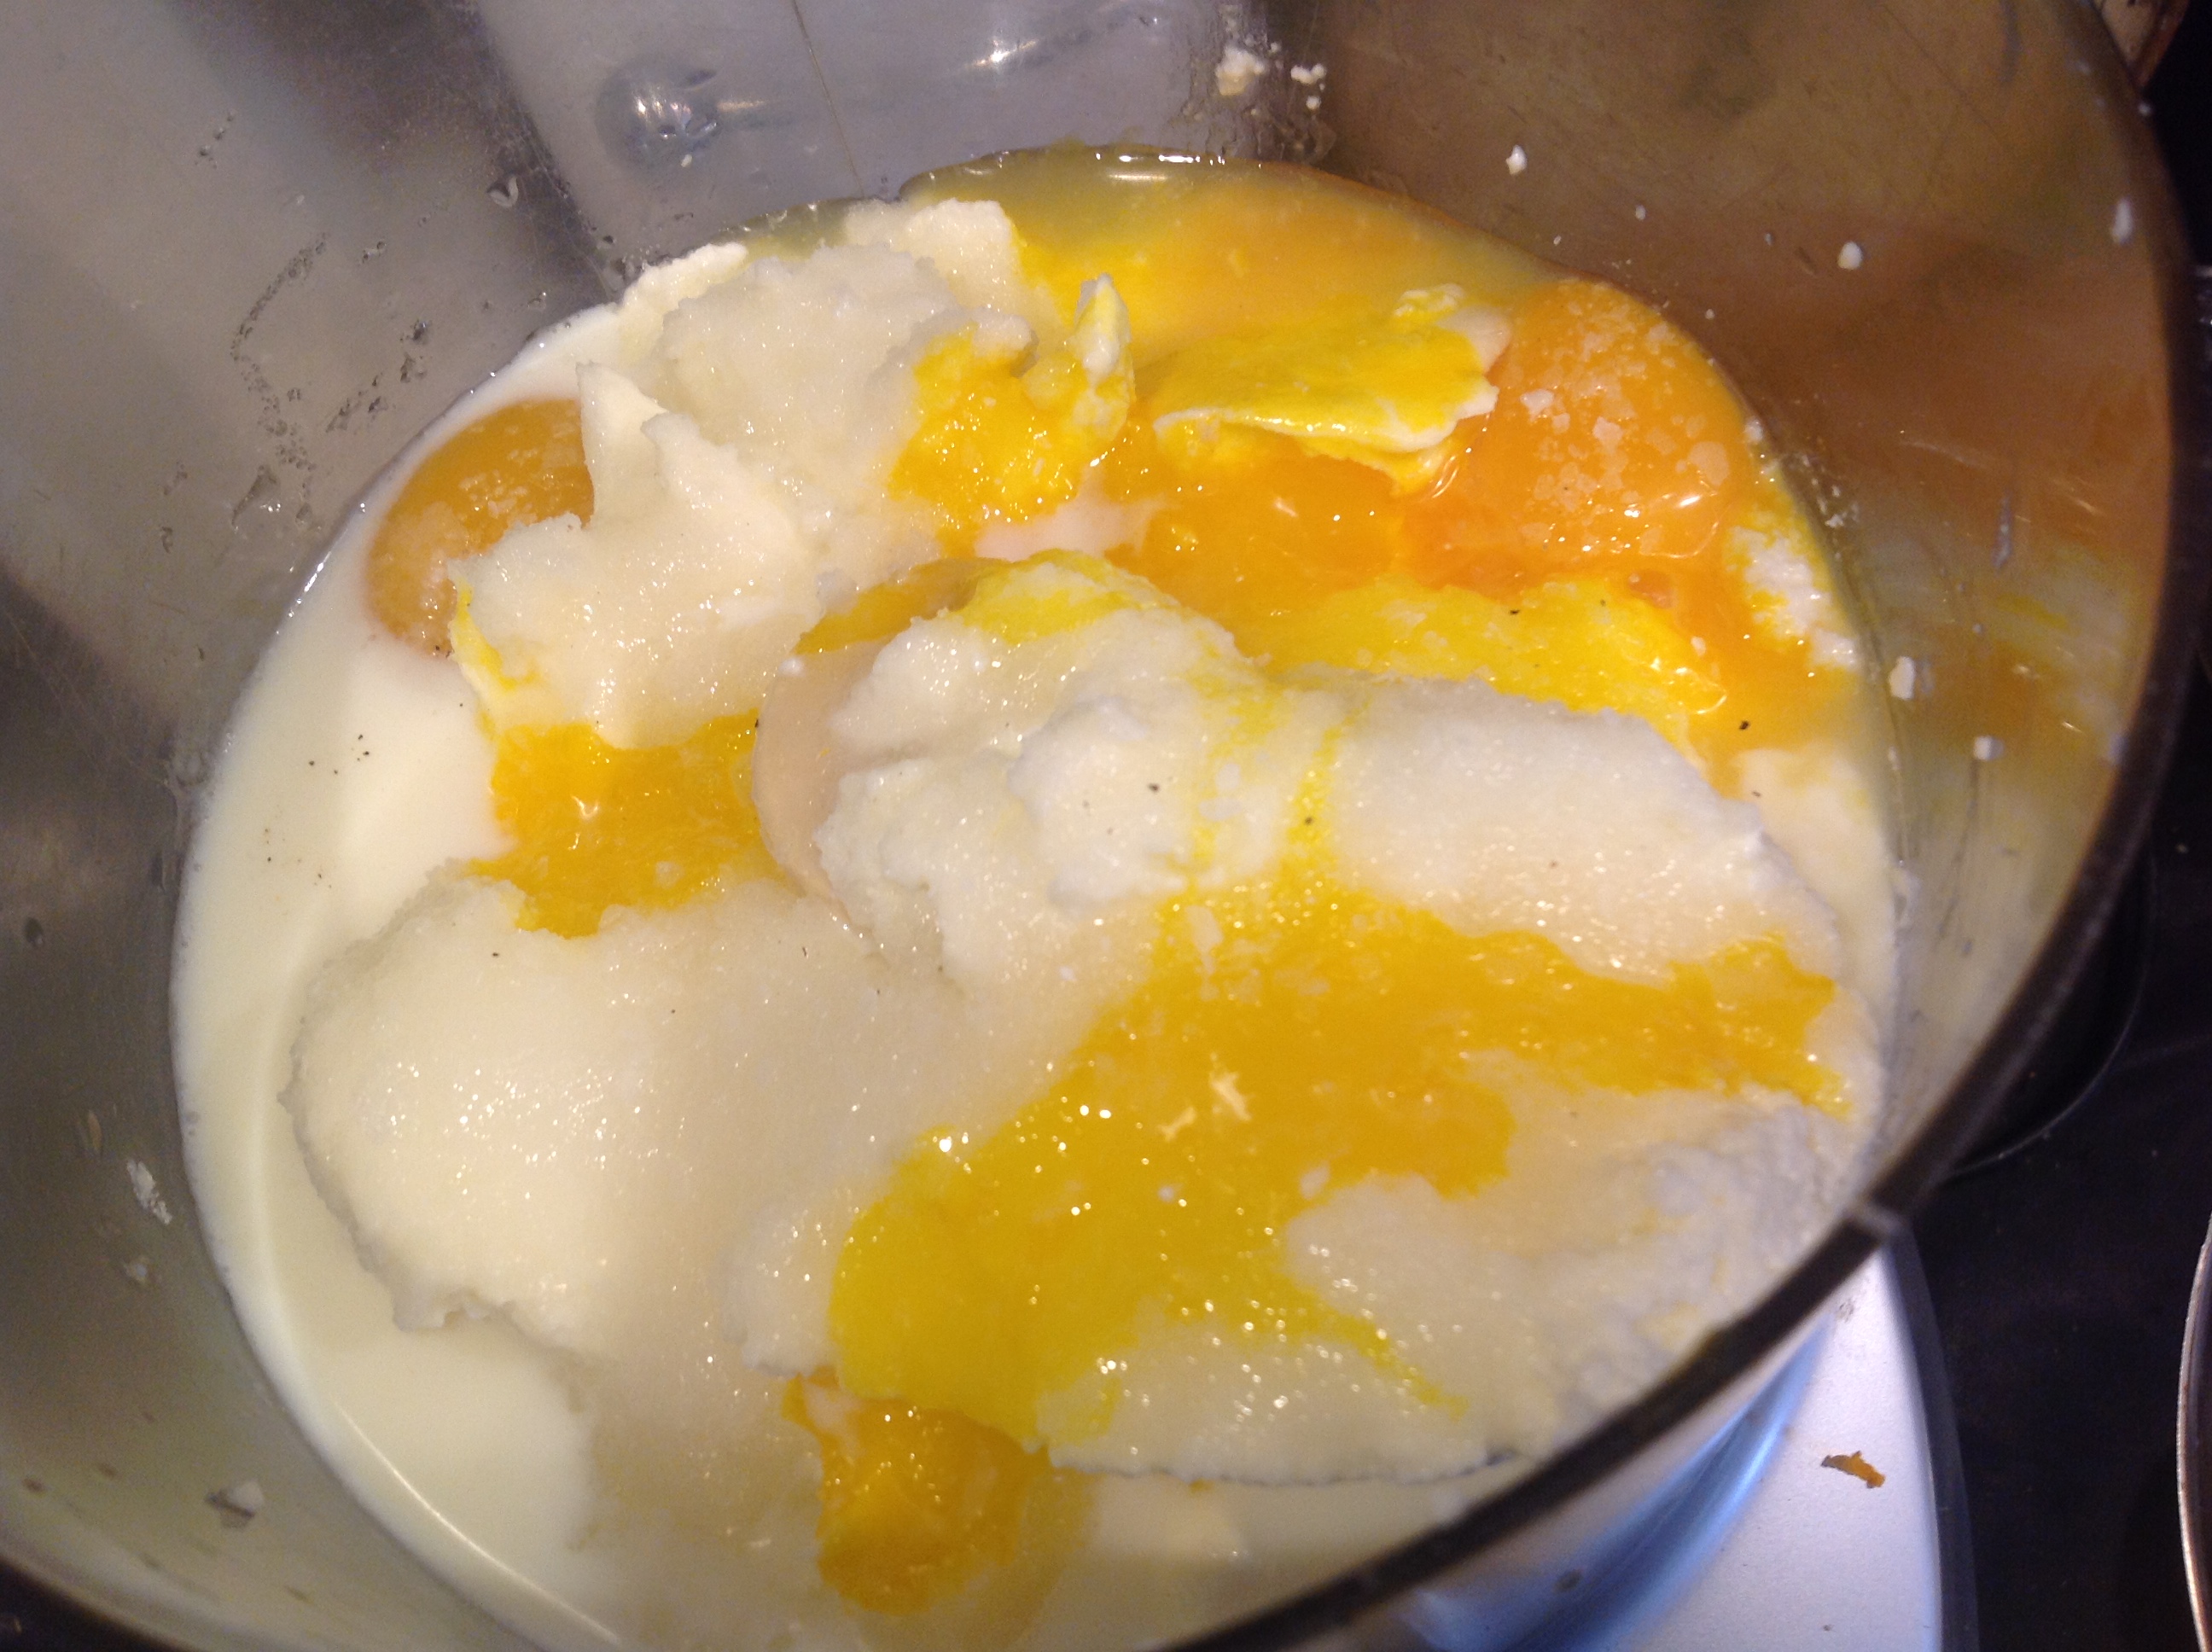
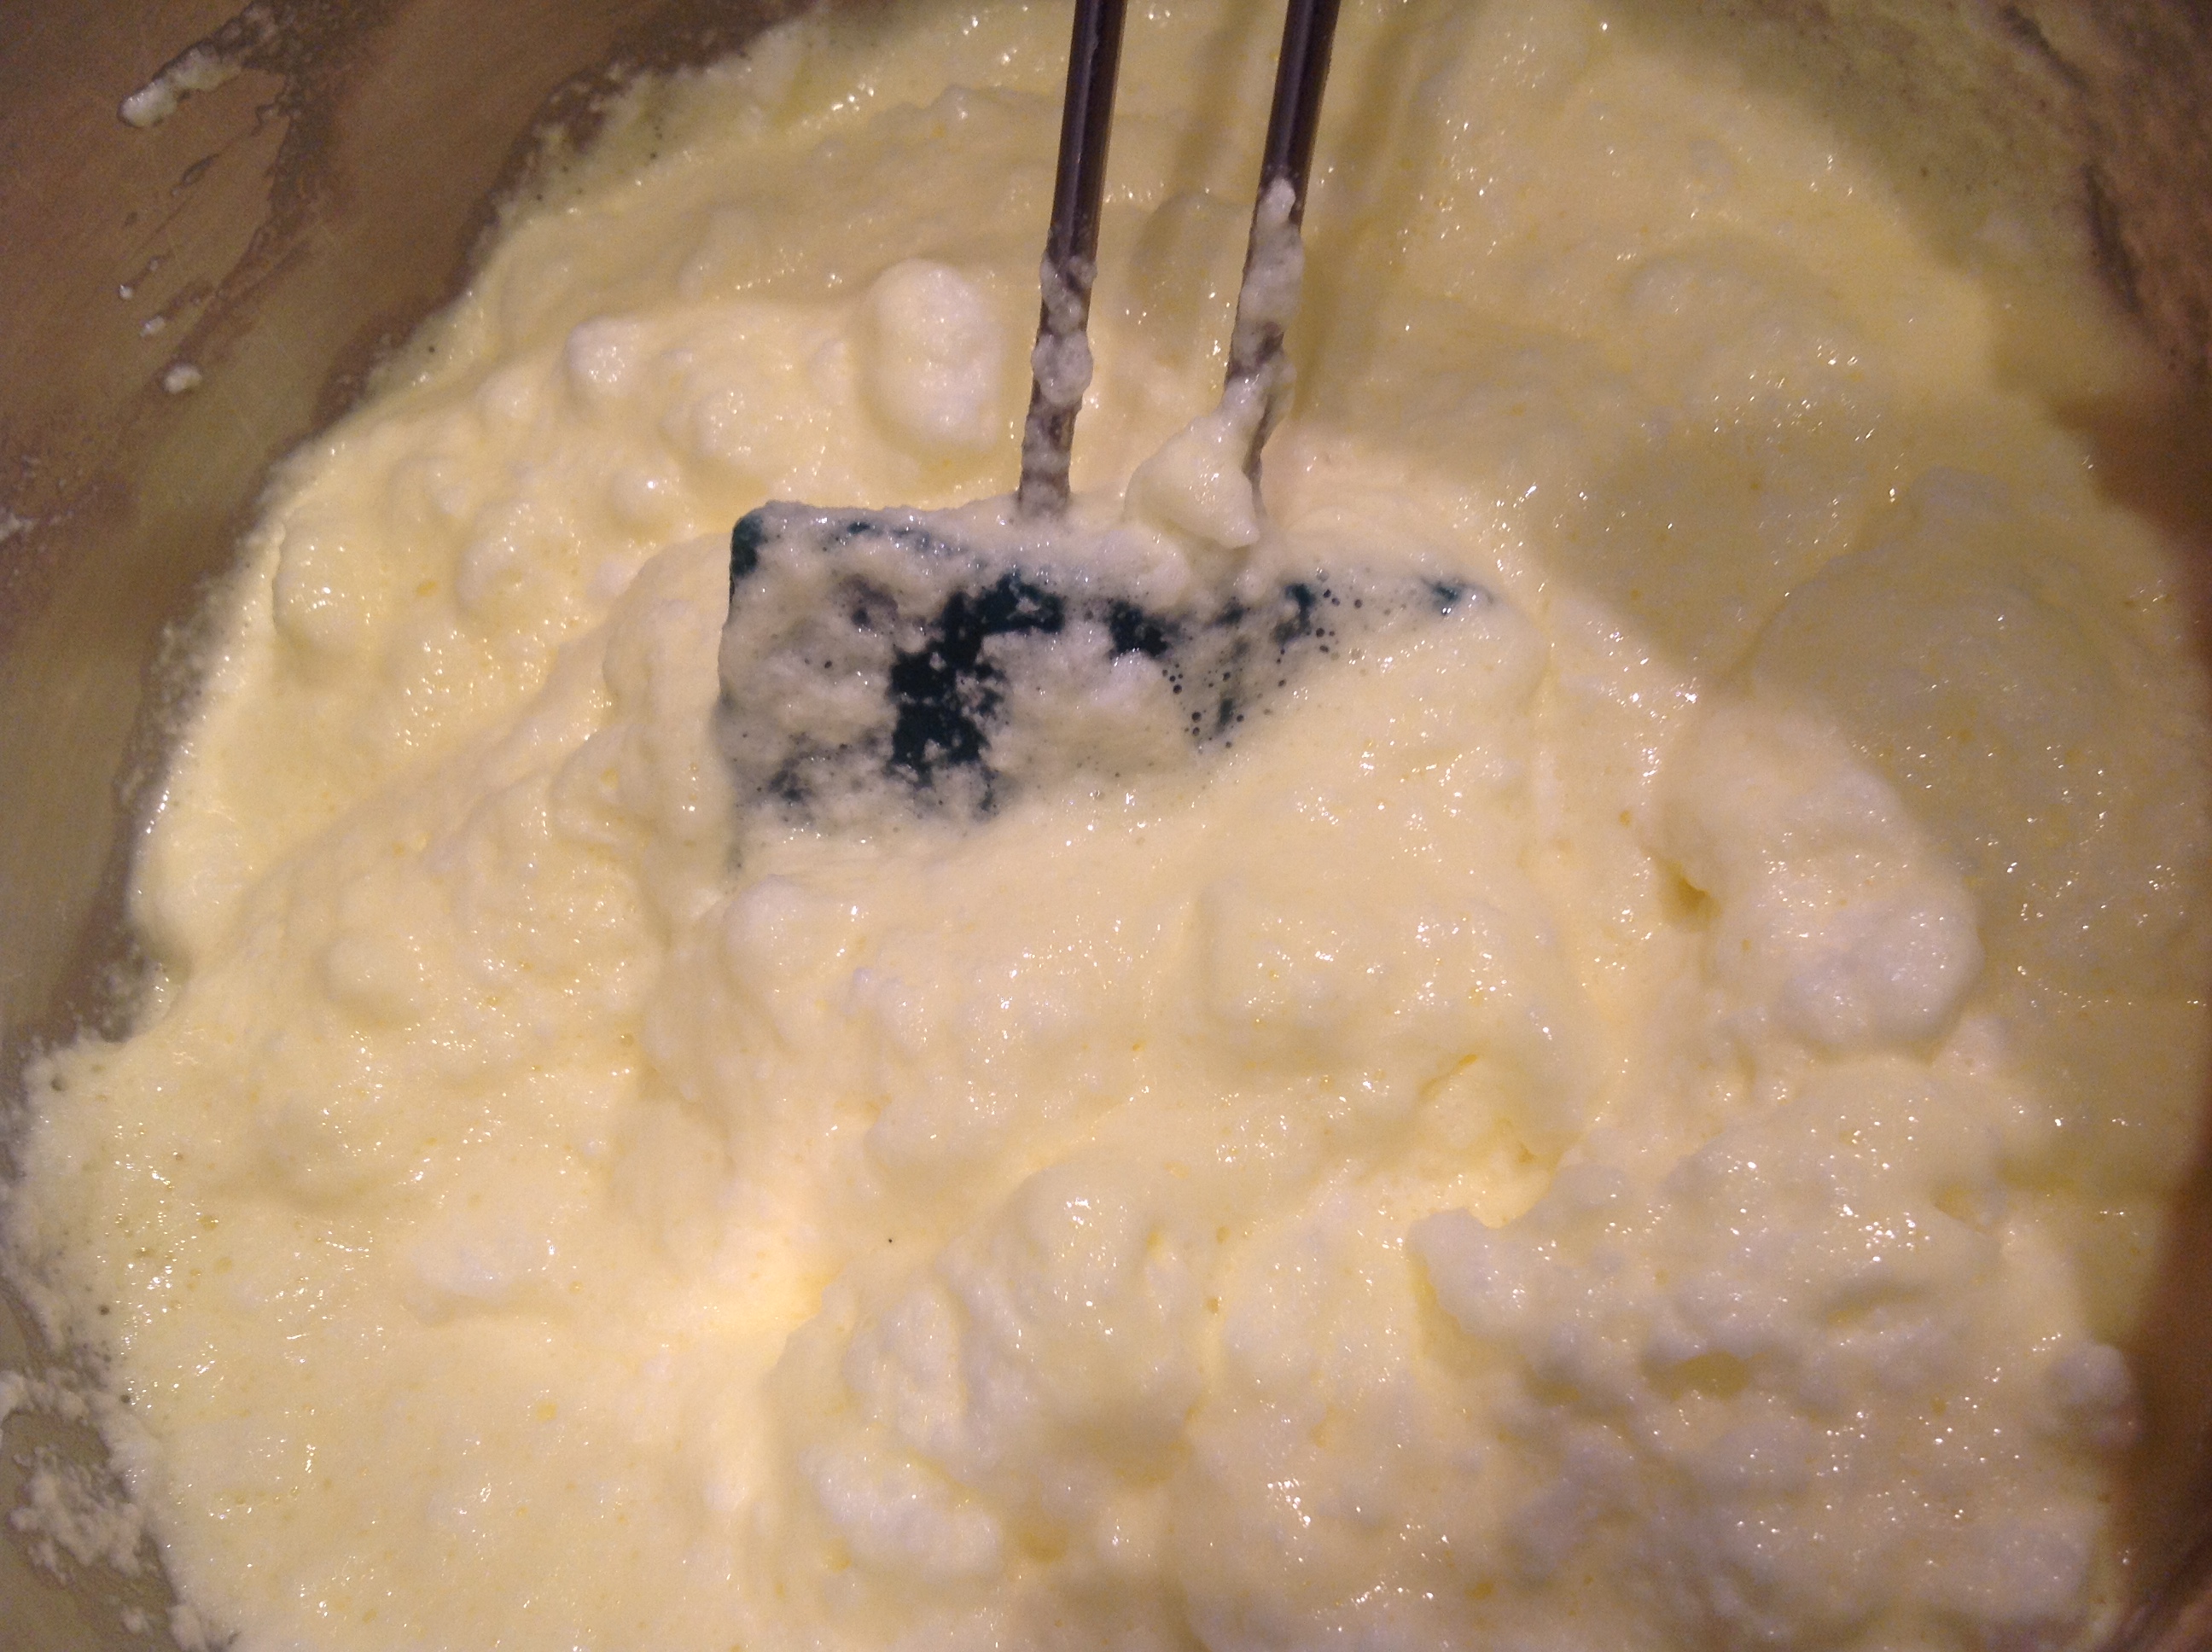
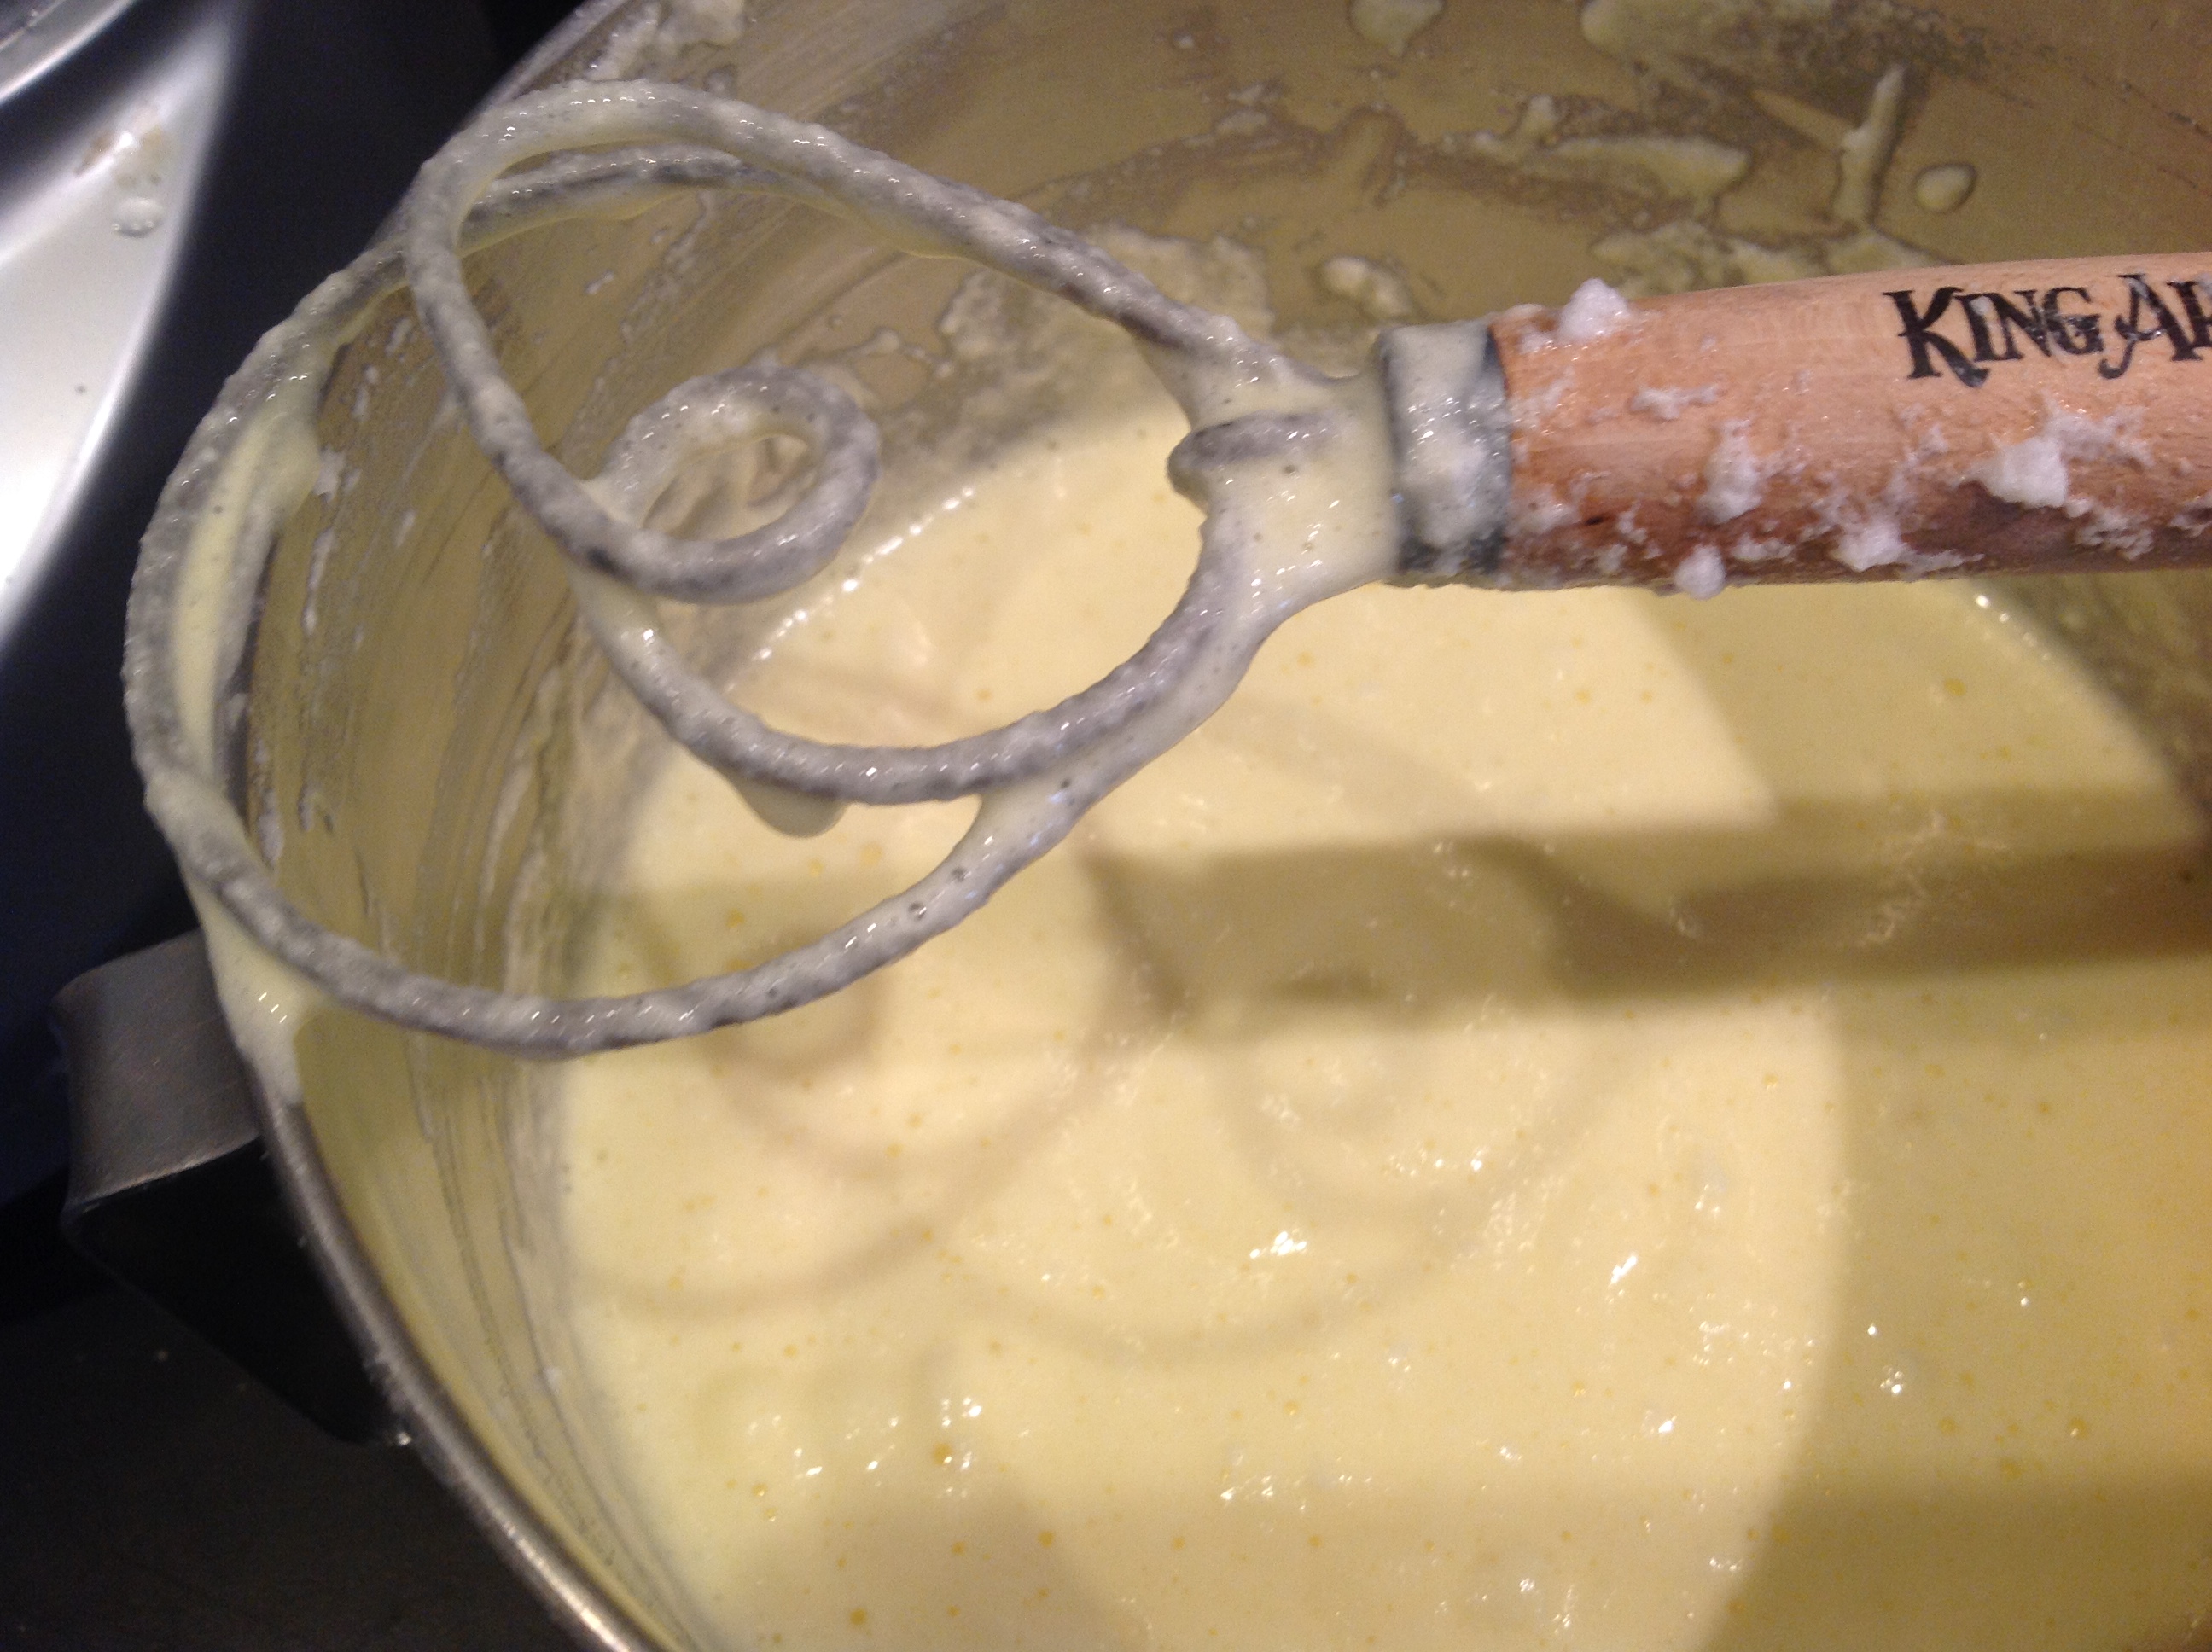
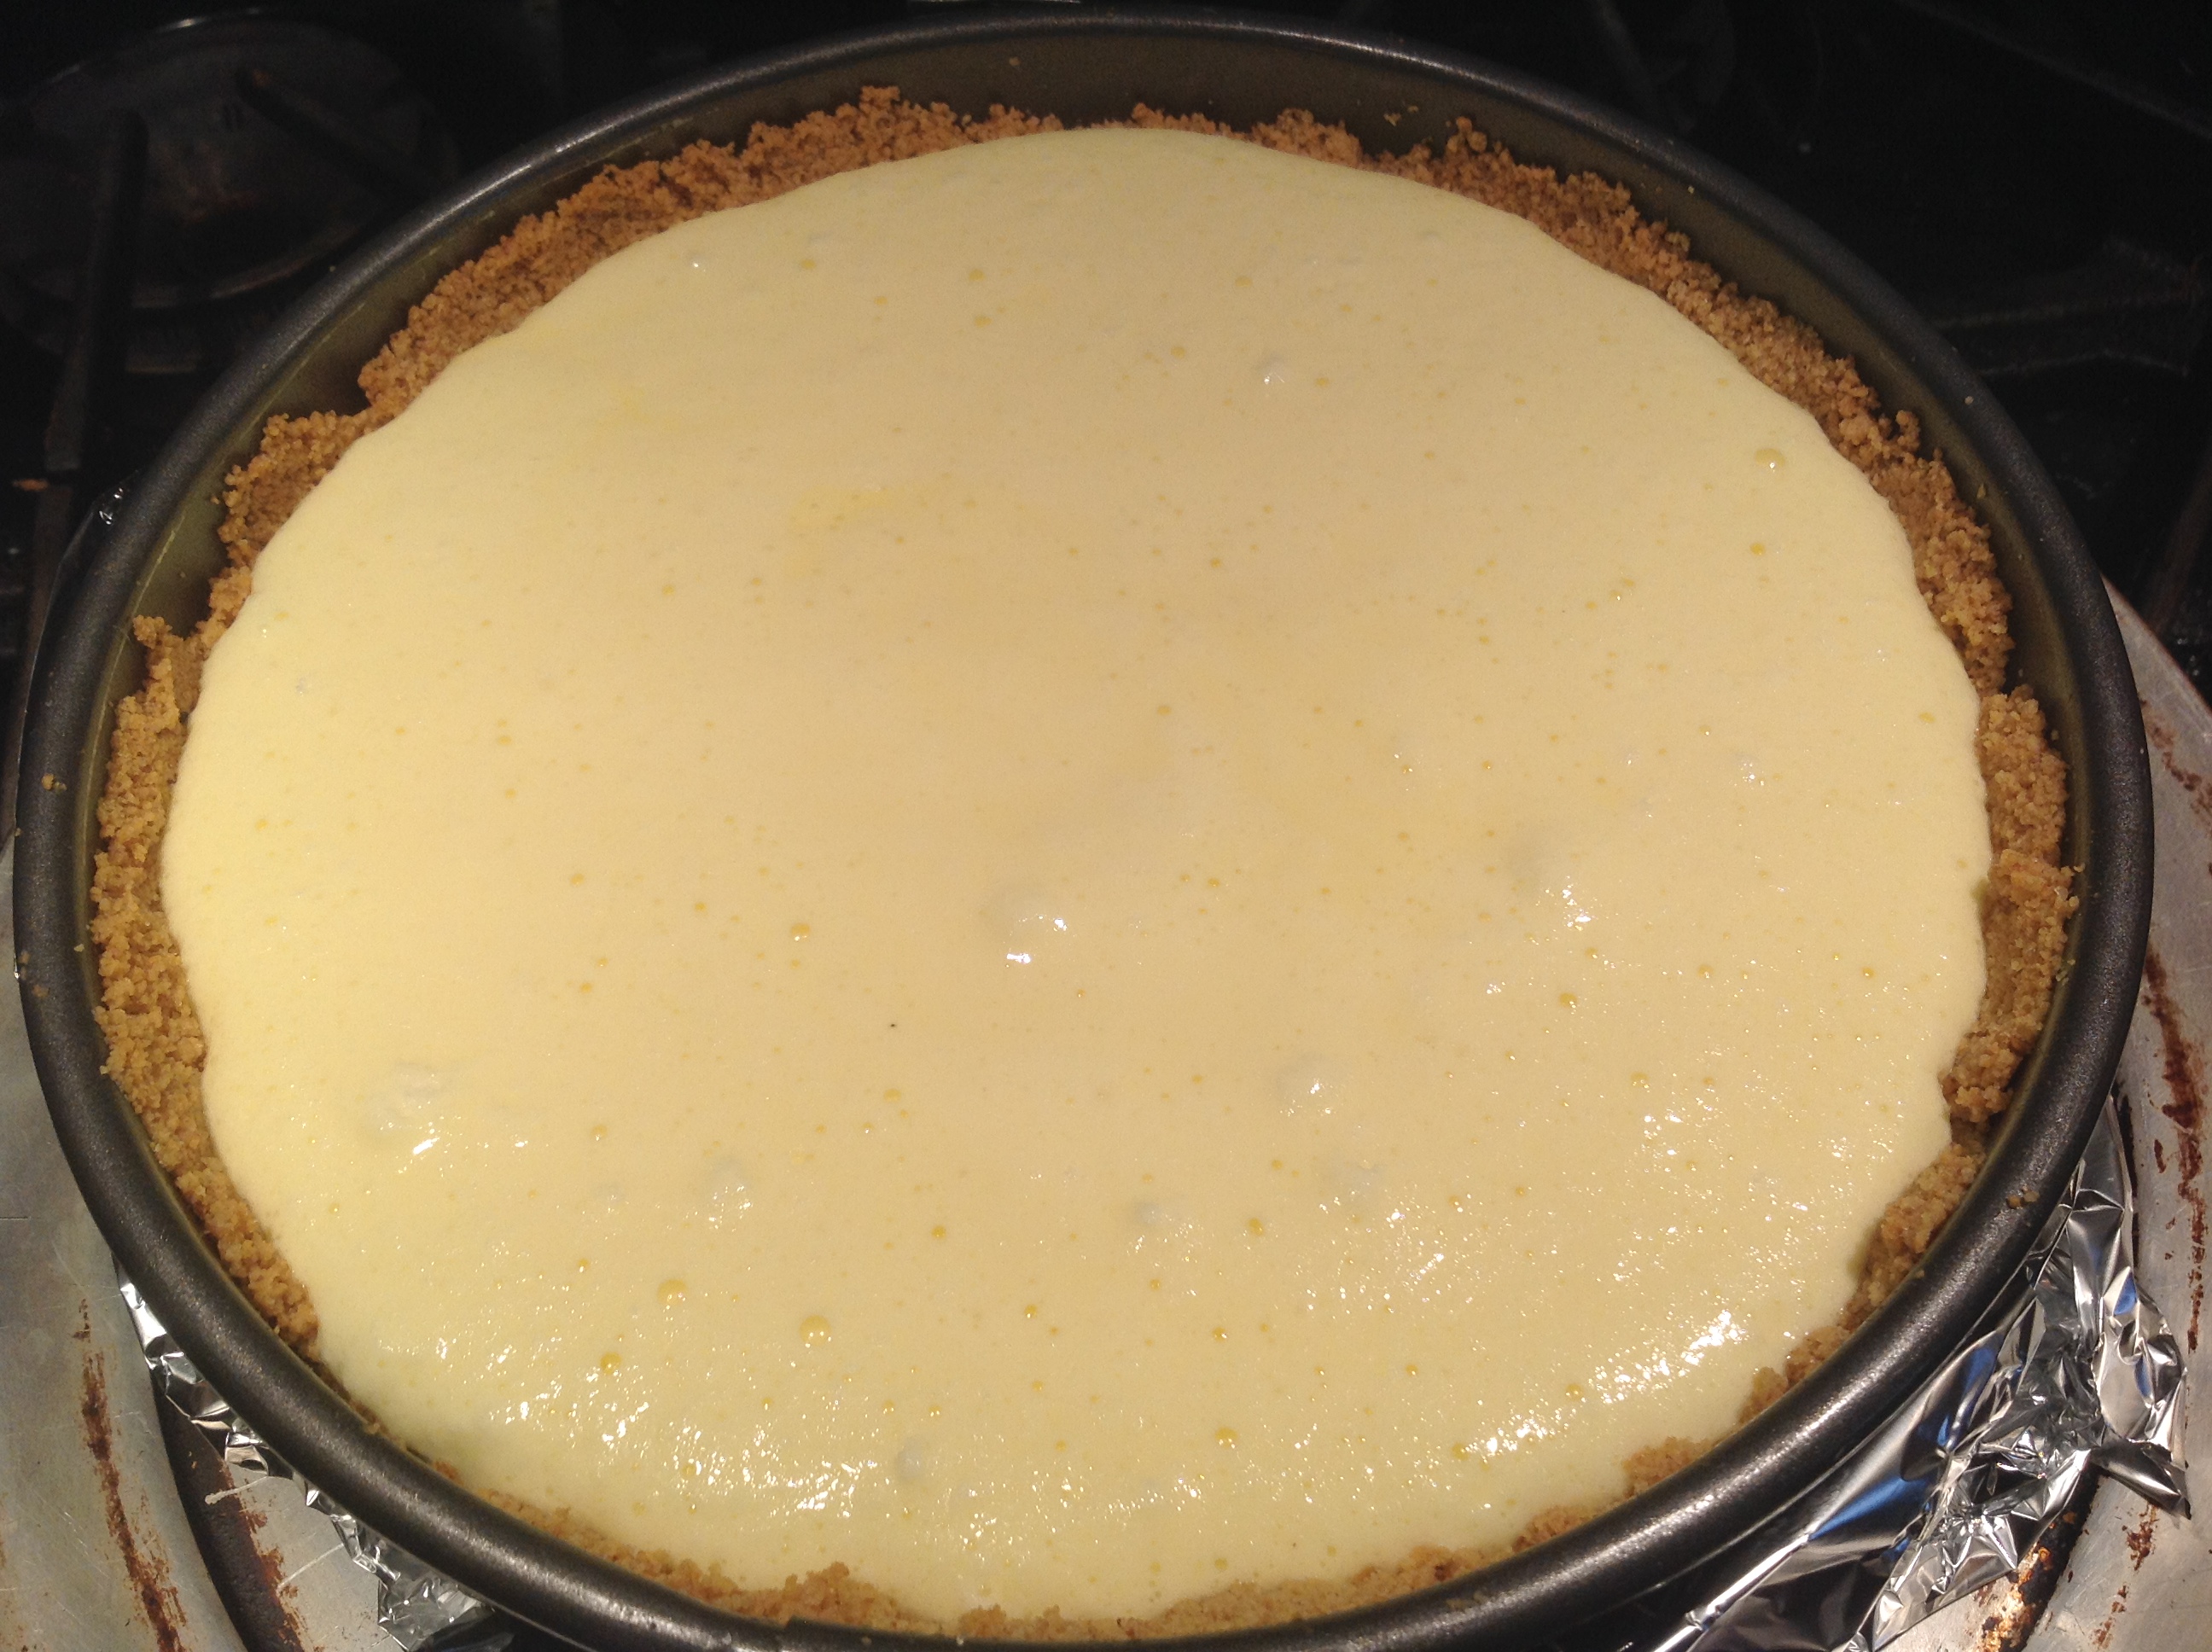
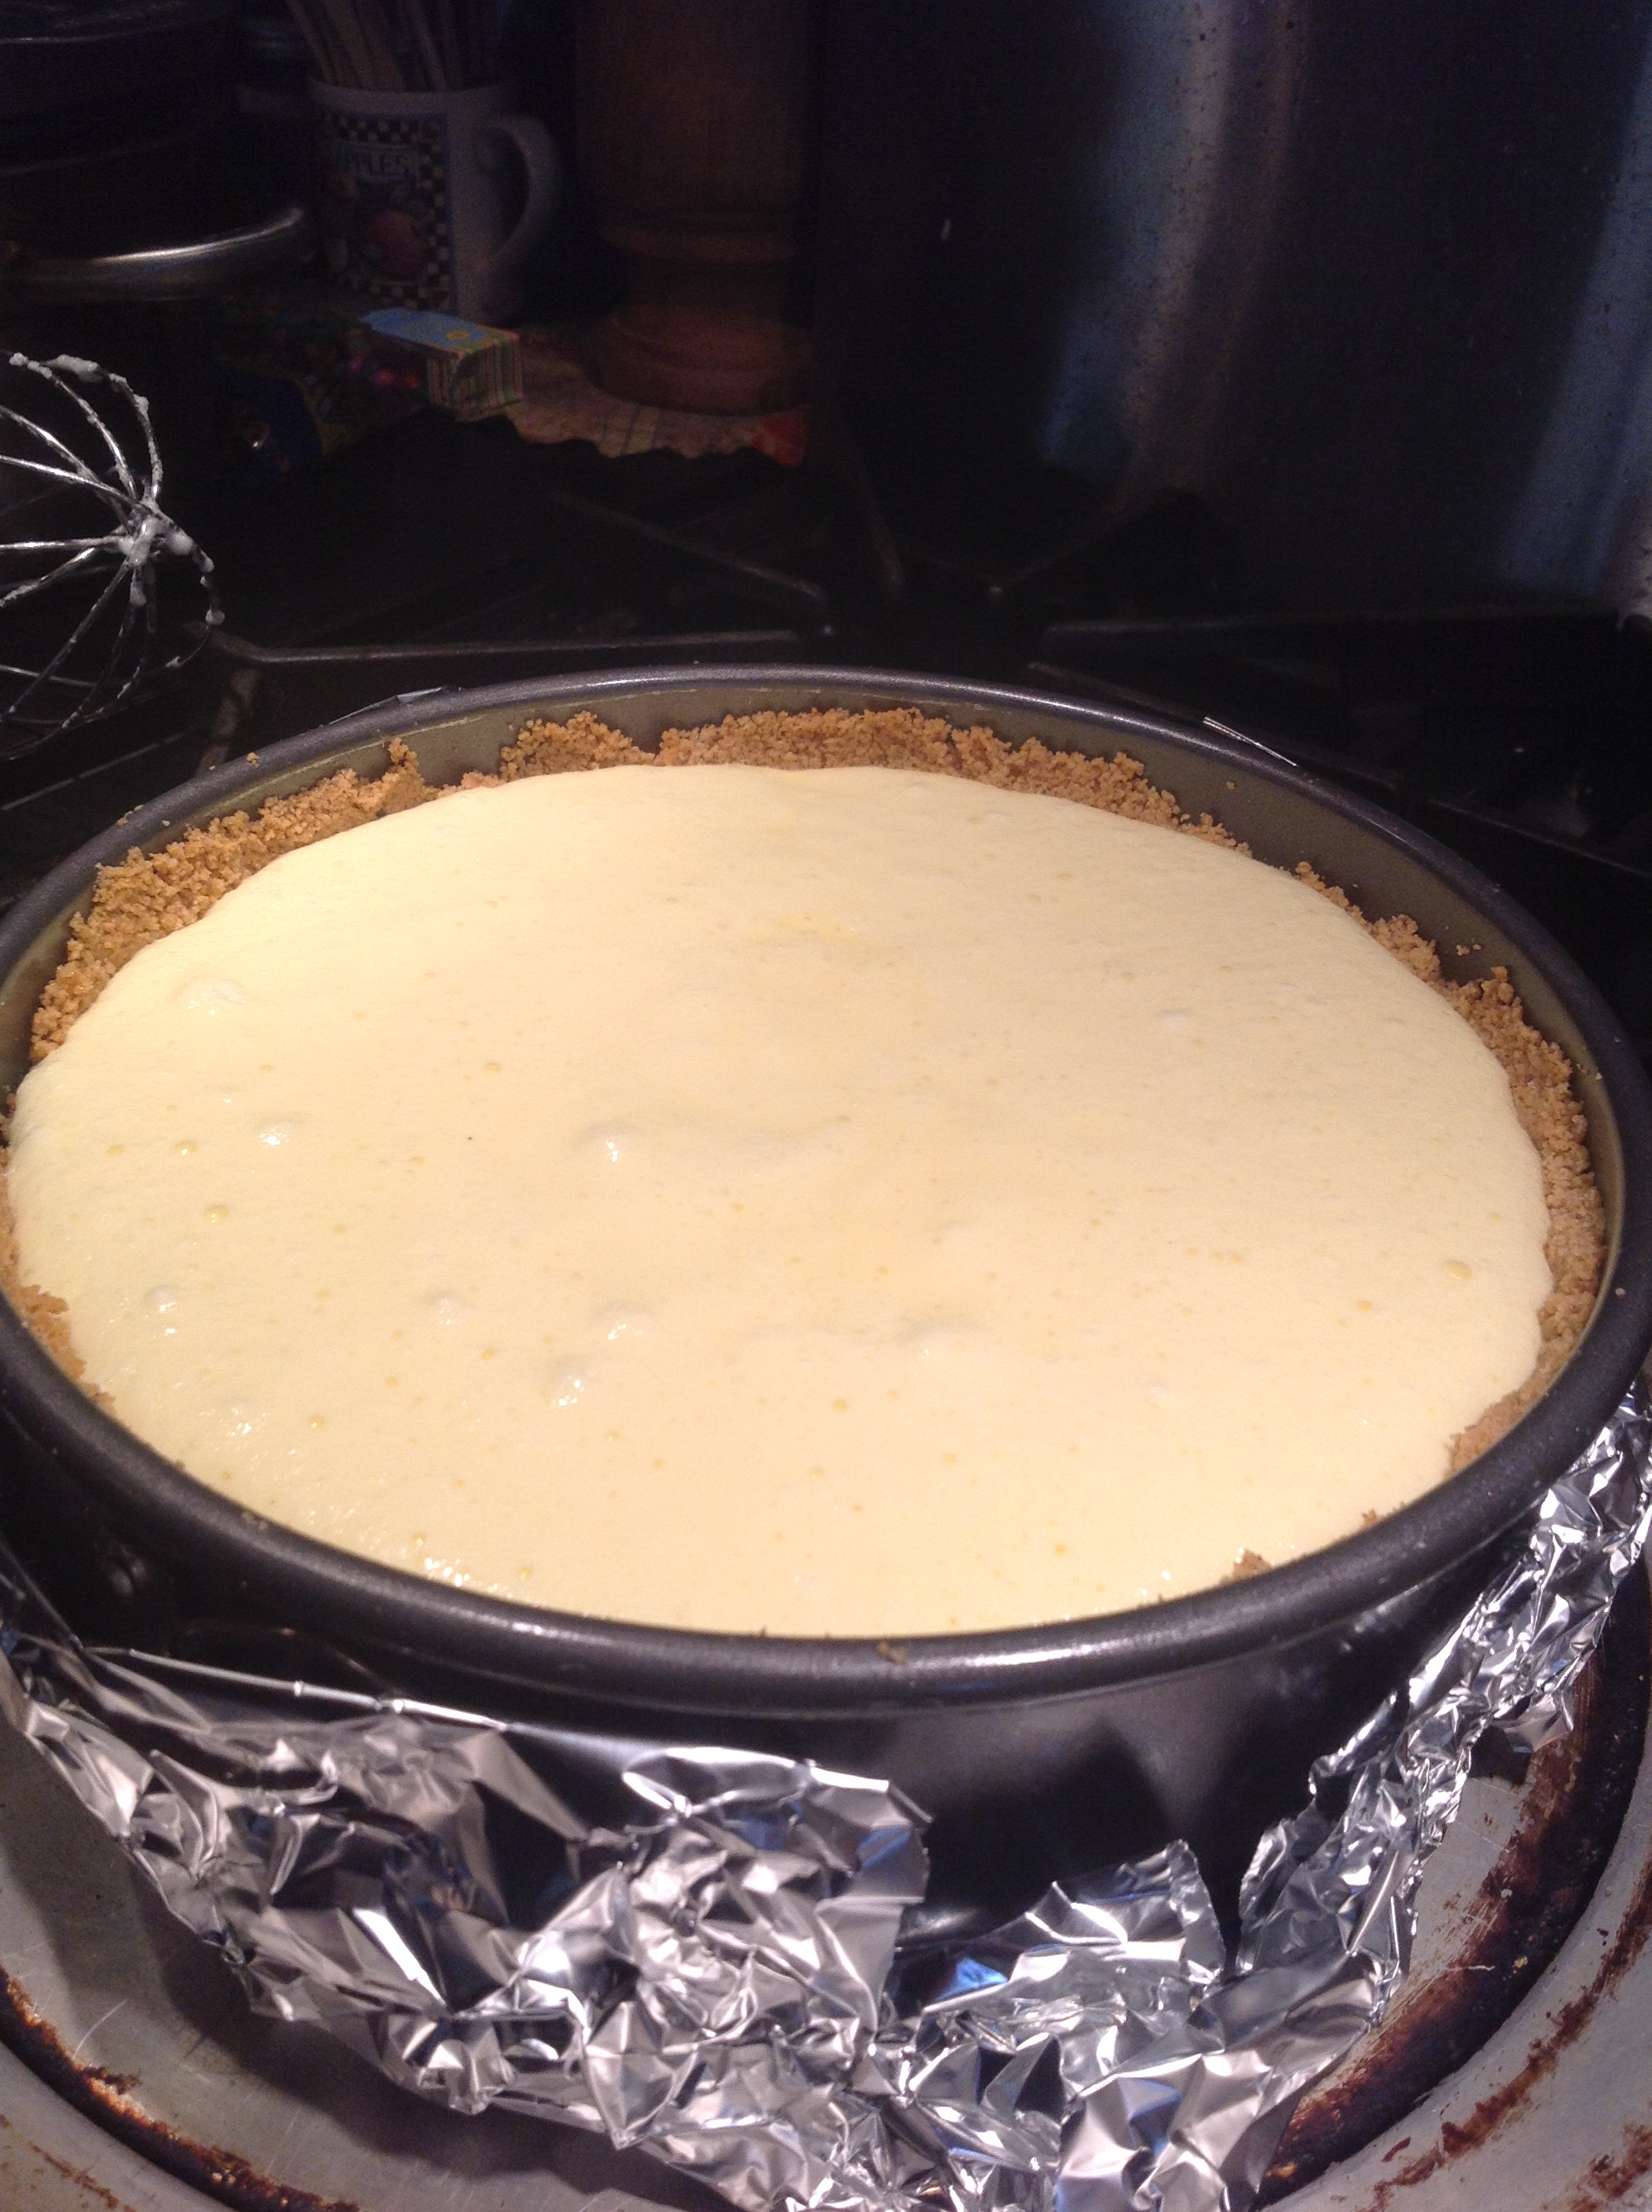
Reduce oven temp to 300. Whip egg whites until stiff peaks form, transfer to a clean mixing bowl and set aside for a minute while you combine the rest of the ingredients (cream cheese, ricotta, sugar, yolks, cream, limoncello, zest and juice, Fiori and salt). Beat on medium until creamy, scraping down bowl… or use the food processor. Using a rubber spatula (or open whisk type gadget of choice), very gently fold in whites until incorporated. Pour into the chilled crust, smoothing top if necessary.
Wrap the springform pan with foil and set on a baking sheet. Bake at 300 for 30 minutes, then raise temp to 325 and bake until golden brown on top, edges are firm, but center still jiggles (35-45 minutes). Turn oven off, but open the door and leave the cake in the oven for about 3 hours. It’s okay if the center cracks and falls a bit. Remove from now cooled oven and cover tightly with plastic wrap, but avoiding contact with surface of cake. Refrigerate overnight (4 hours minimum).
To unmold, gently run a thin knife or offset spatula around the sides to loosen from the pan, then carefully “unbuckle” it, pull the side piece out wide enough to lift it off without damaging the crust.
The Noise…
Mise en place
I was short on the light cream (because I use it for my coffee and I drink lots of coffee), so I topped it off with some raw organic milk. There’s simply nothing quite like it. Best “legal” local source for us (now that our friends formerly residing in Pennsylvania’s Lehigh Valley relocated to Delaware) is the Reading Terminal, and Lancaster County Dairy is the best choice there. The price is right ($4), the Amish guy is sweet, the milk is raw AND organic AND perfectly creamy, and they sell it in glass (for a deposit) – you just wash out the container and swap it back next time and your deposit carries over. Fair Food Farmstand at the terminal also sells raw milk, but it’s way overpriced ($8/gallon), not labeled organic, and only comes in plastic. Yes, my pic shows a plastic container, but that’s because we only have one returnable glass container right now, and we always get at least two gallons when there. And, yes, there’s lots of “noise” behind the benefits of real, raw milk; a discussion worthy of a full blog post on its own.
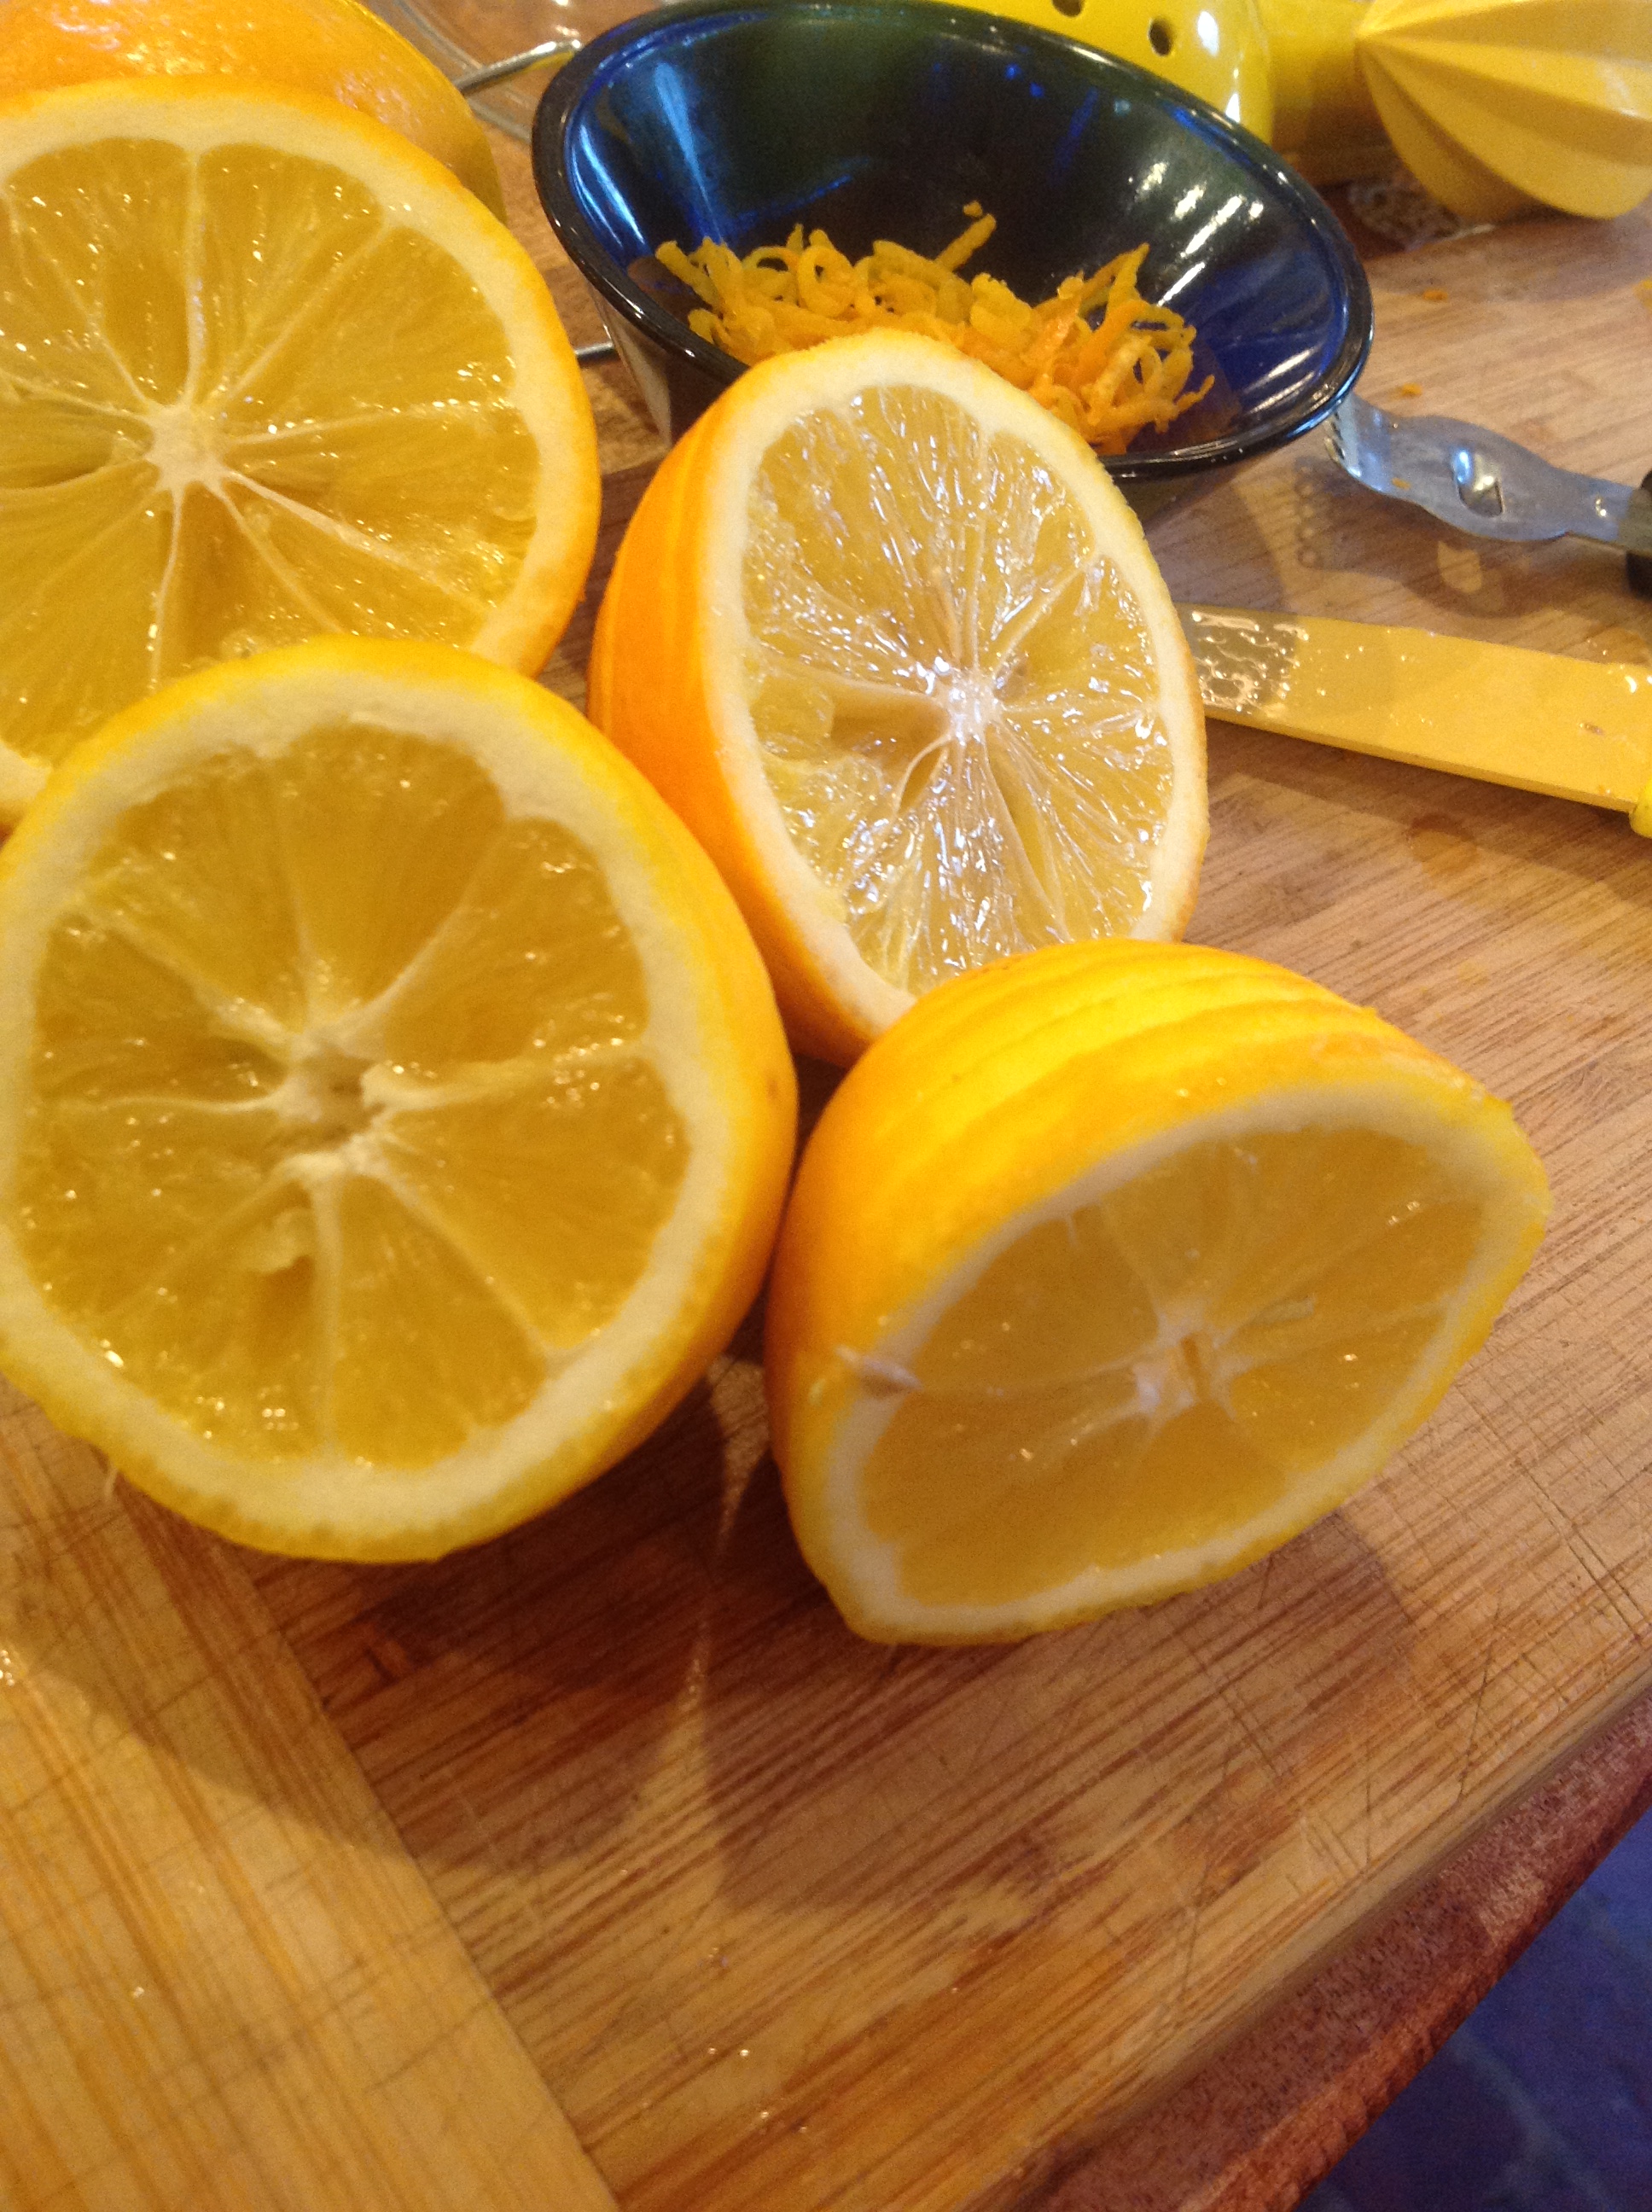
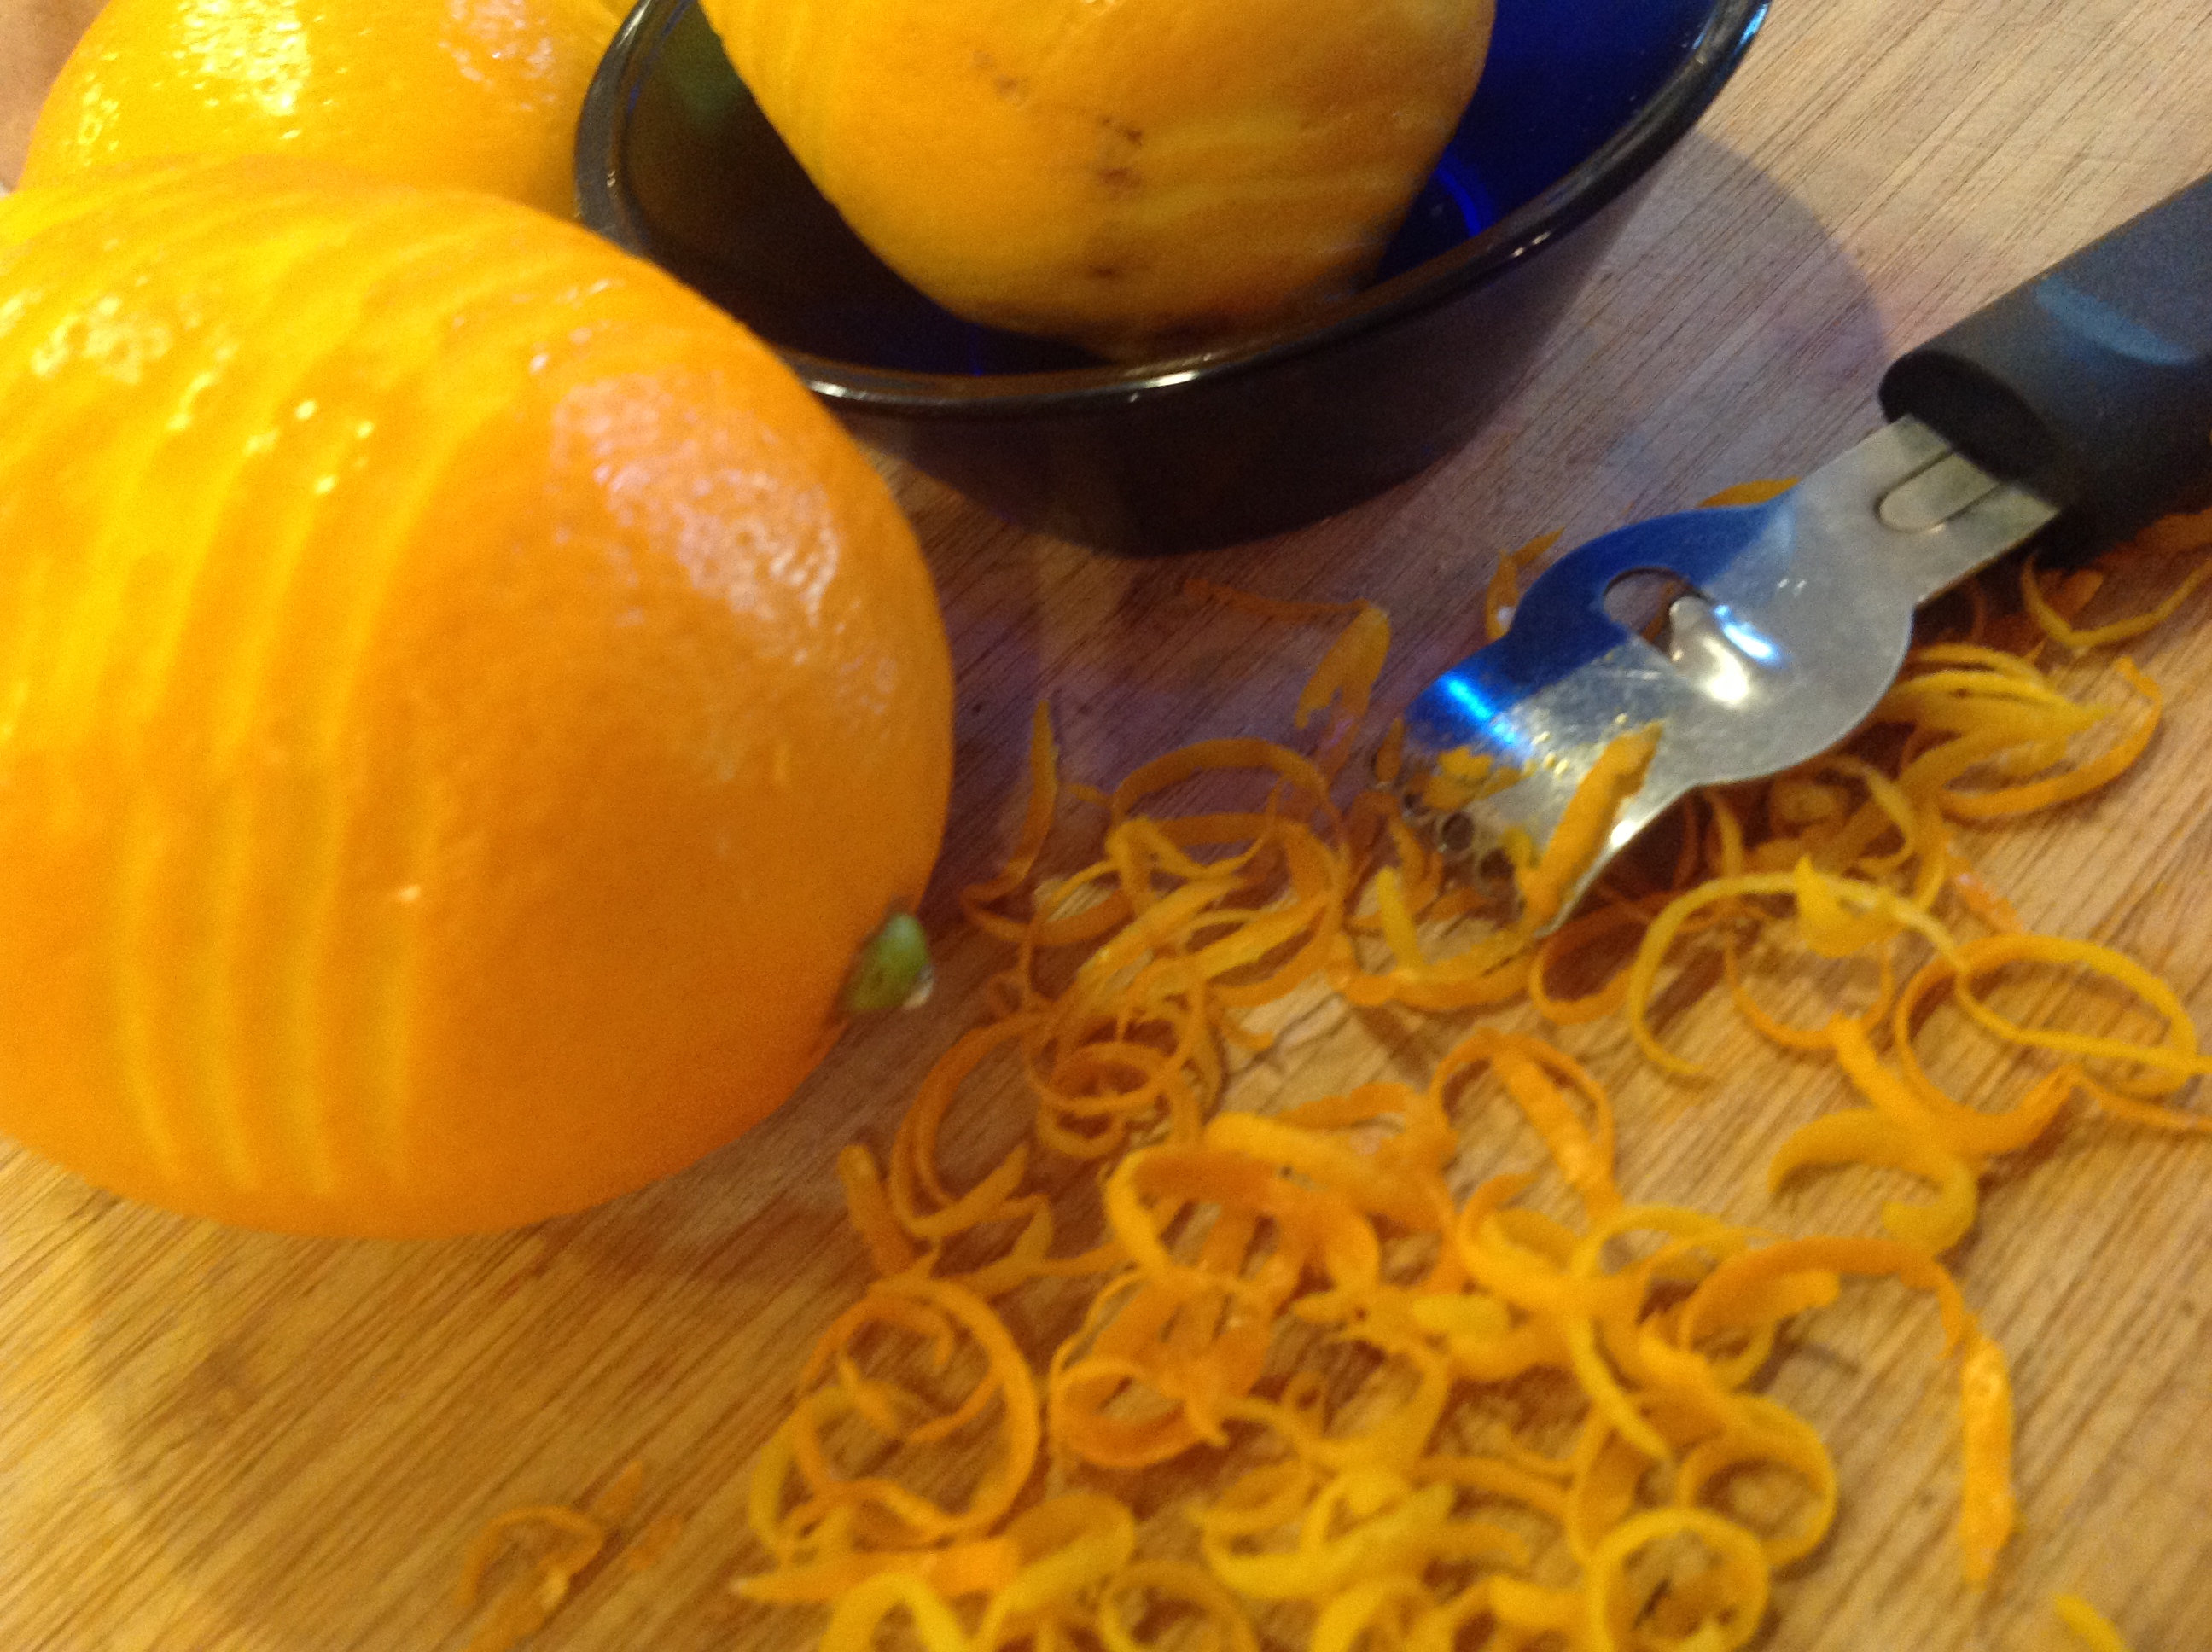
Meyer Lemons…
just the zest, no pith
Not sure when or where I first heard of Meyer lemons, but I just love them now. They peel (and taste) more like a lemony tangerine, aren’t nearly as tart as a traditional lemon, and their color is somewhere in between the two. The lemon curd link above takes you to David Lebovitz’s blog wherein he not only shares his lemon curd recipe, but gives you his take on Meyer lemons.
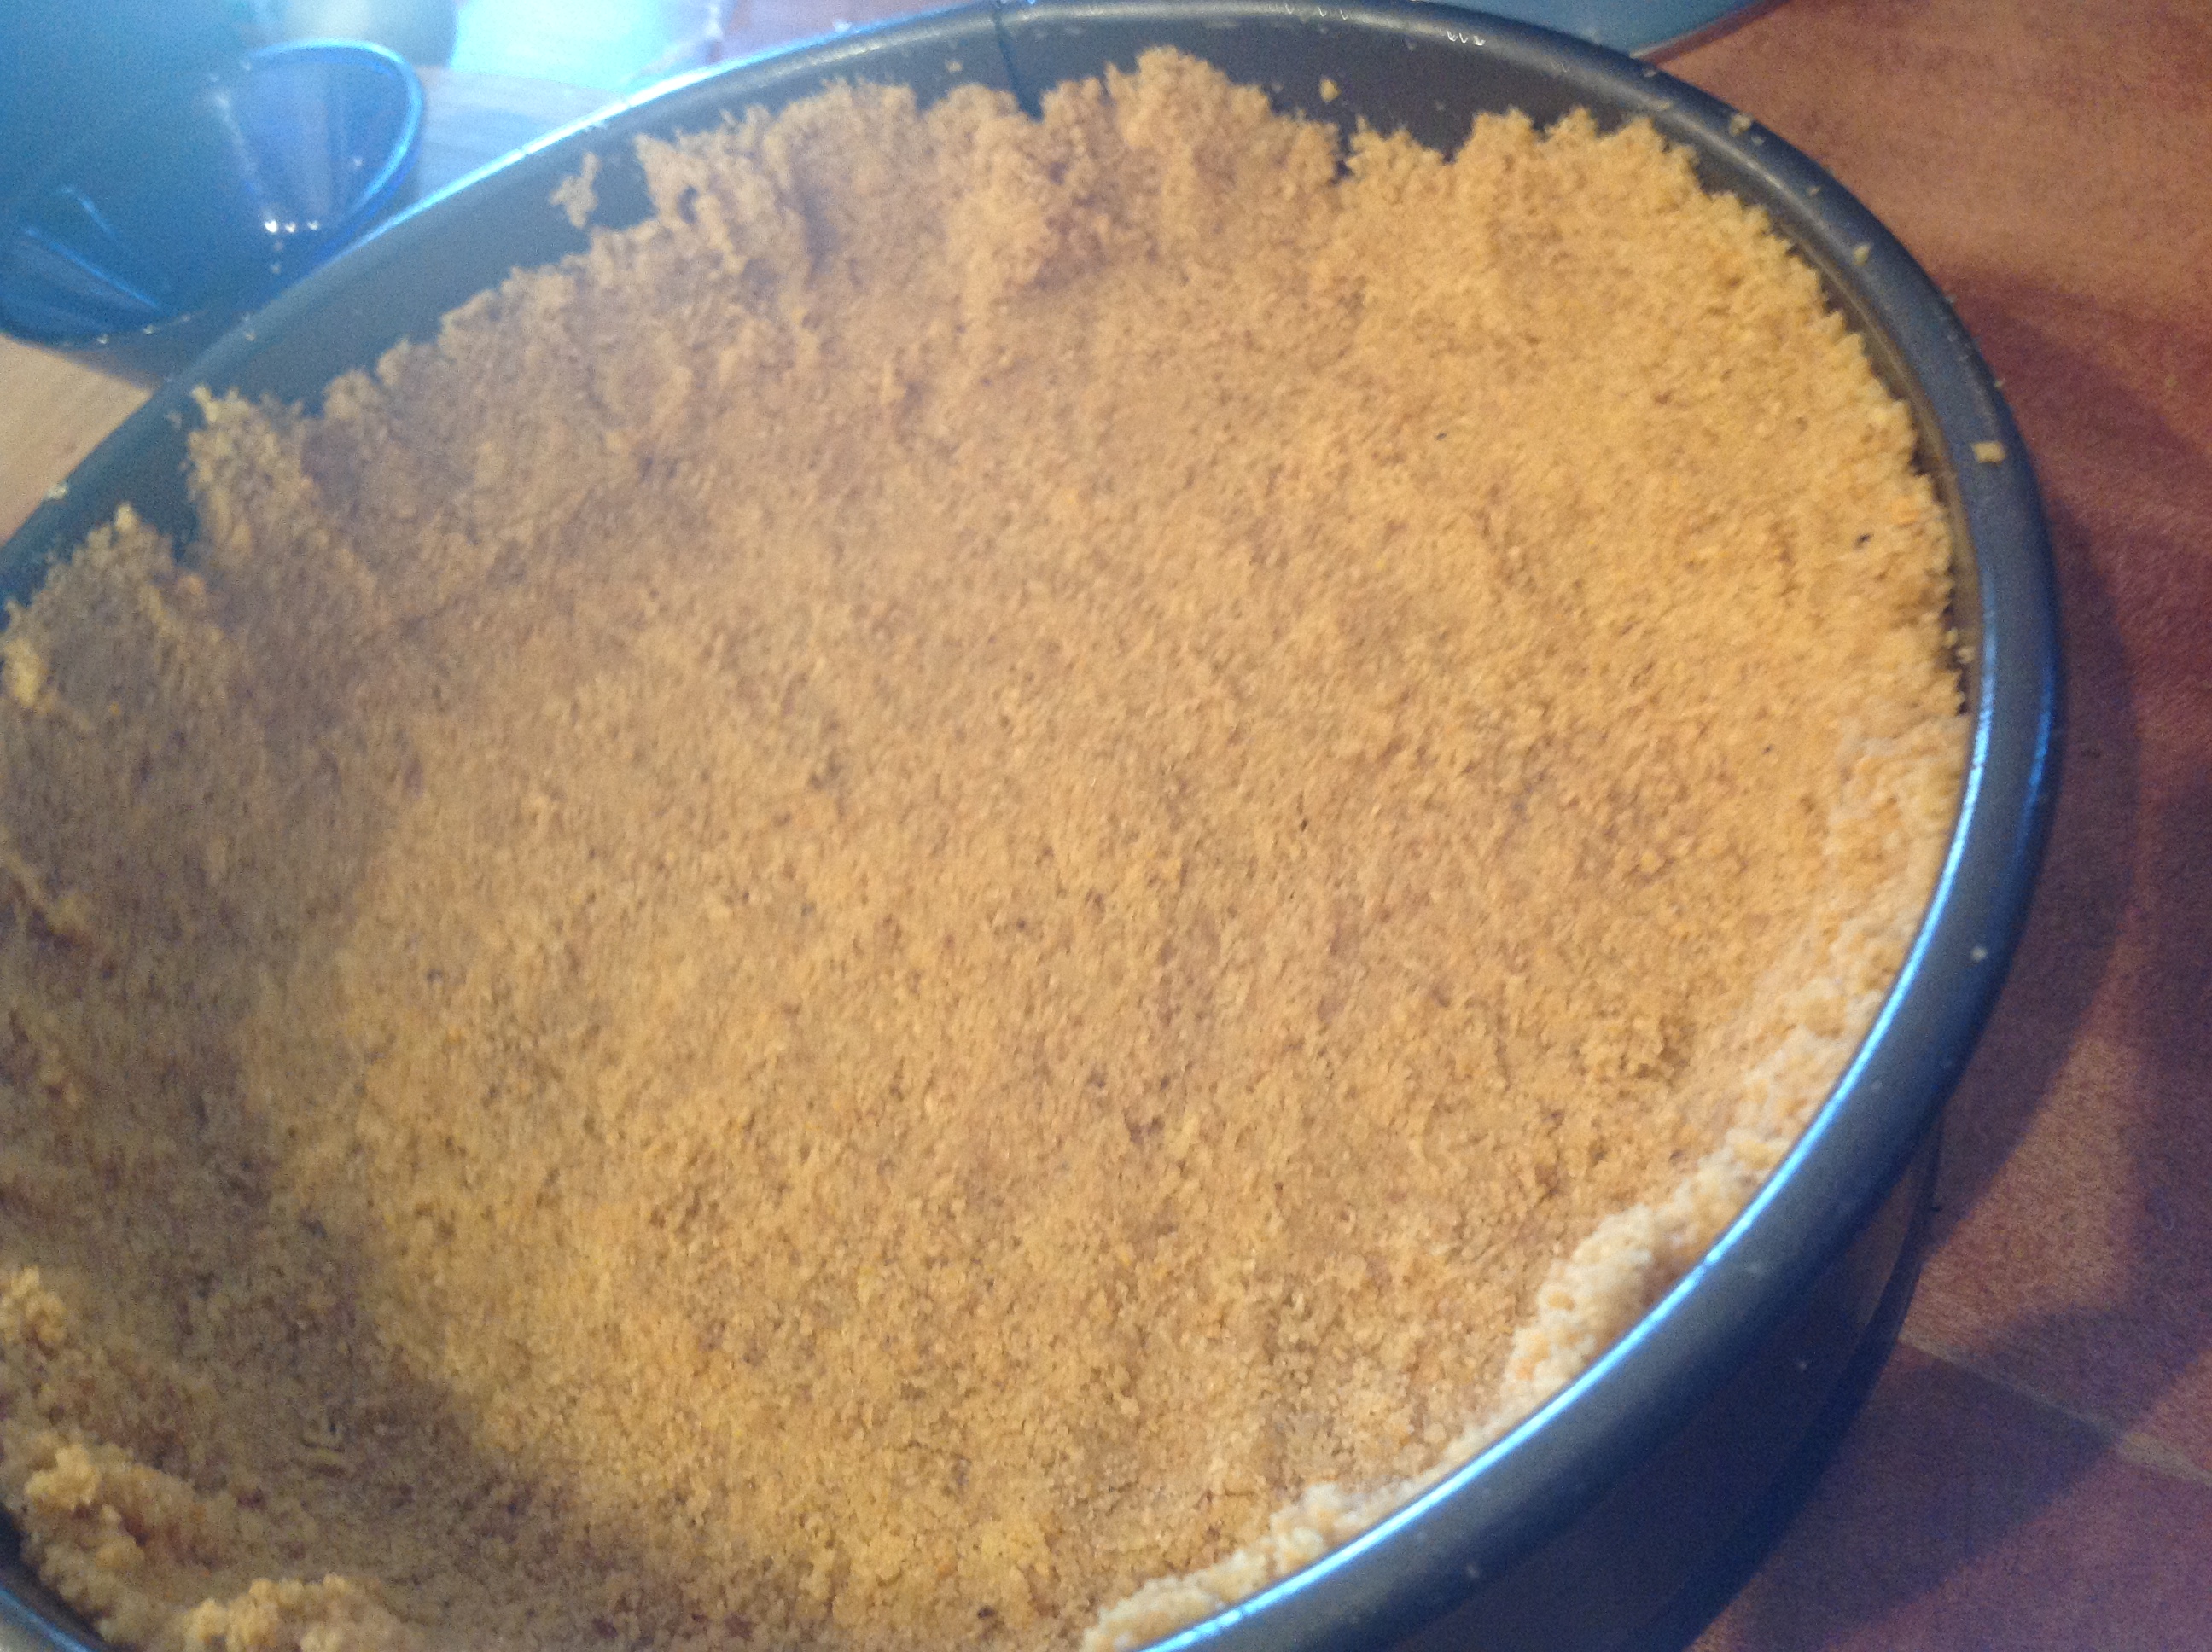
The Crust…
A good crumb crust wasn’t always so easily achieved, but because I love crumb crusts so much, I’ve learned a few lessons along the “acceptable but disappointing” past attempts. One, easy on the butter. It just needs to be cohesive enough to stay put. Two, don’t PACK IT IN, literally. I tend to have a heavy hand with things I “manipulate,” and invariably I would press the crumb mixture with way too much force, thinking that was the only way to keep it from springing a leak or caving in from the sides; the end result usually being a crust so solid (and cookie hard) that it was often left on the plate rather than complementing the forkful. I tend to judge my success with pies and the like by the number of crusts I dejectedly scrape into the trash from my dainty flowered serving plates. This one turned out well. Even the thicker corner areas remained tender and palatable! The more “liquid” content of a filling’s ingredients help because more likely than not there will be some seepage into the crumb. The sides do not have to be even, or “be” at all. I just happen to like sides on my cheesecakes… and the challenge of seeing how close to the top I can get before they collapse 😉
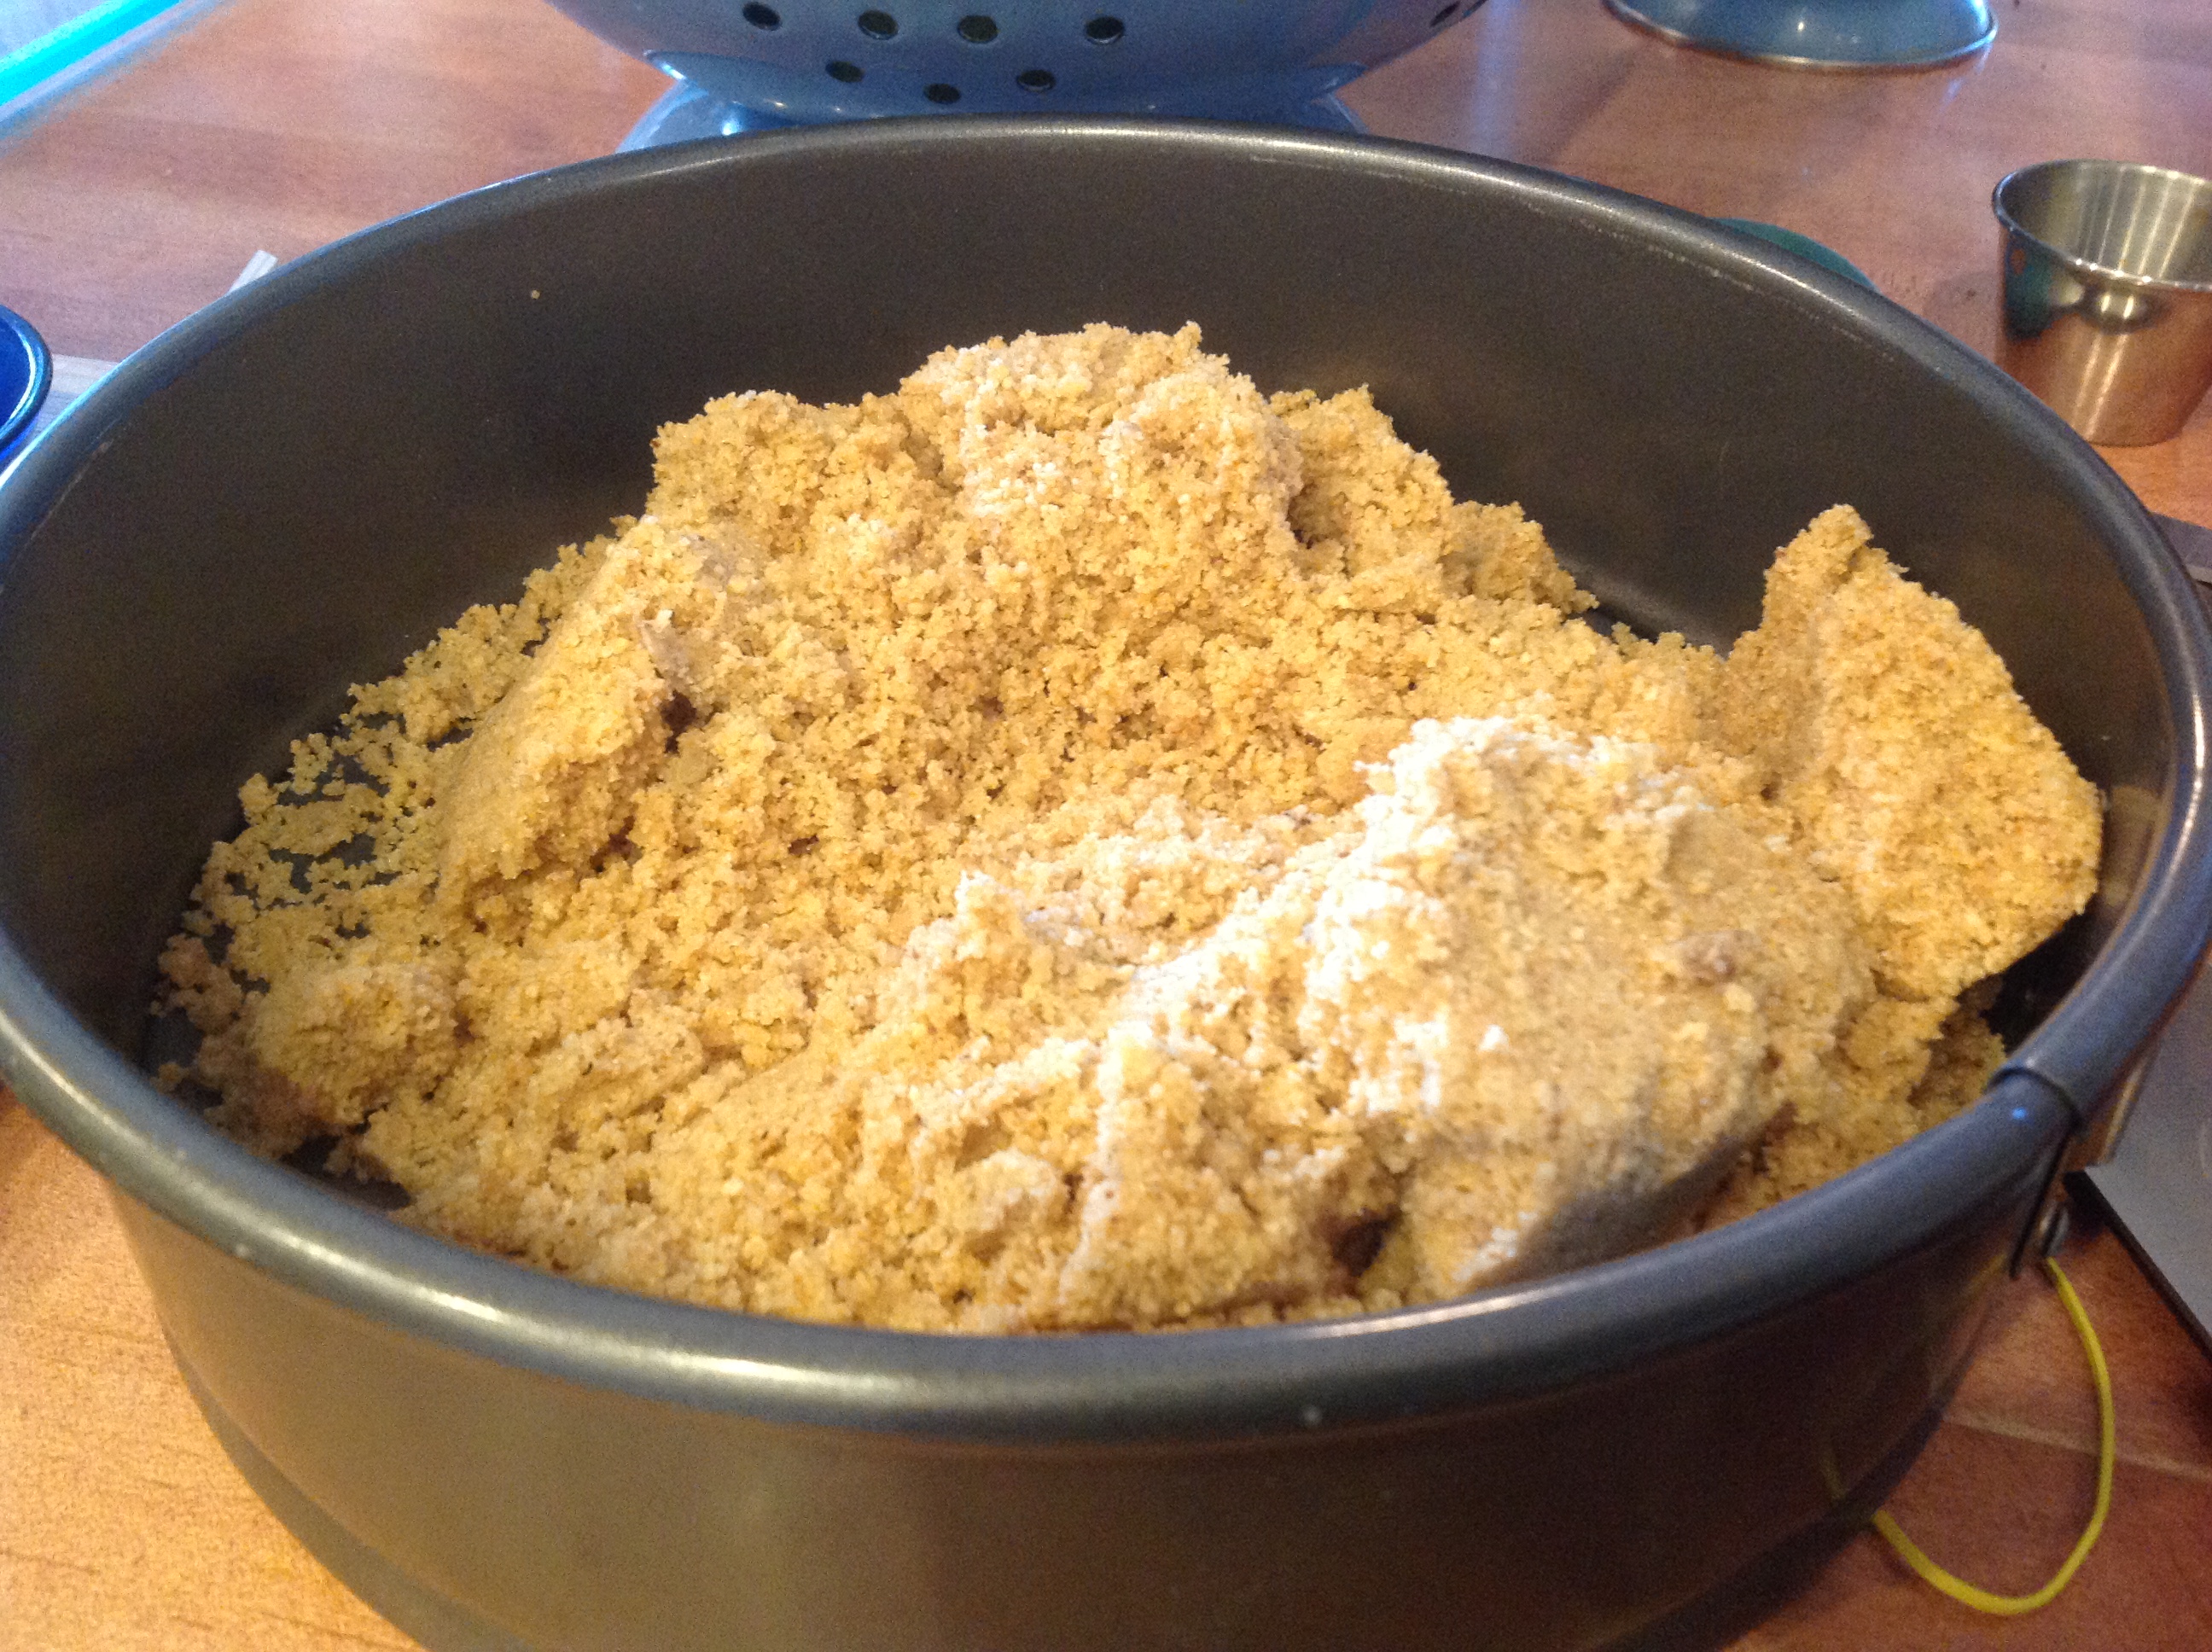
looks like a lot…
Start with a very lightly buttered cold pan, then dump the entire mass of crumbs into the center, pushing out and up and patting down with not so warm hands.
When you unbuckle the sides and some of the very top of the crust crumbles off, you know you’ve got a good one. Those fallen angels go right into the garnish reserves.
The fluff…
If it calls for eggs and the texture can be lightened without compromising the recipe’s final result, I am whipping my whites.
In this recipe, I used four extra large eggs and one duck egg (white only).
I always whip the whites first because it’s really important to have a very clean, dry bowl to get the best “air”; it doesn’t matter so much if there’s a little ‘white residue’ when you mix the other ingredients.
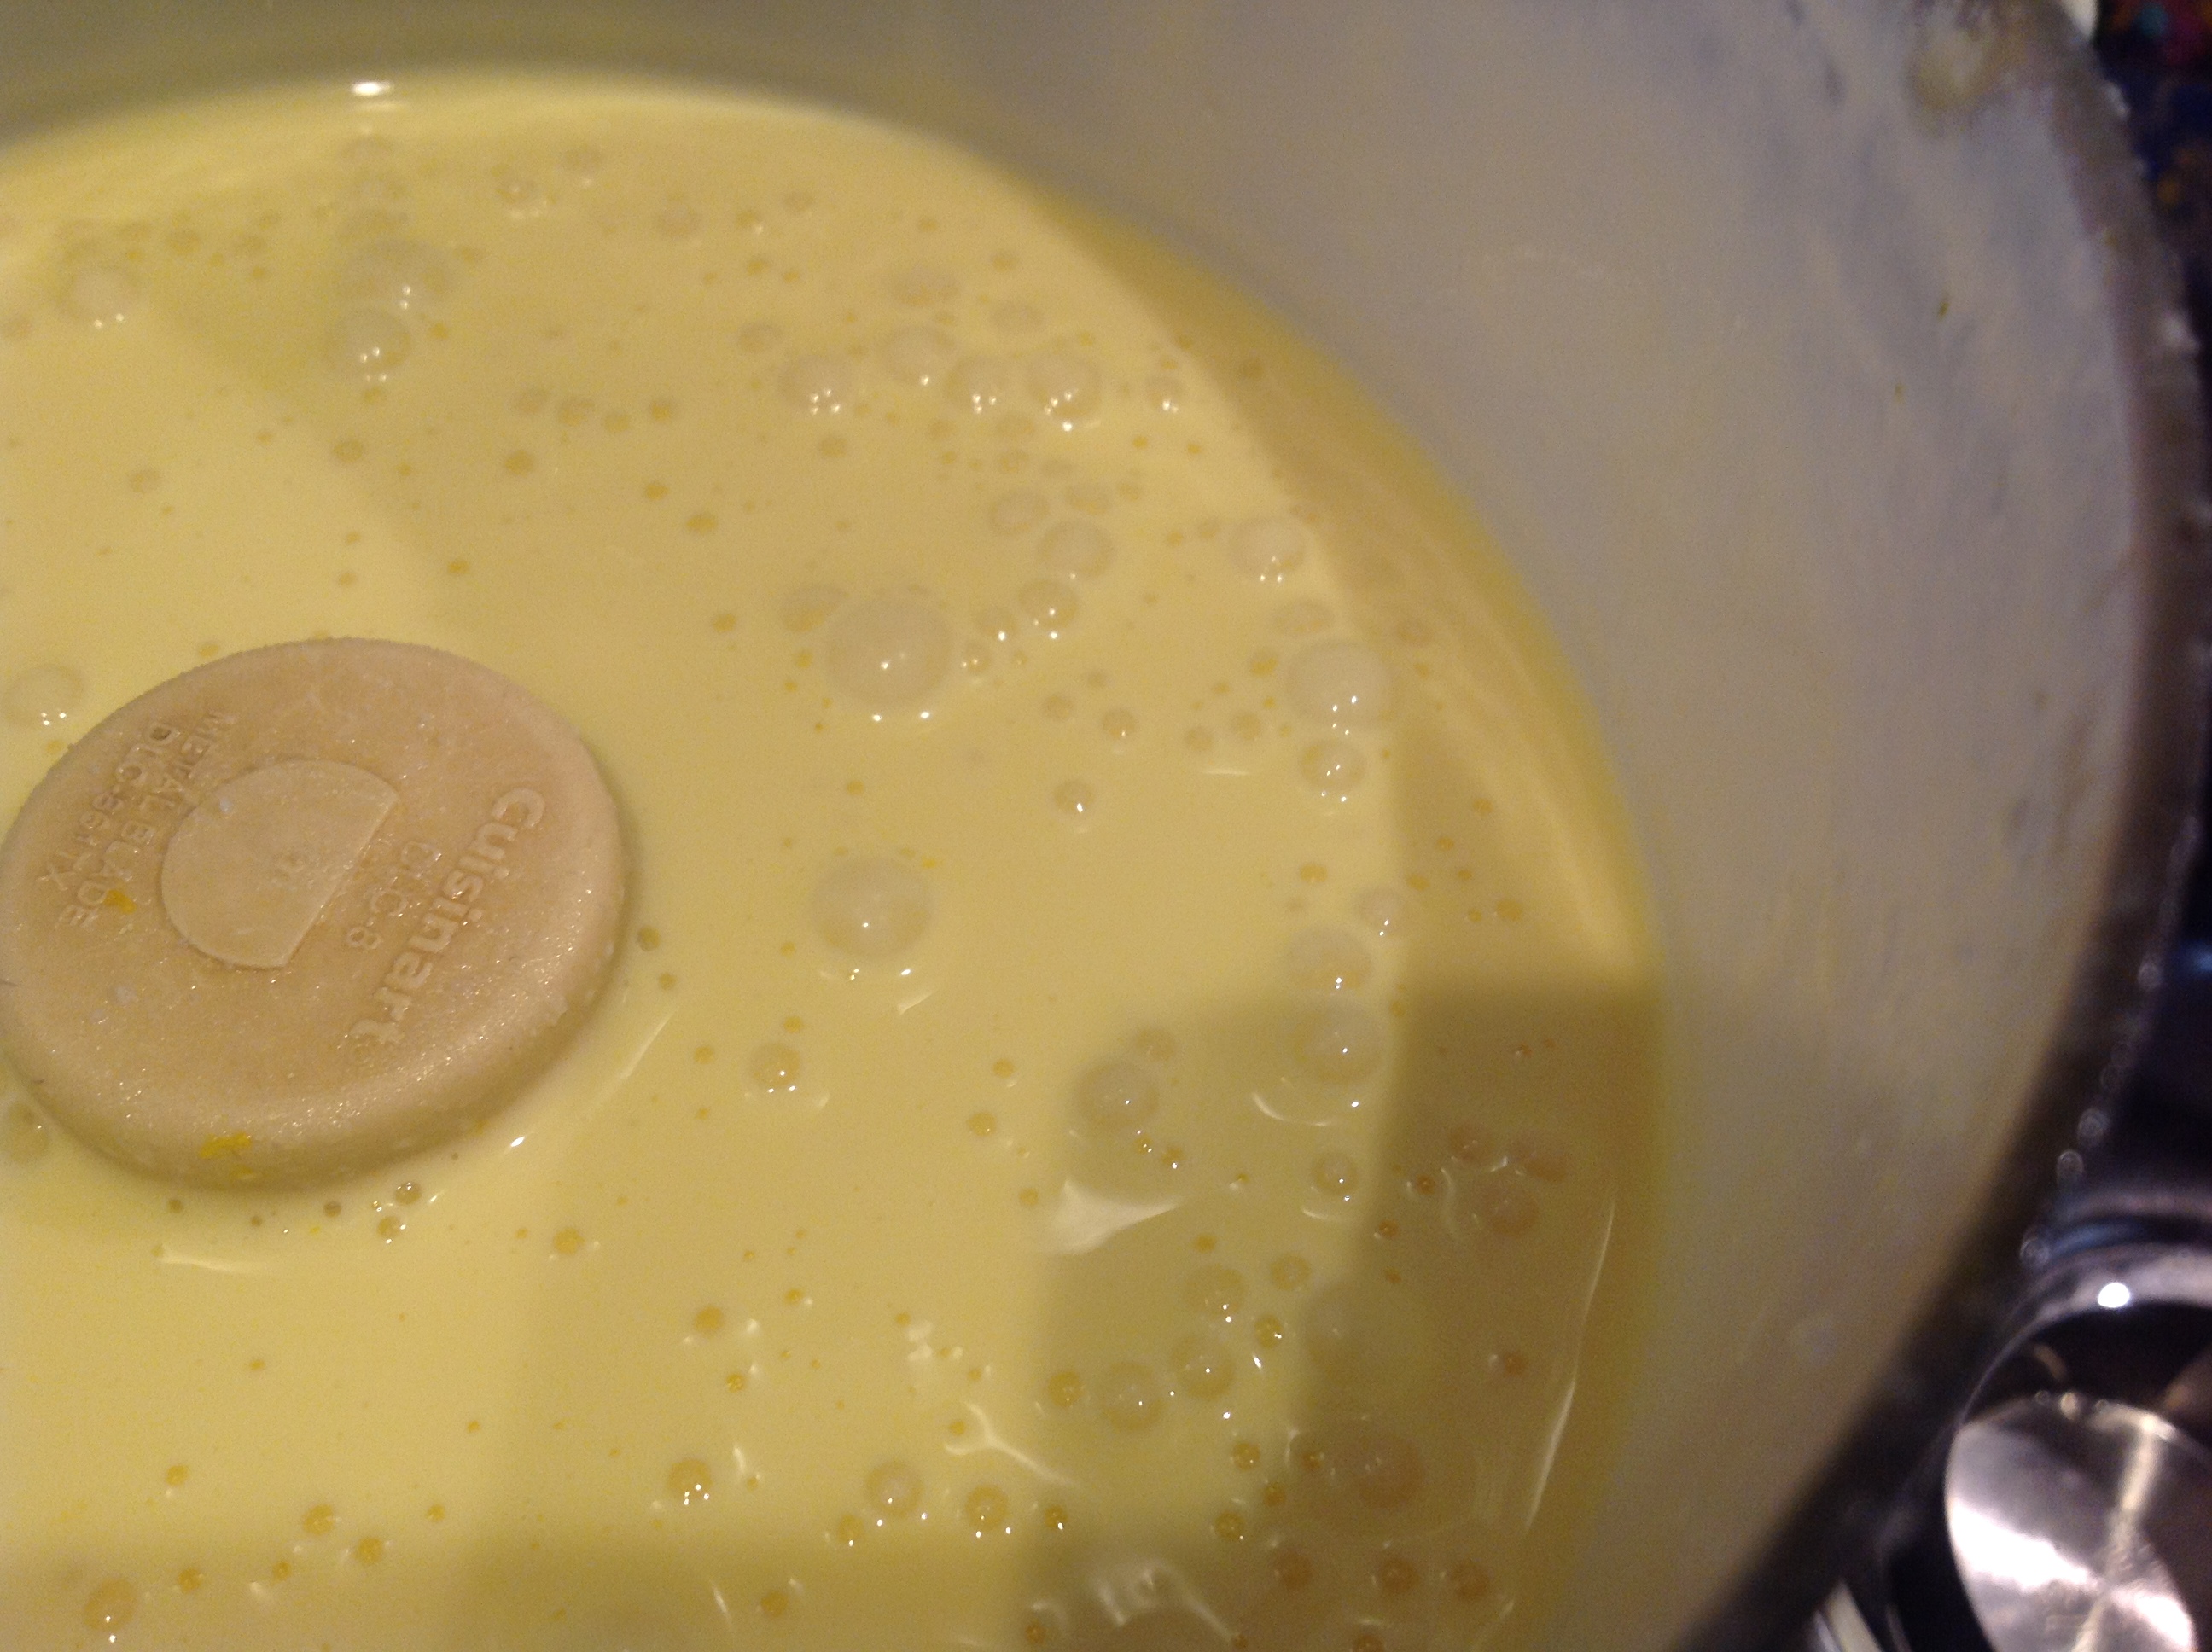
Looks like I used the Cuisinart afterall to blend the cream cheese, yolks, limoncello, lemon juice, sugar, salt, zest, and Fiori. This is how smooth it got before I folded in the whites.
Obviously couldn’t make up my mind on which implement I liked better for folding in the whites.
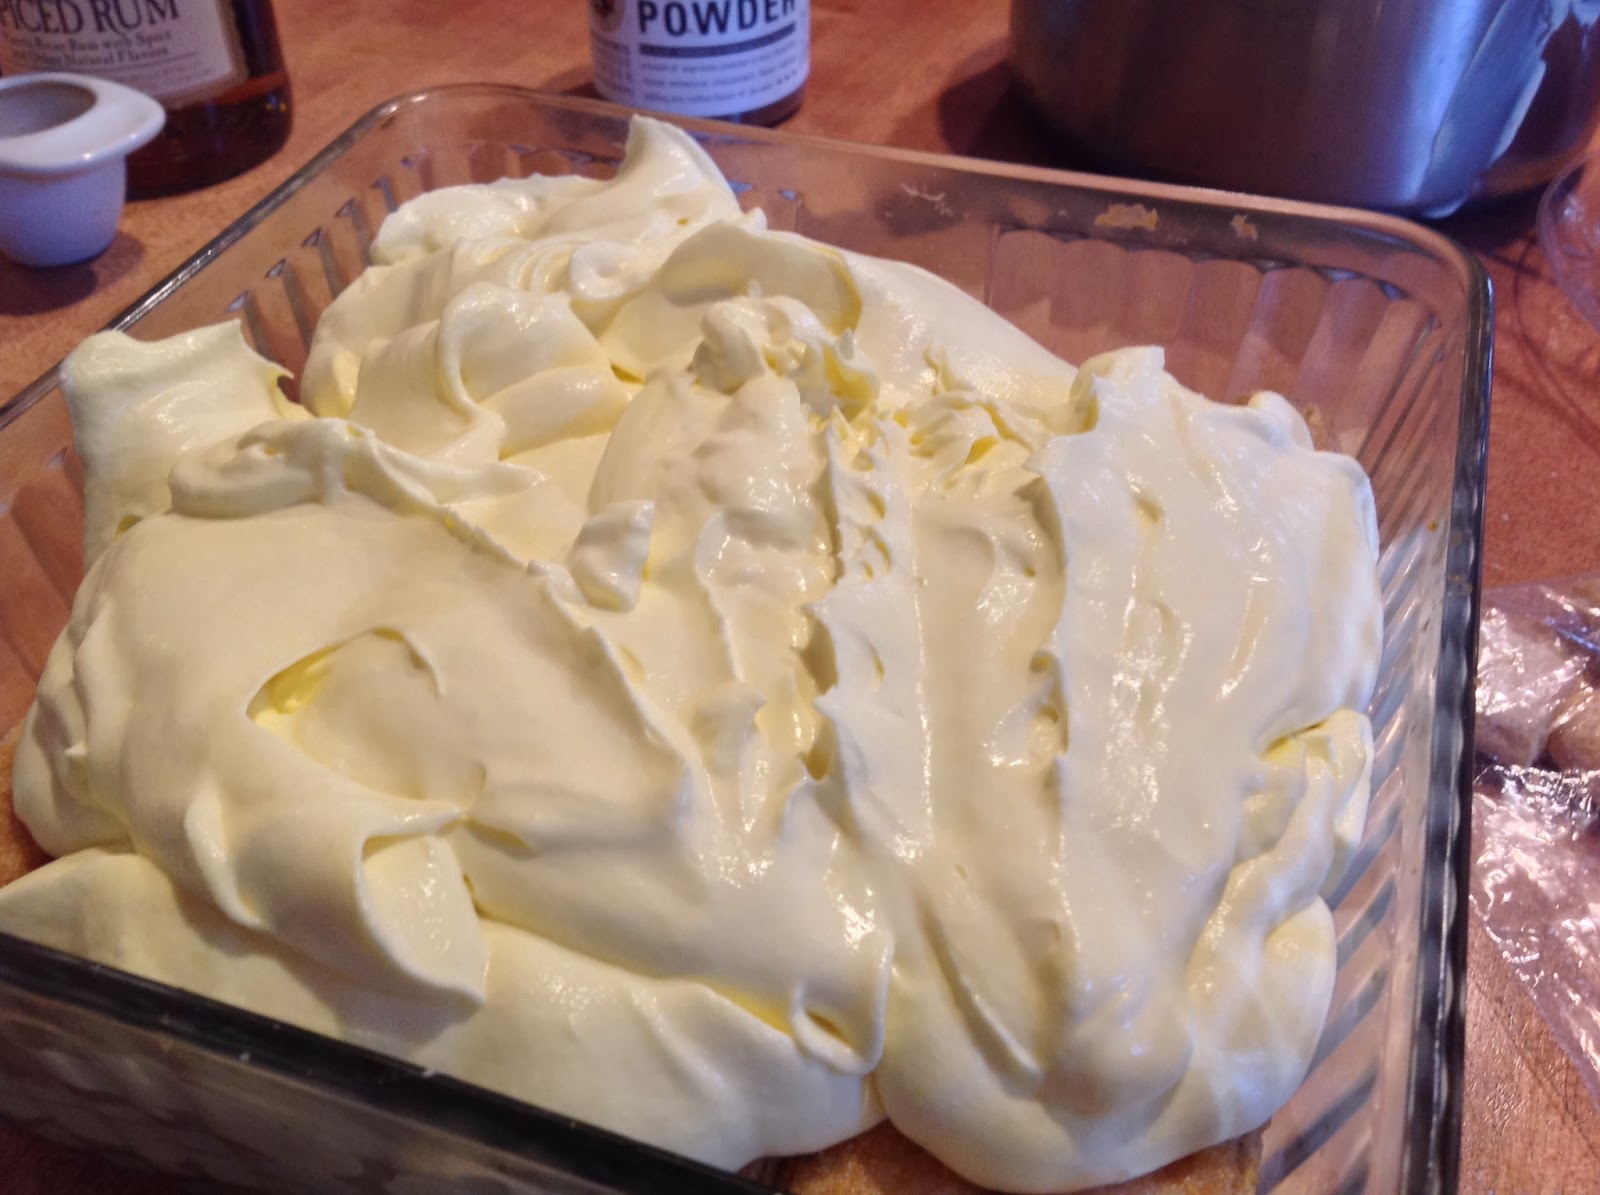
I really pushed the limits here with filling the pan. You don’t want it to the very top or things could get messy.
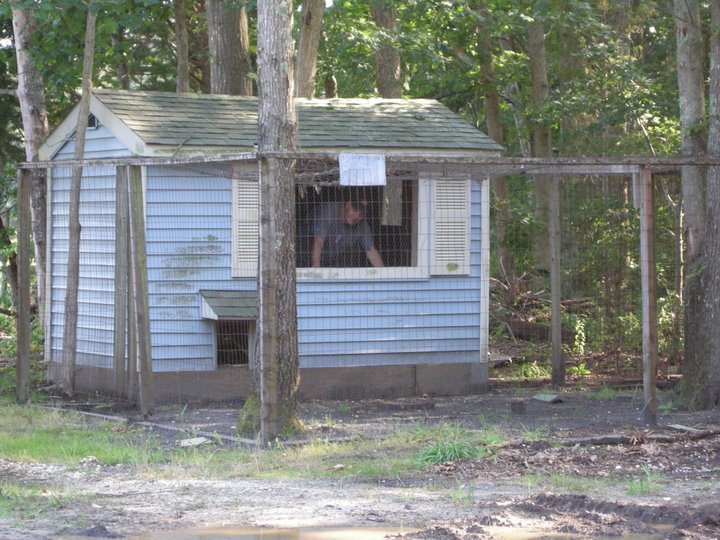
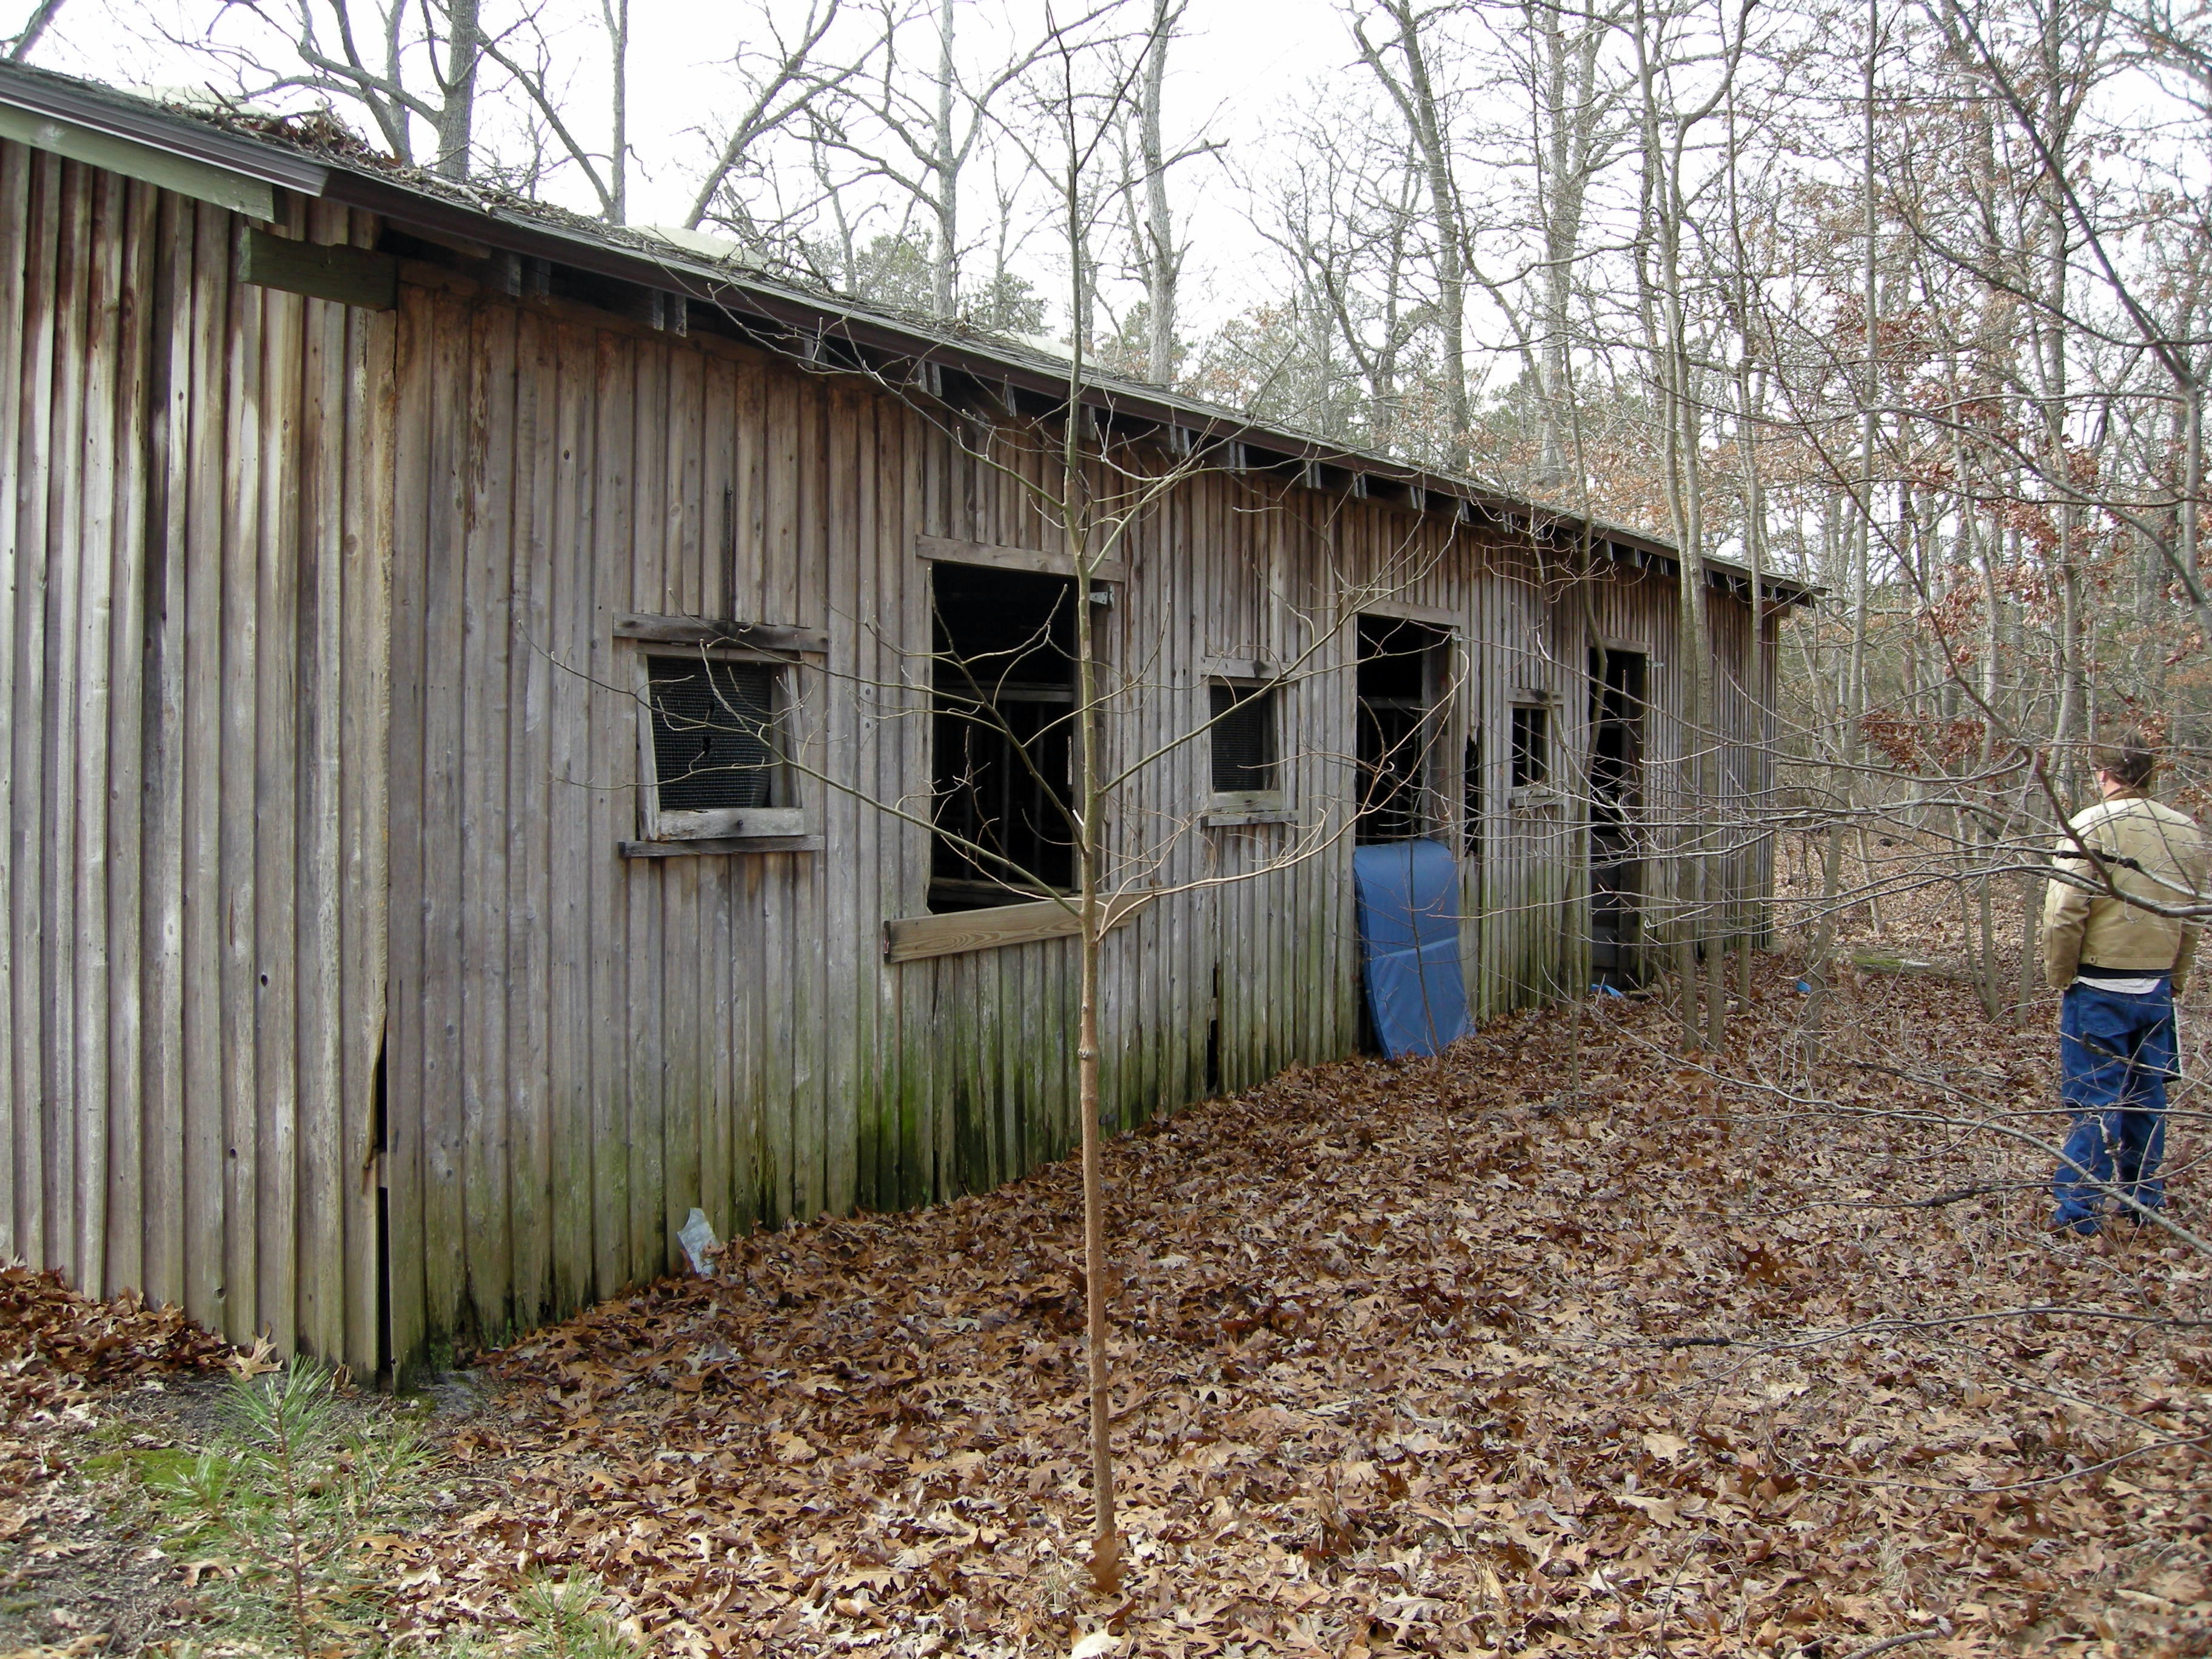
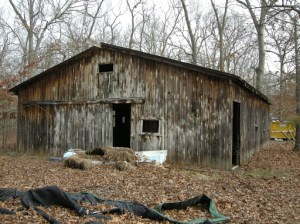
The property was neglected for years, overgrown into a tangled jungle, its outbuildings vandalized by paintball warriors and wayward sons. Here’s a before/during/after photo journal featuring some of the transformations of the outbuildings.
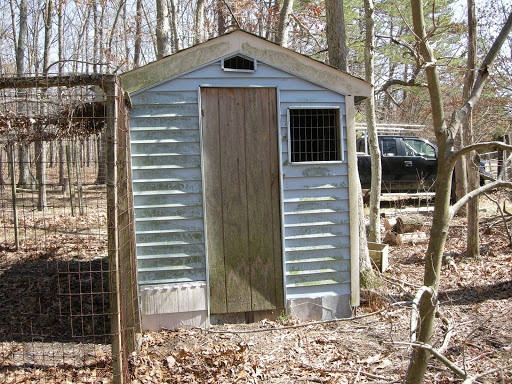
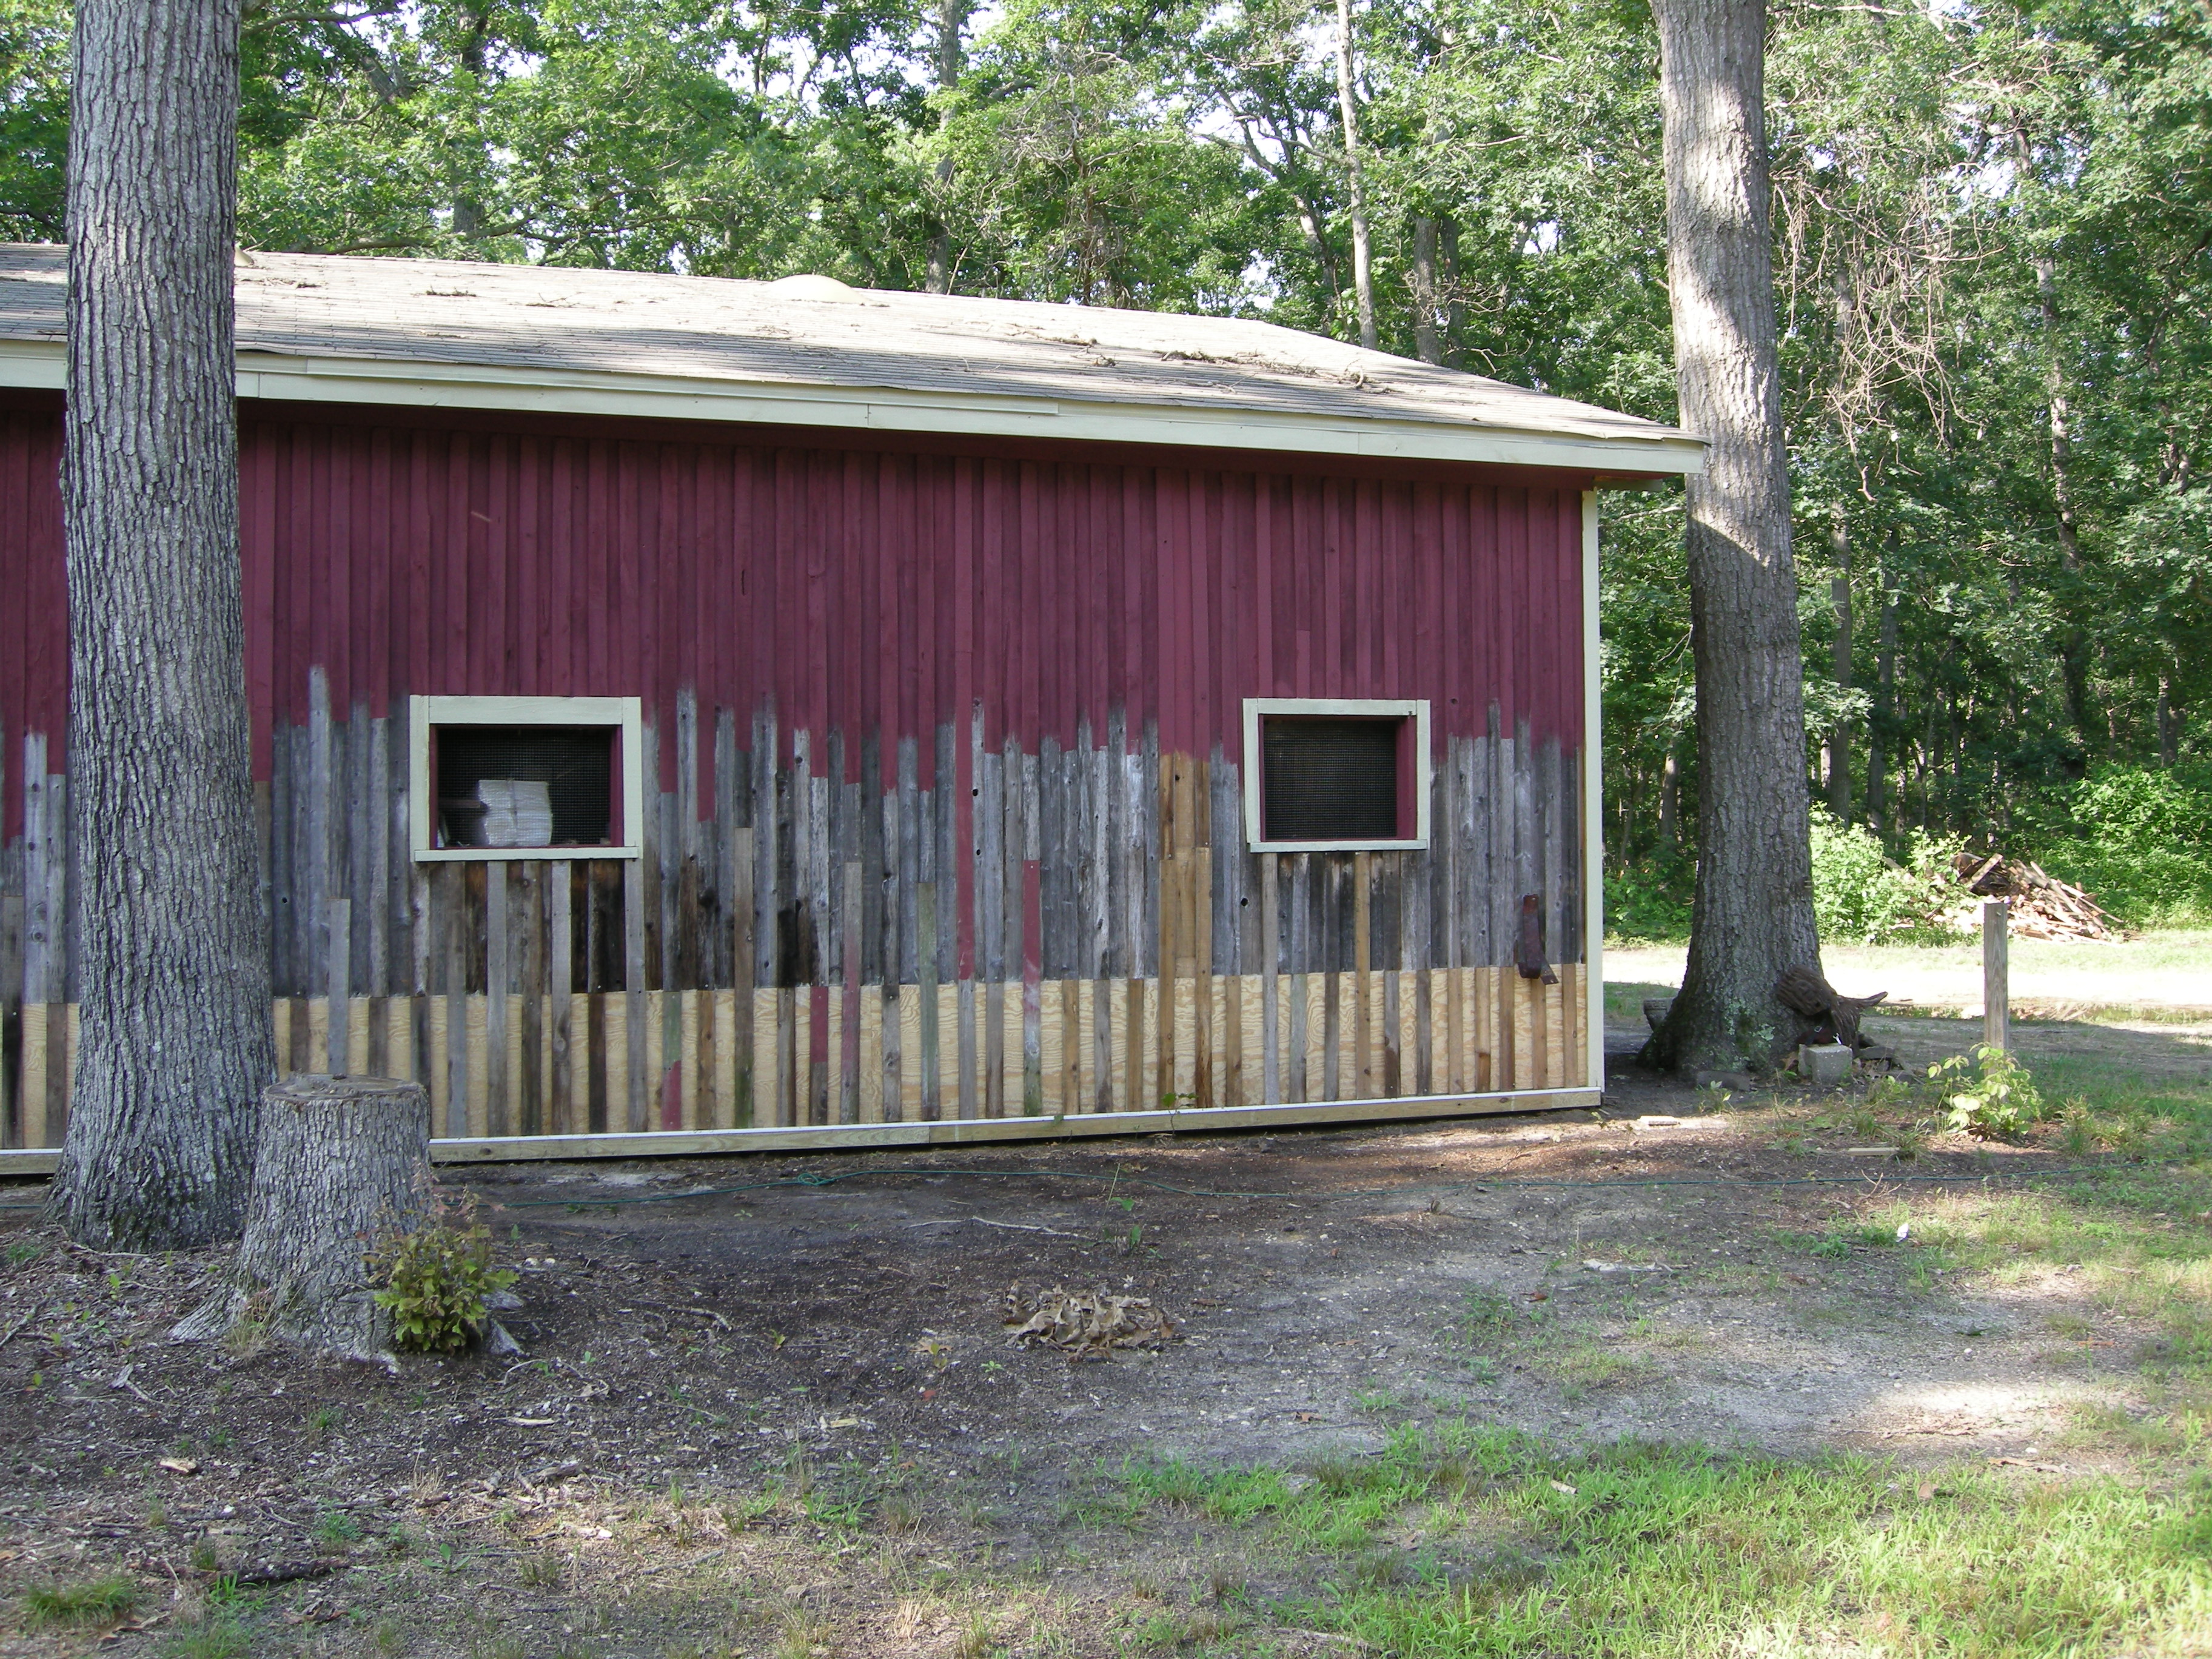
The Henhouse Gets a Facelift
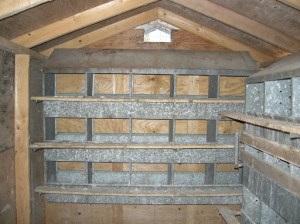
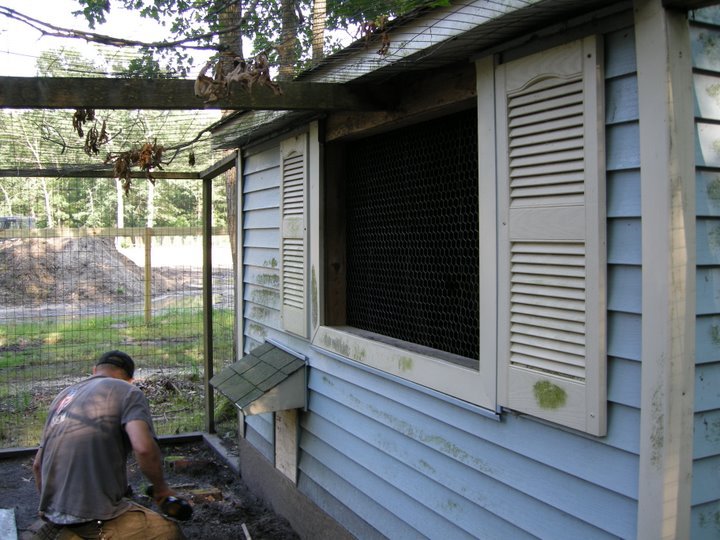
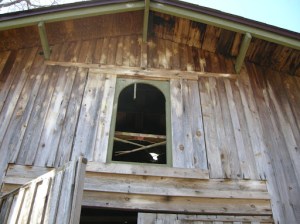
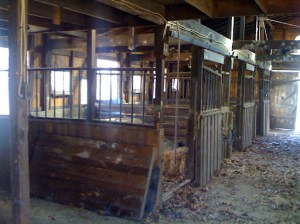
The henhouse had nesting boxes on two walls and a small fully-fenced “run,” but the fencing was rusted through in several spots and the overhead “roof” fencing had years and years worth of leaf and debris accumulation, not to mention a tree growing right through it. First step was to clear away all the overgrowth and fallen tree limbs, and then that creepy mold-encrusted vinyl siding…
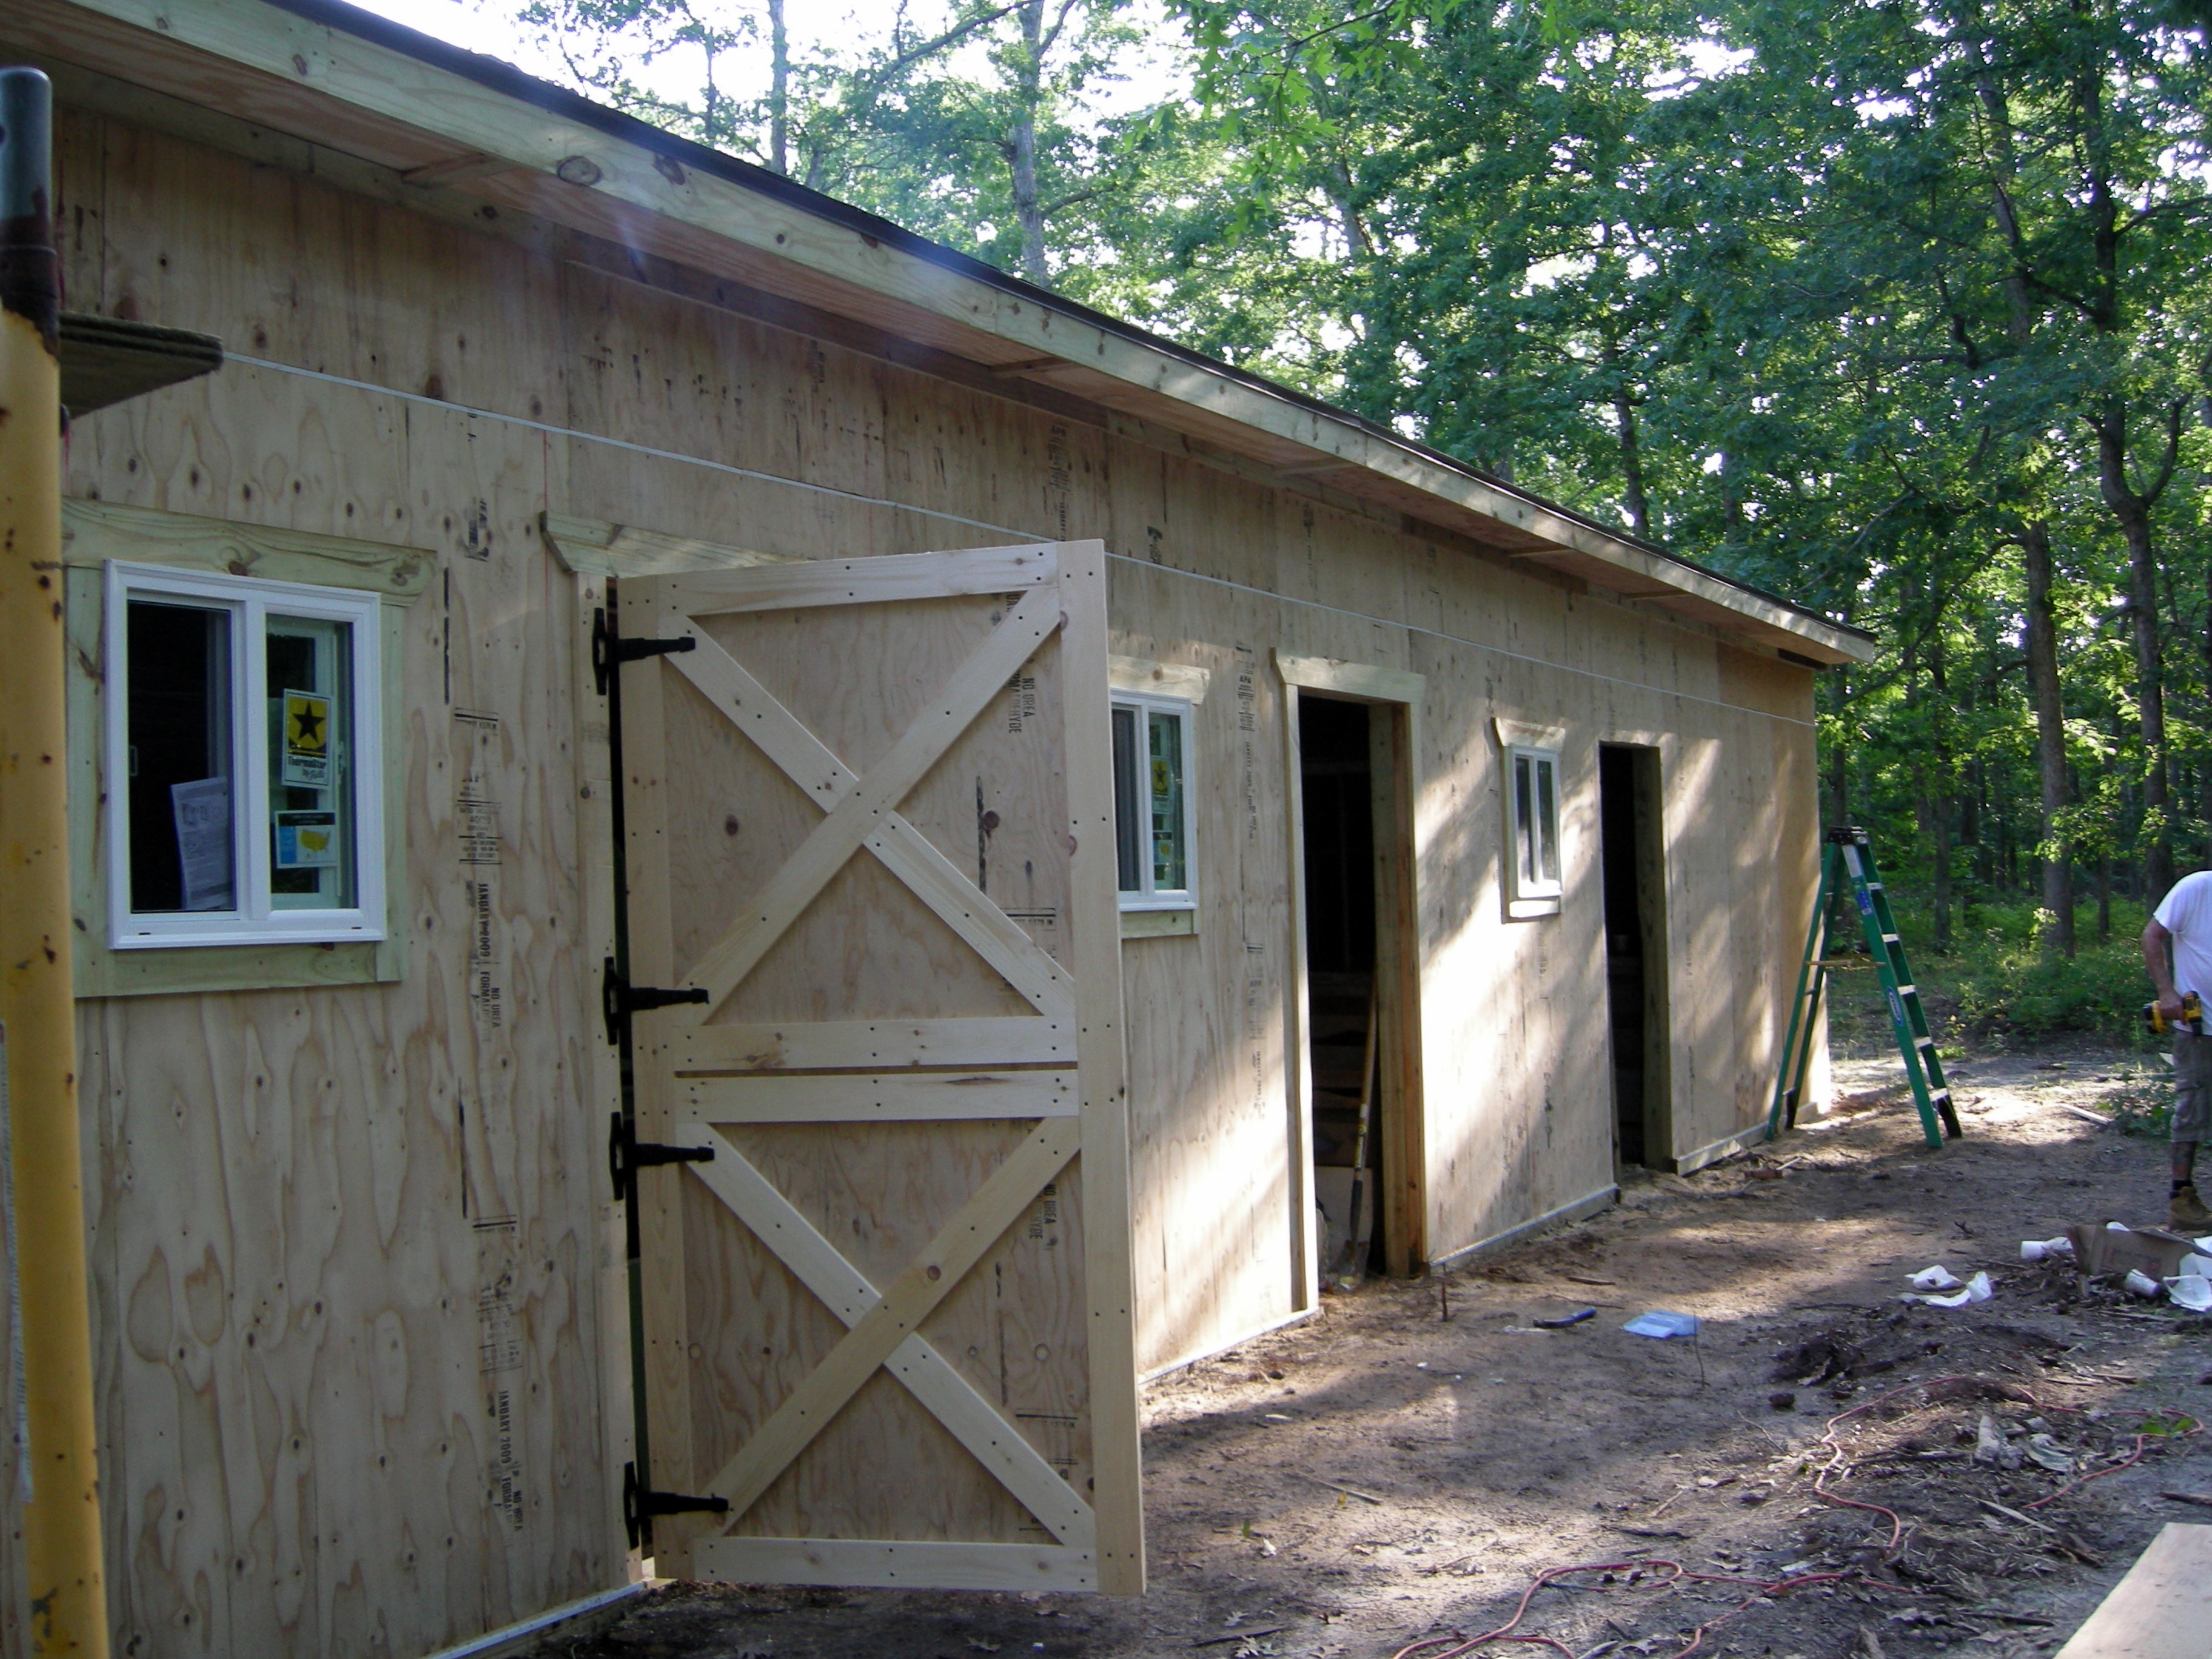
Framing up for run… this is the “safe” yard where the hens are protected from predators and where they can hang out in the mornings until we drag ourselves out of bed to open the gates…
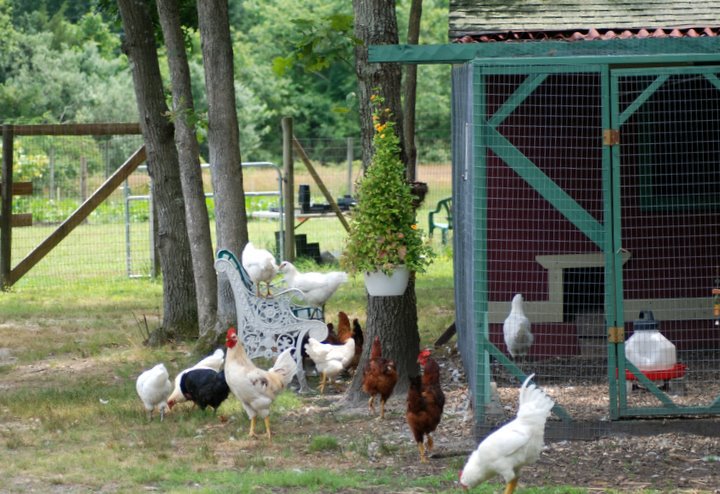
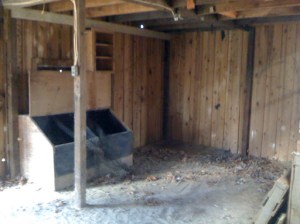
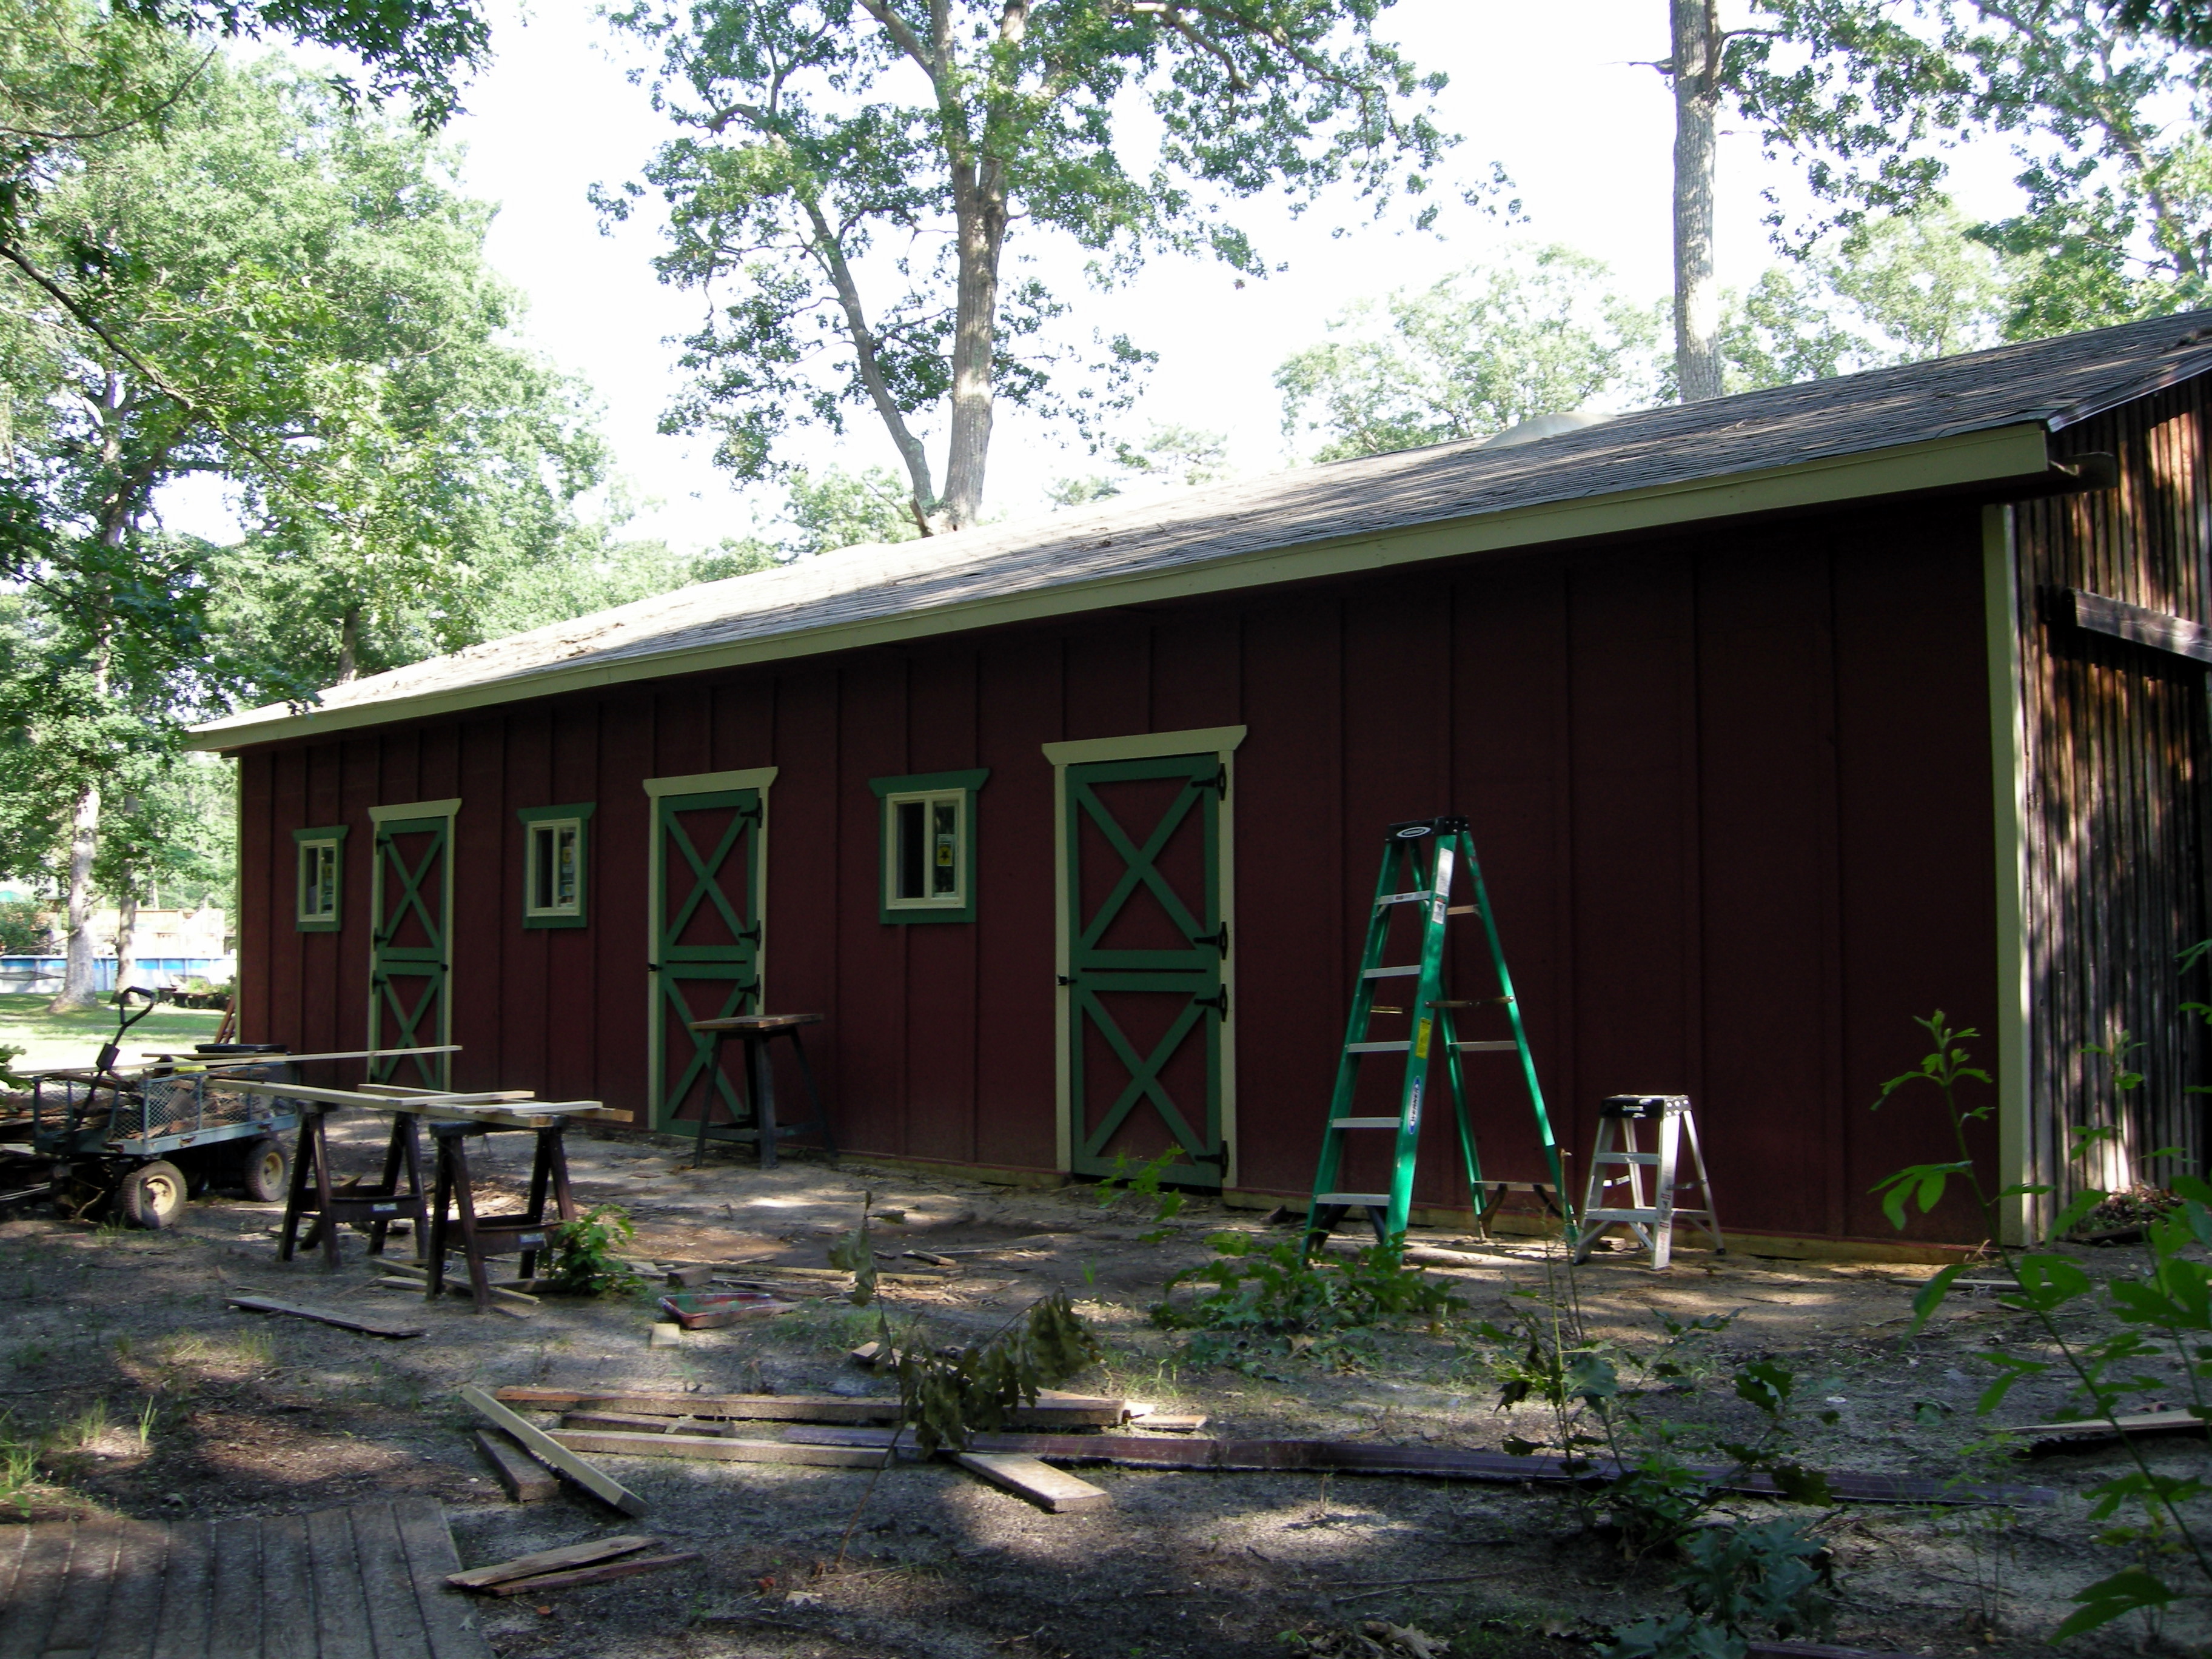
New siding, painted… yard “run” framed in and ready for wire fencing sides.
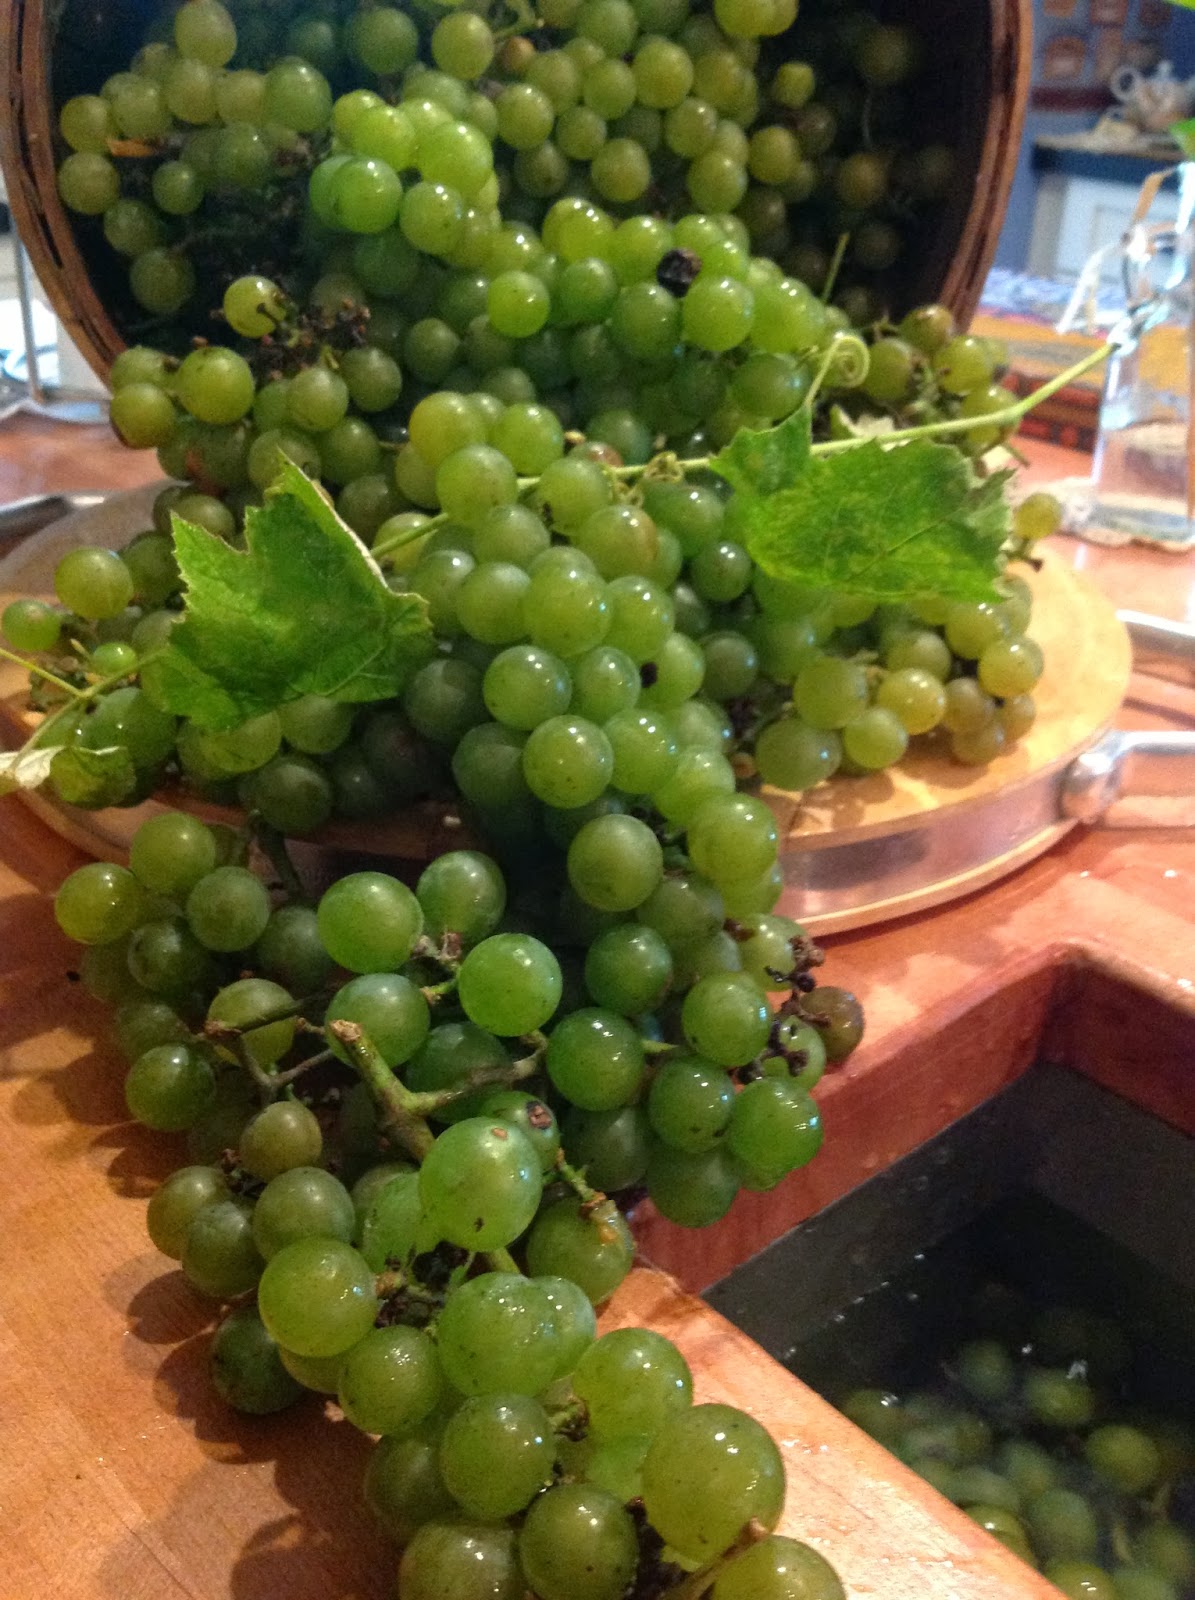
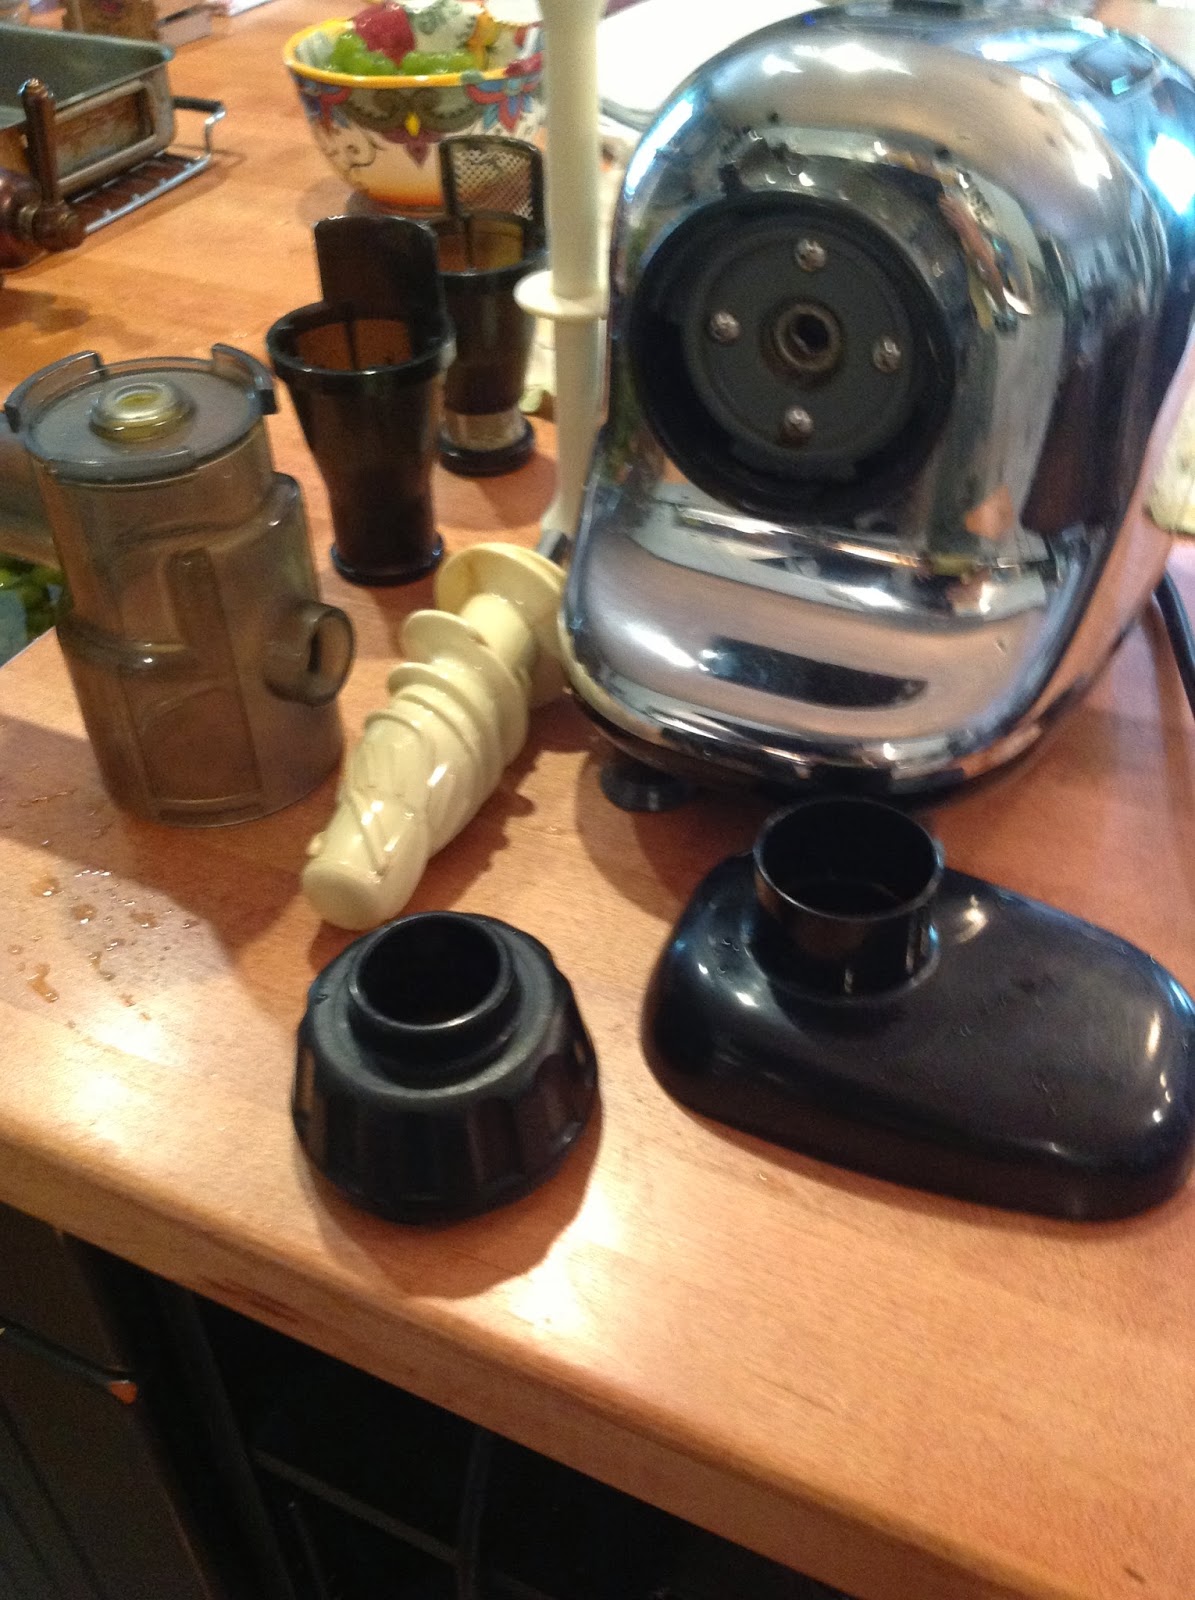
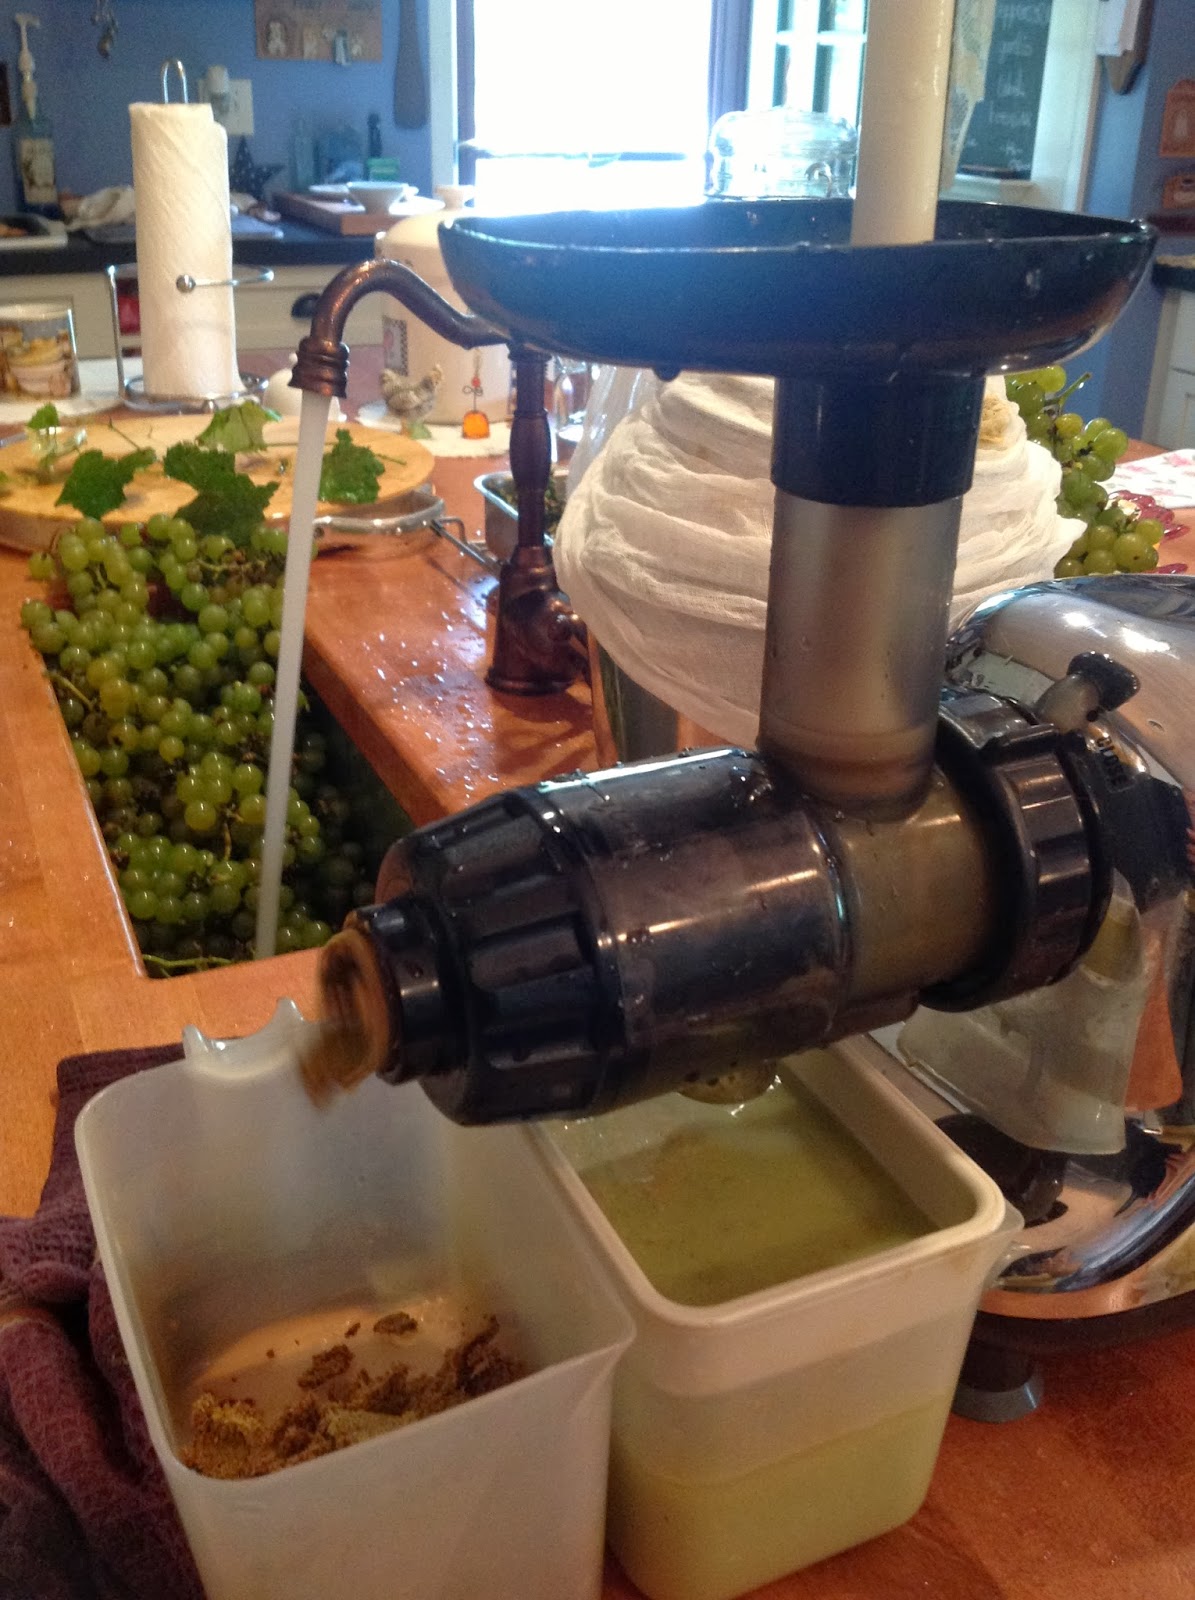
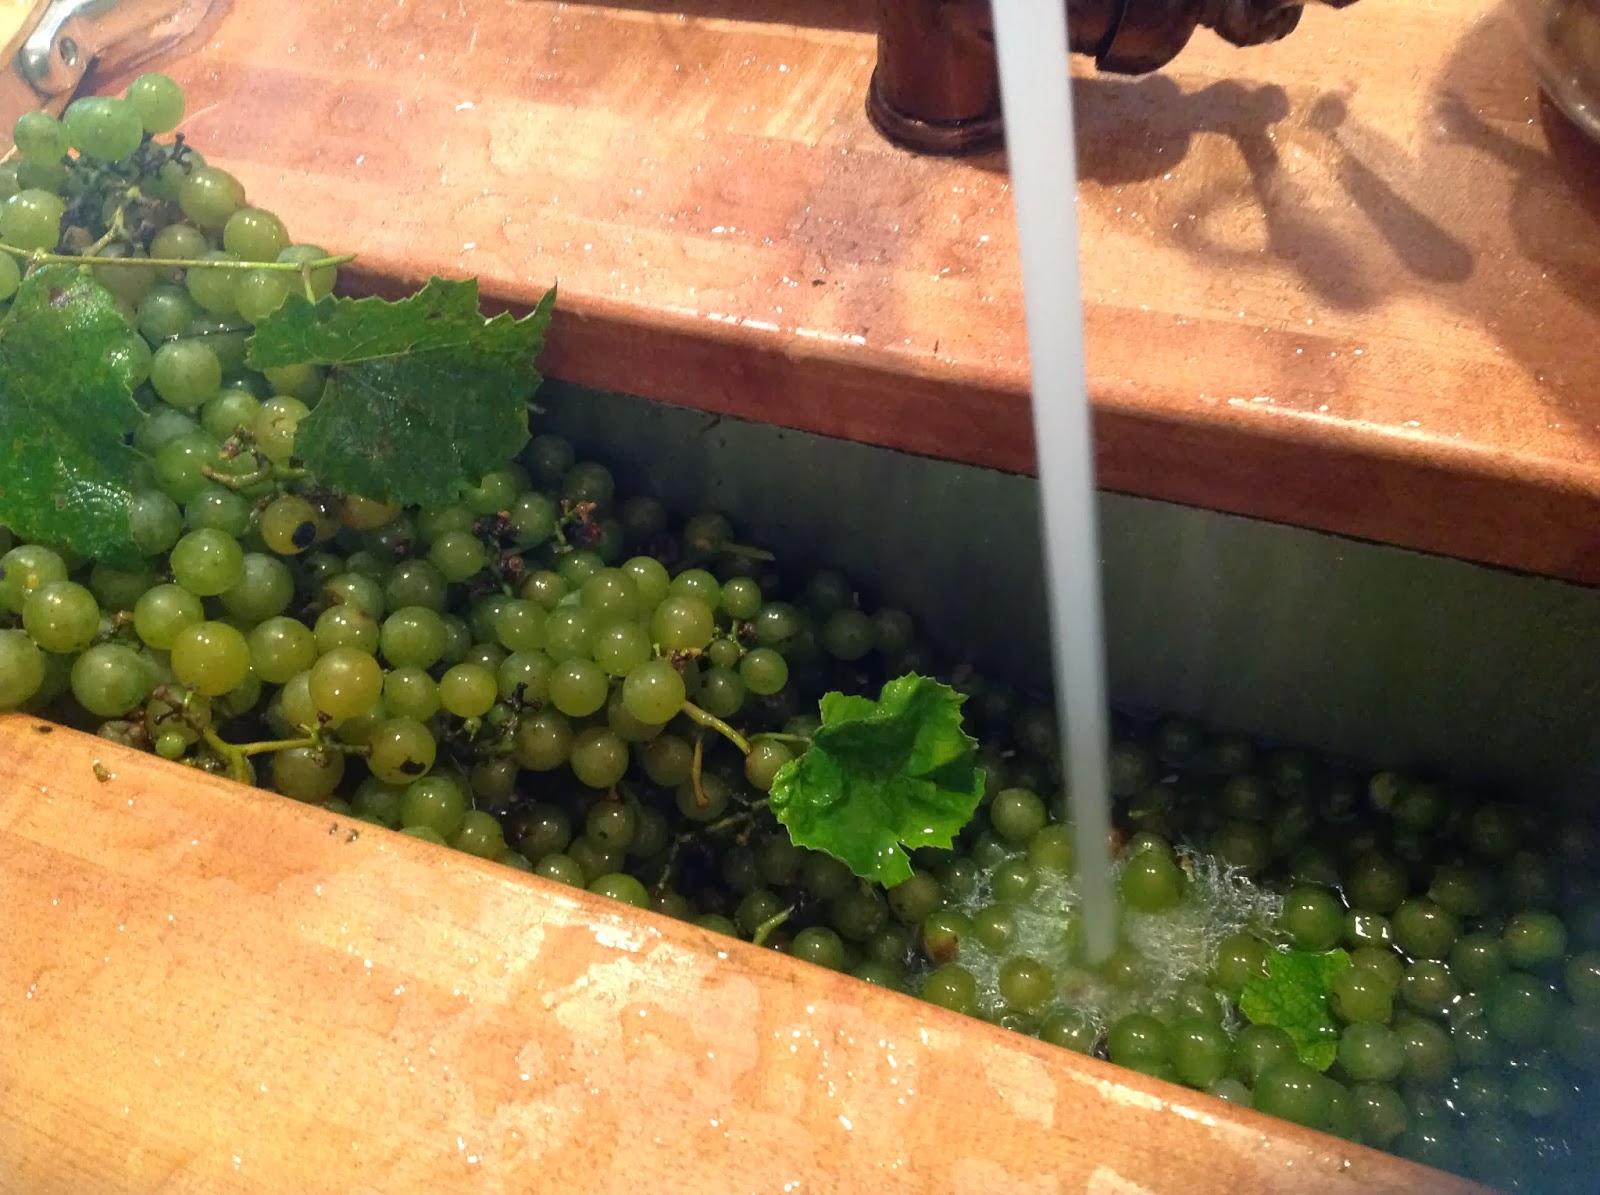
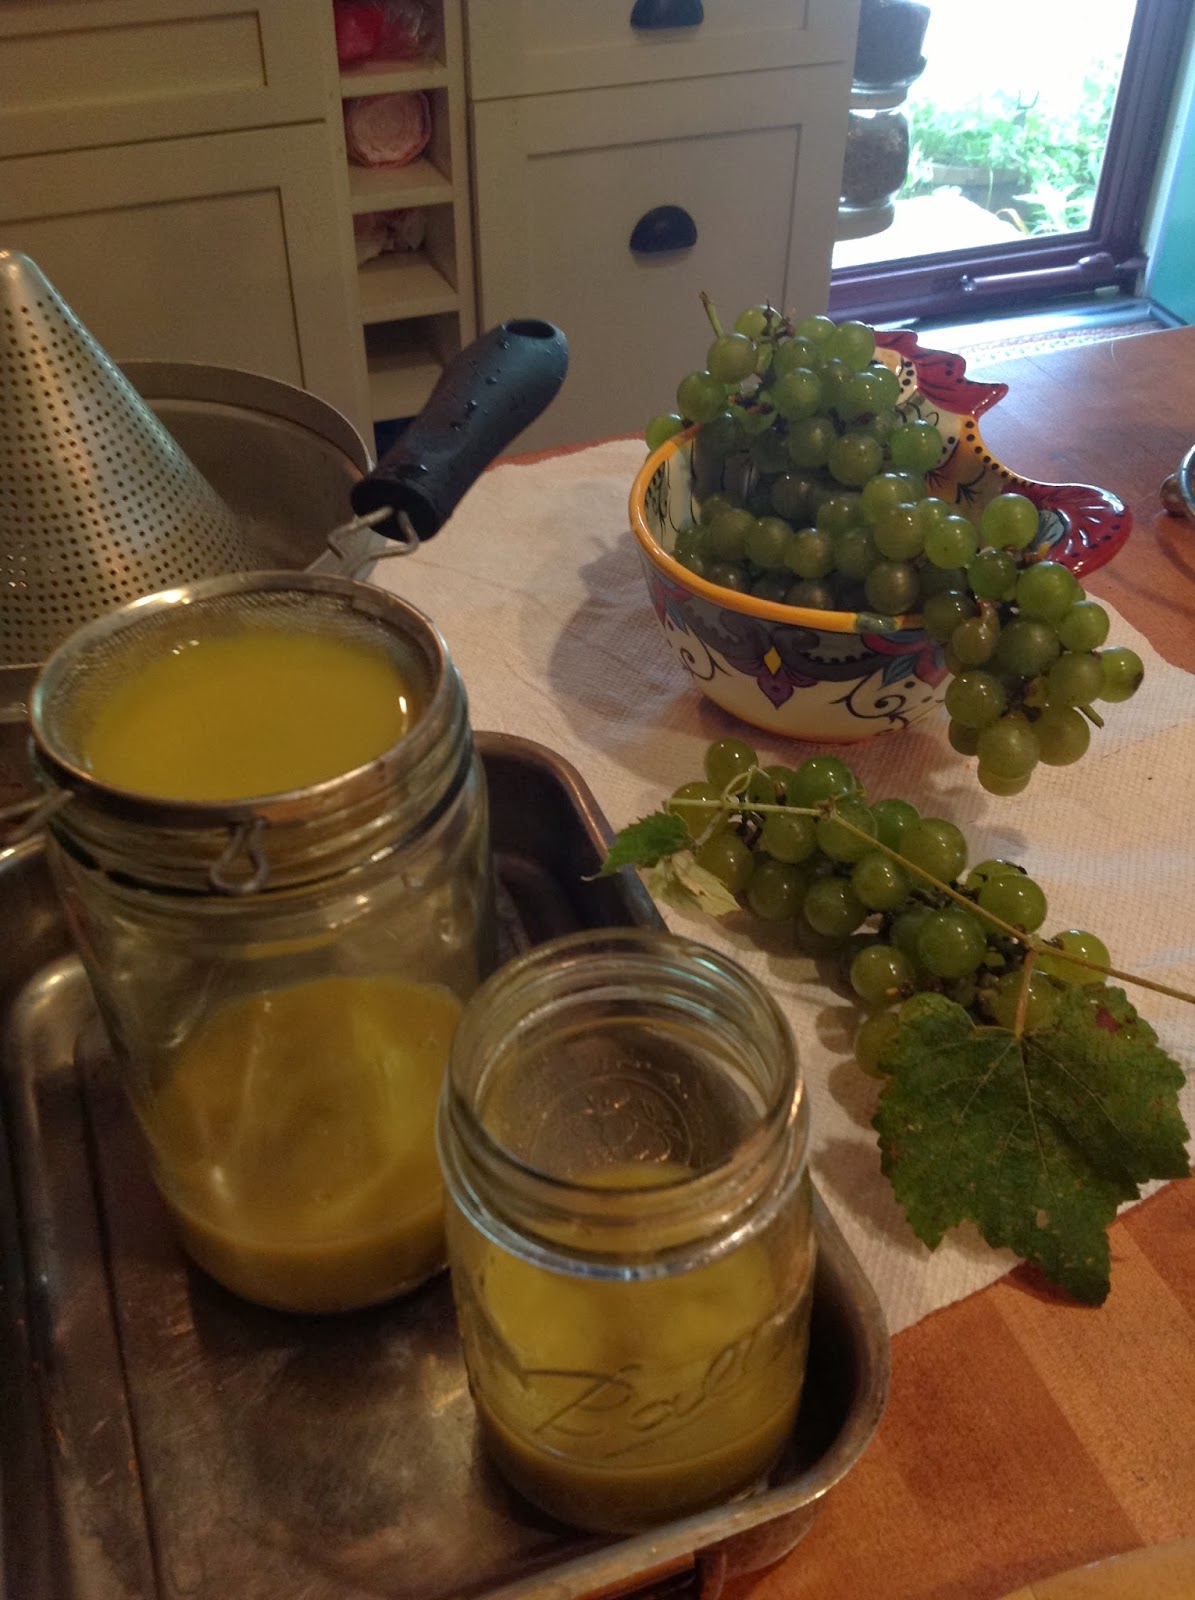
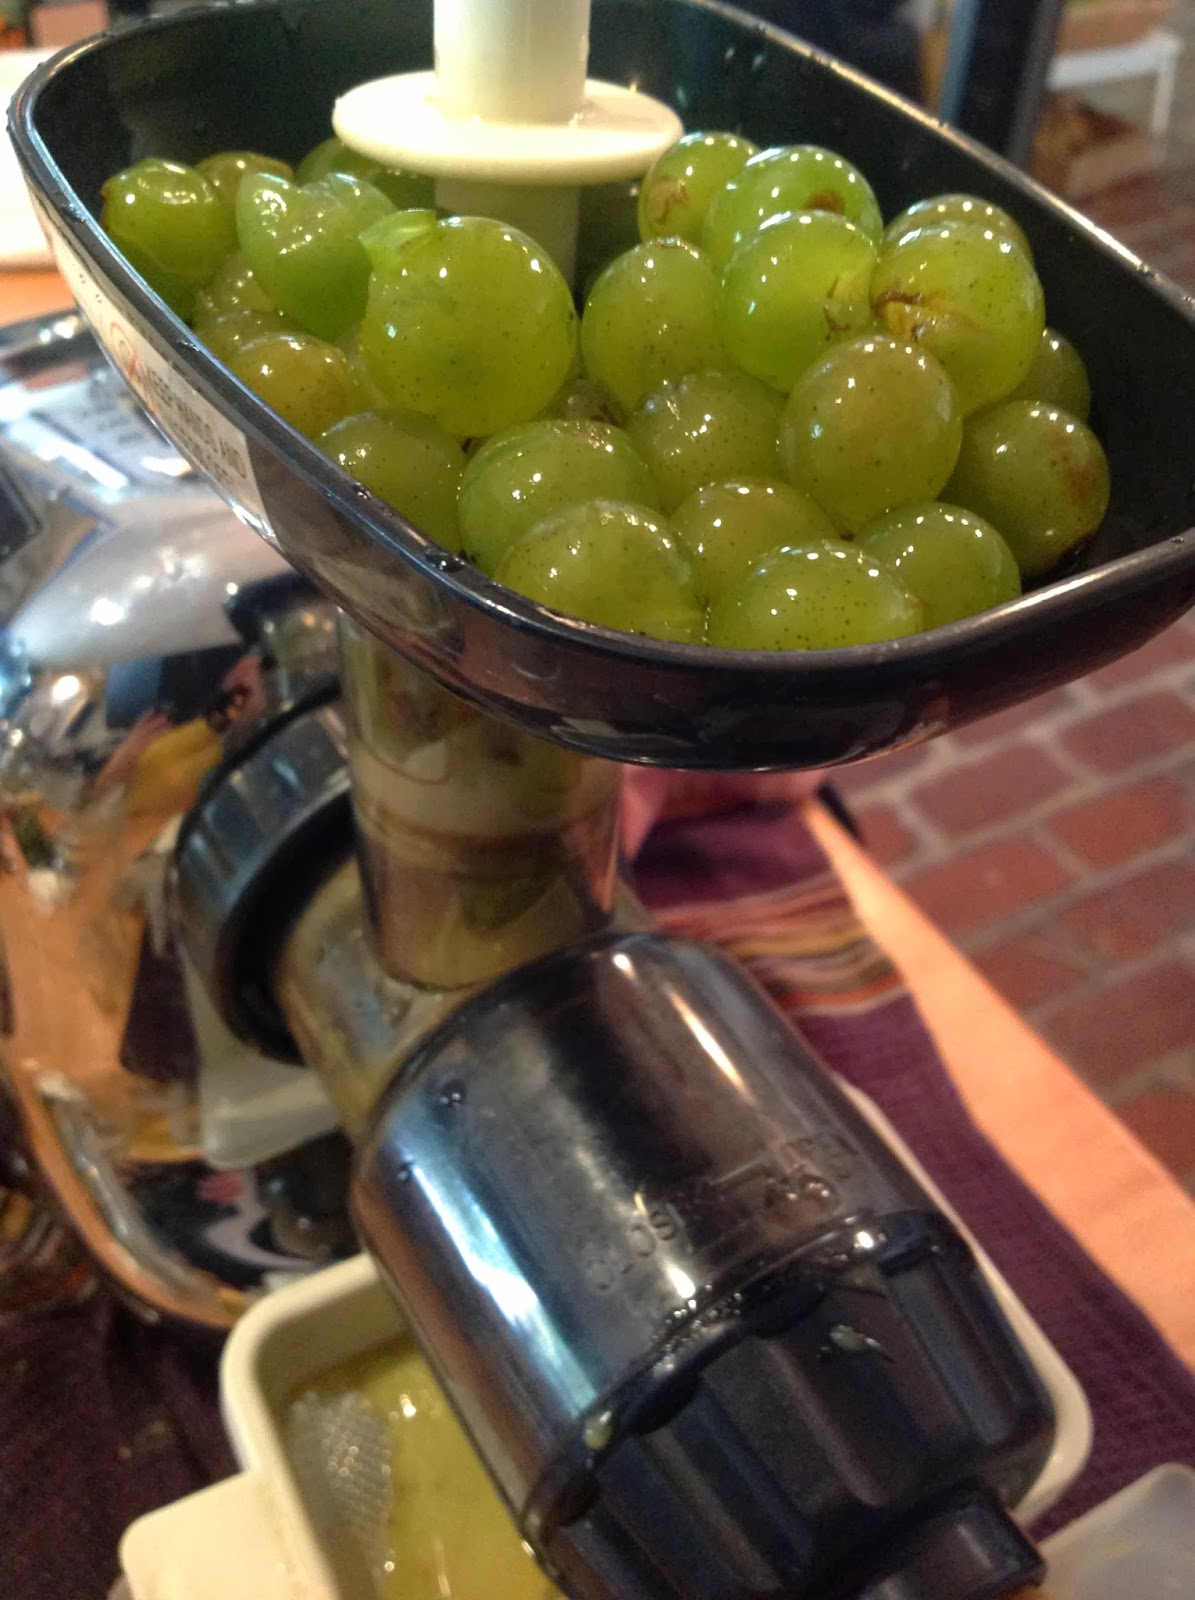
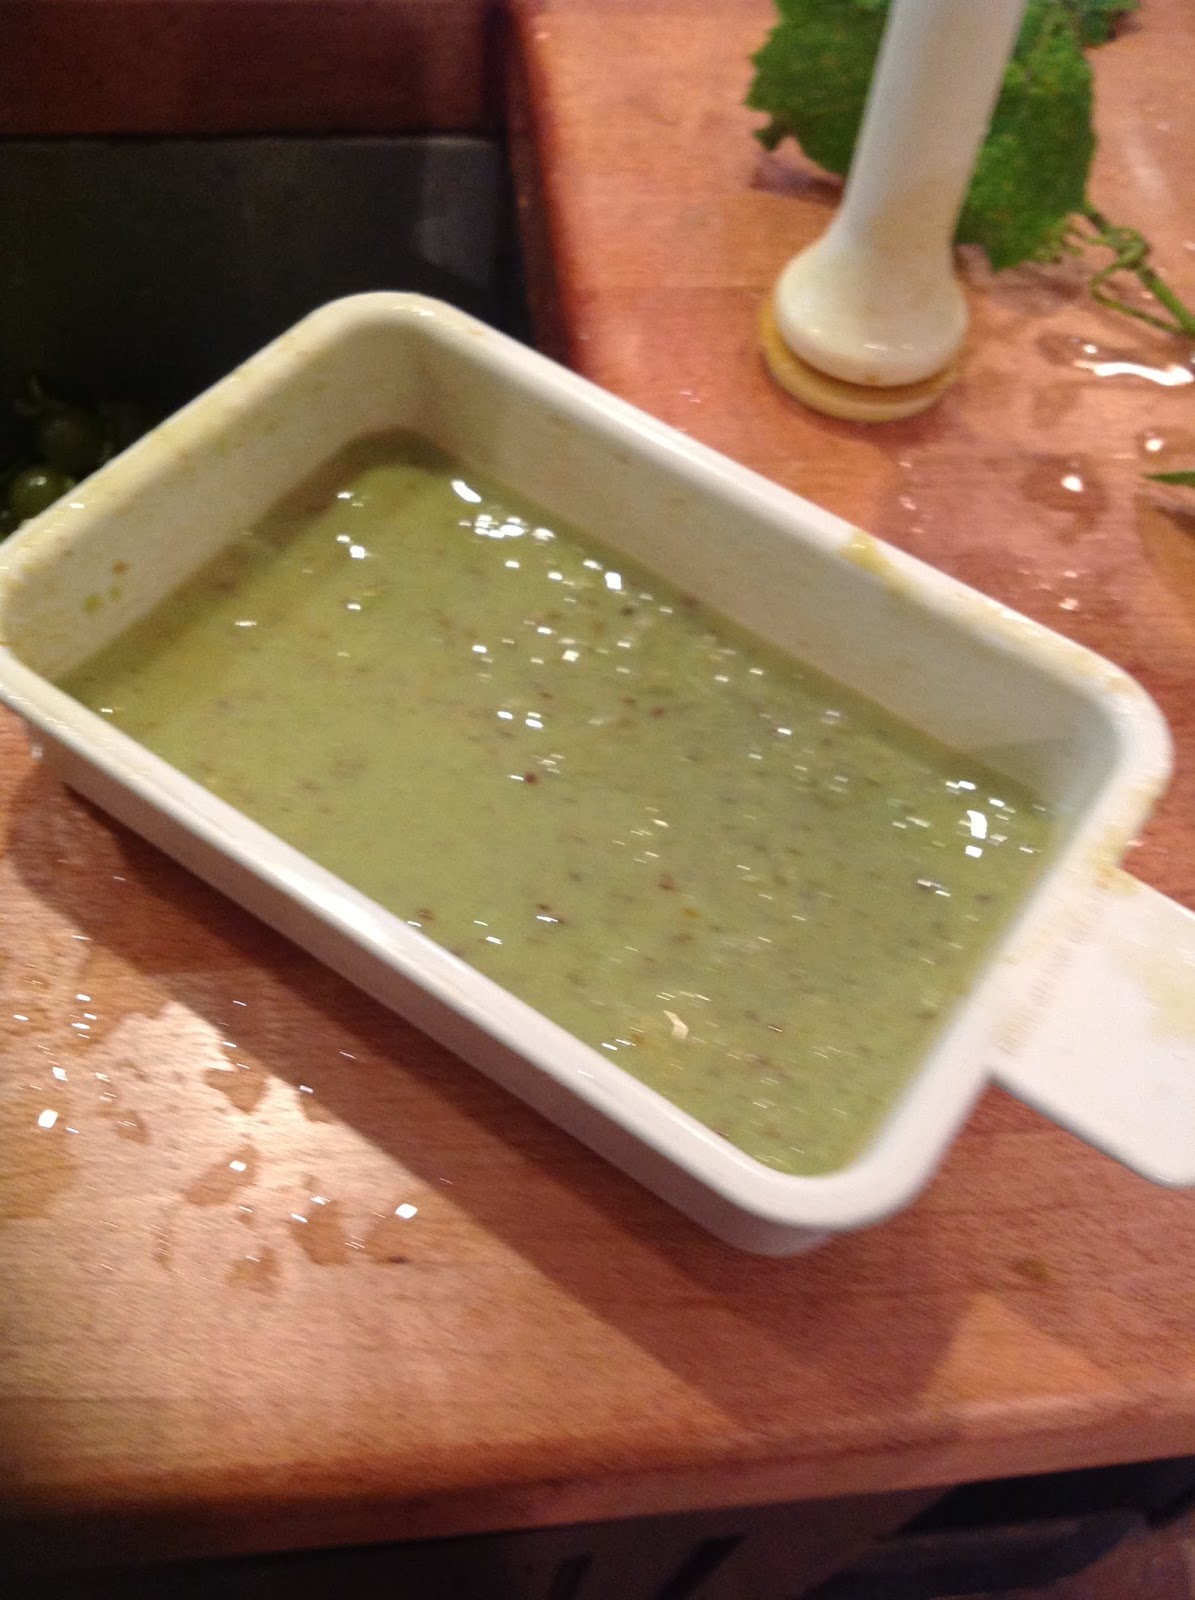
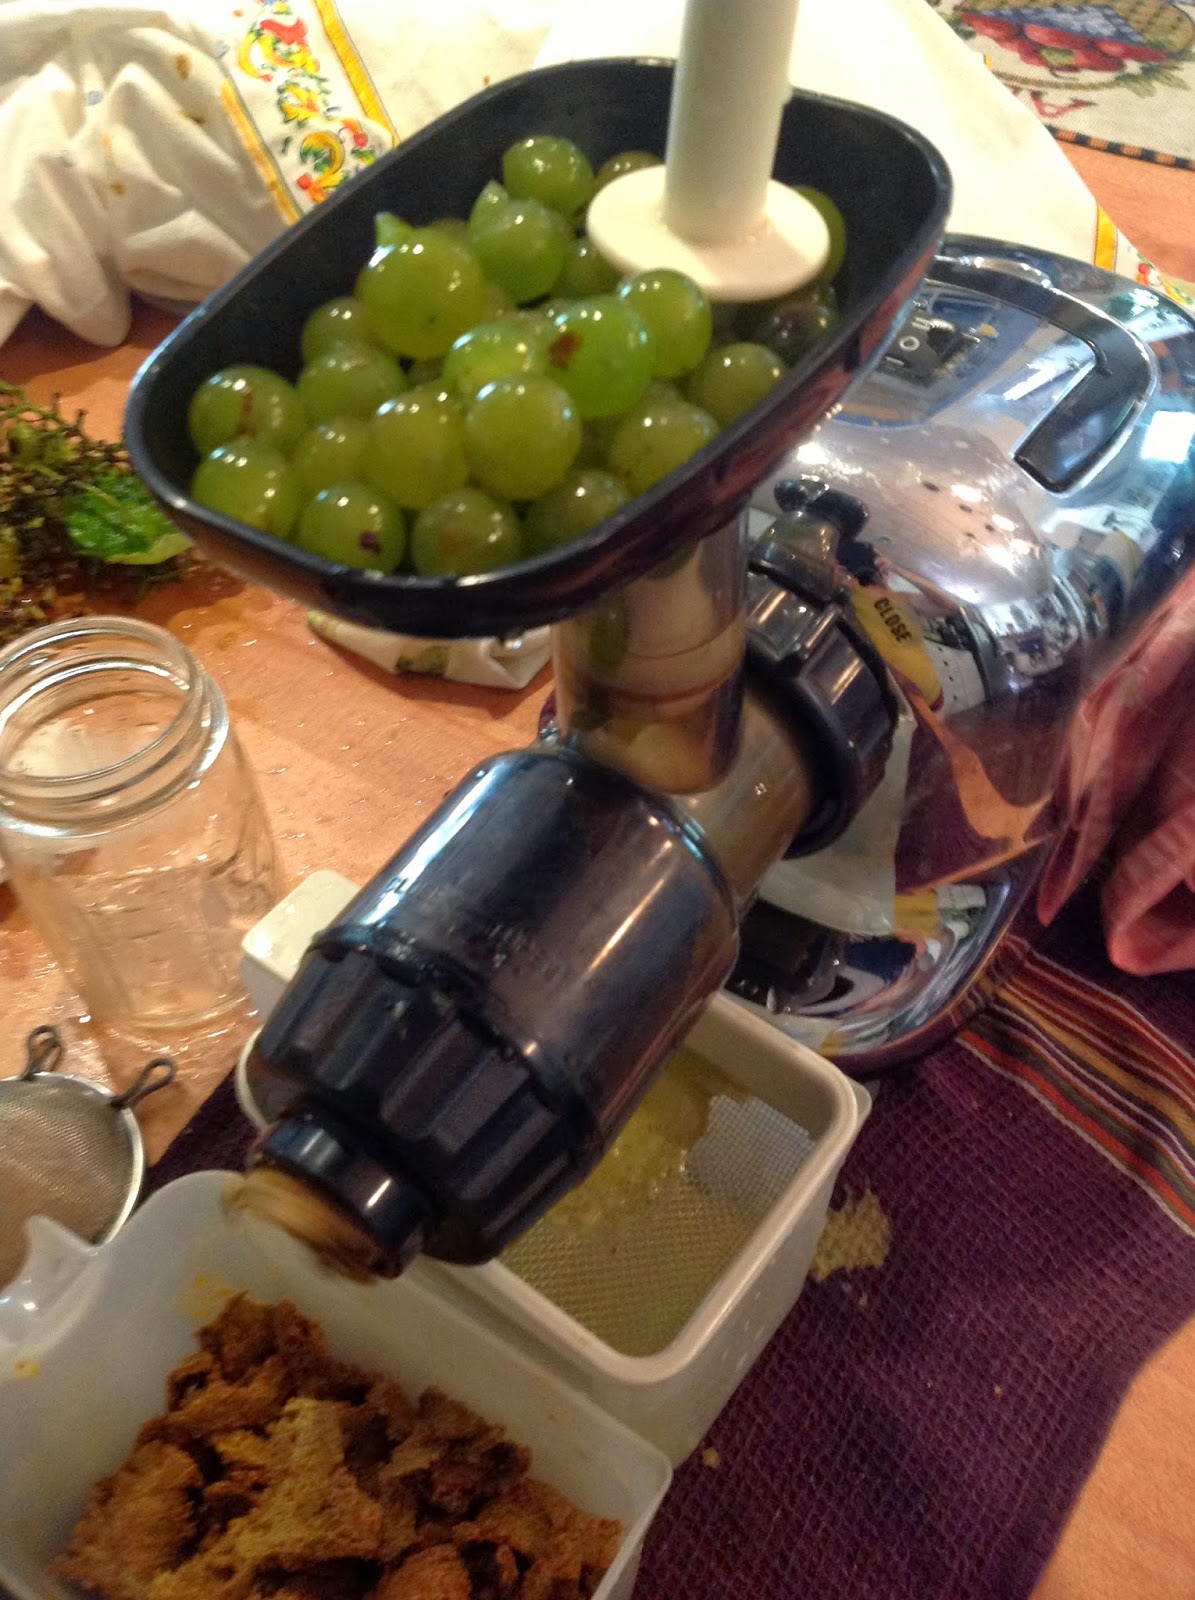
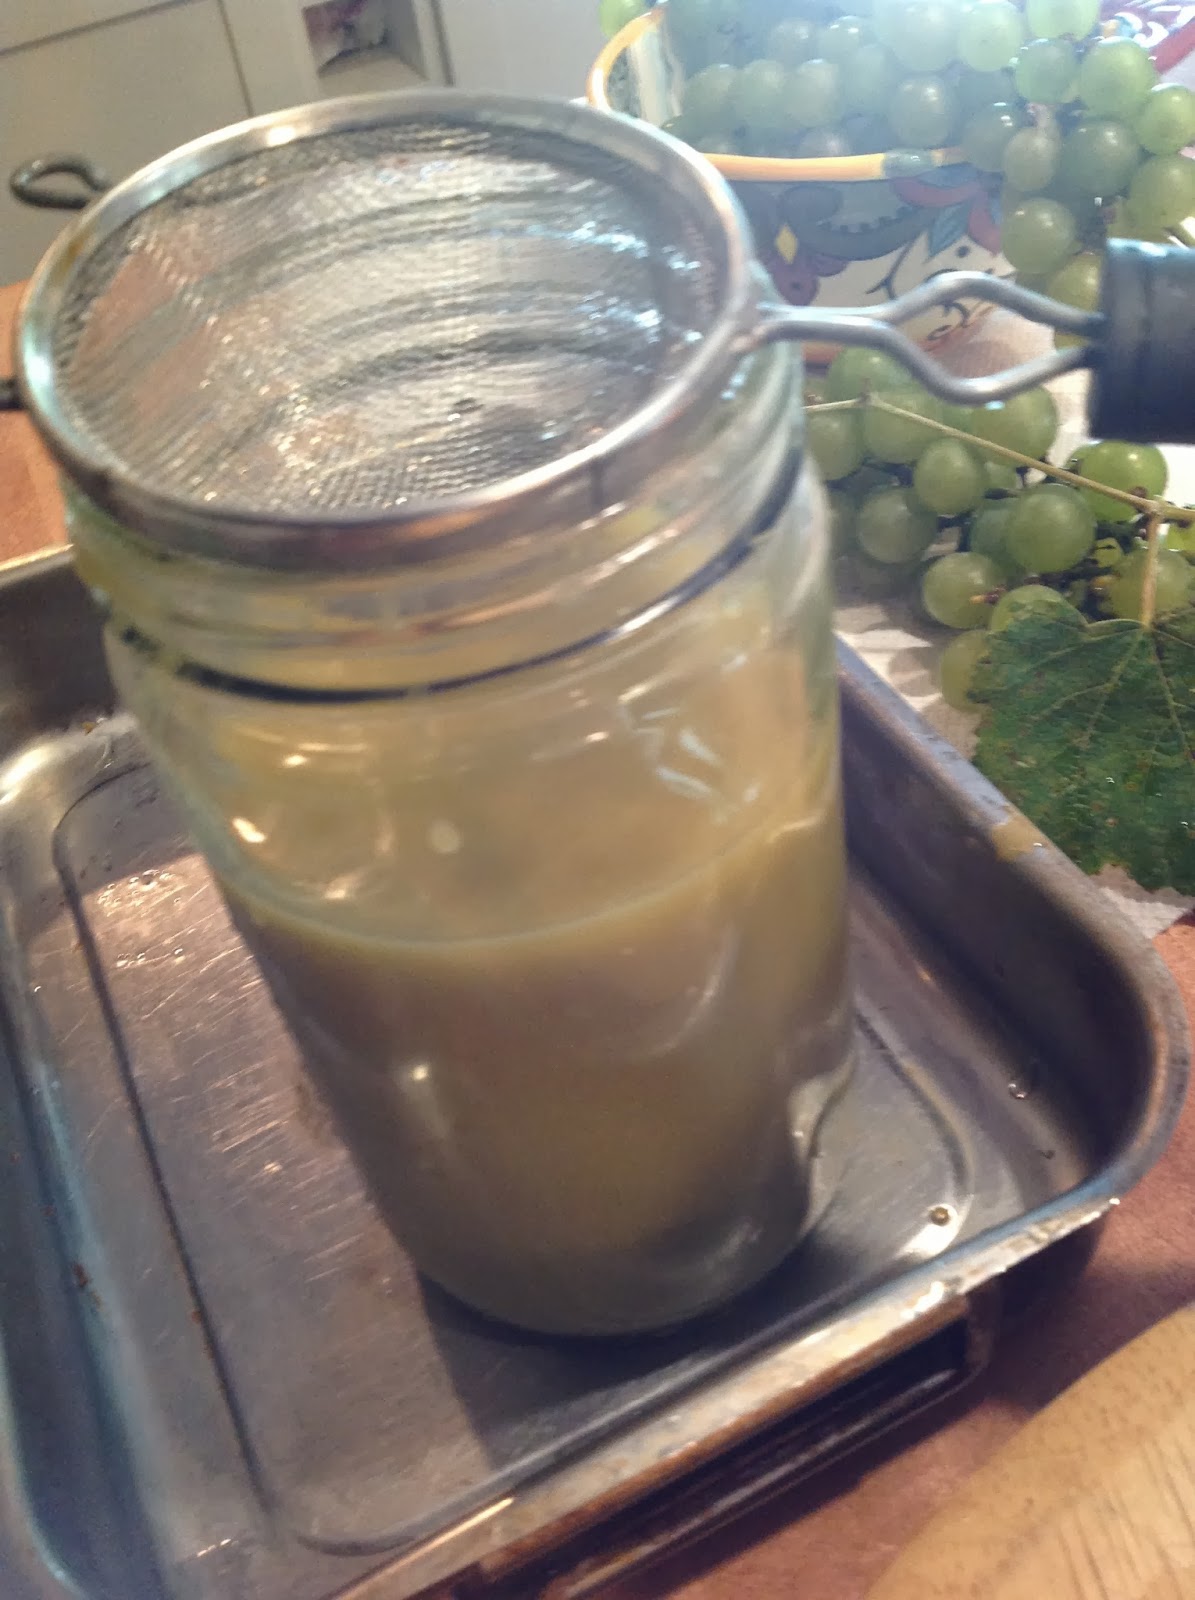
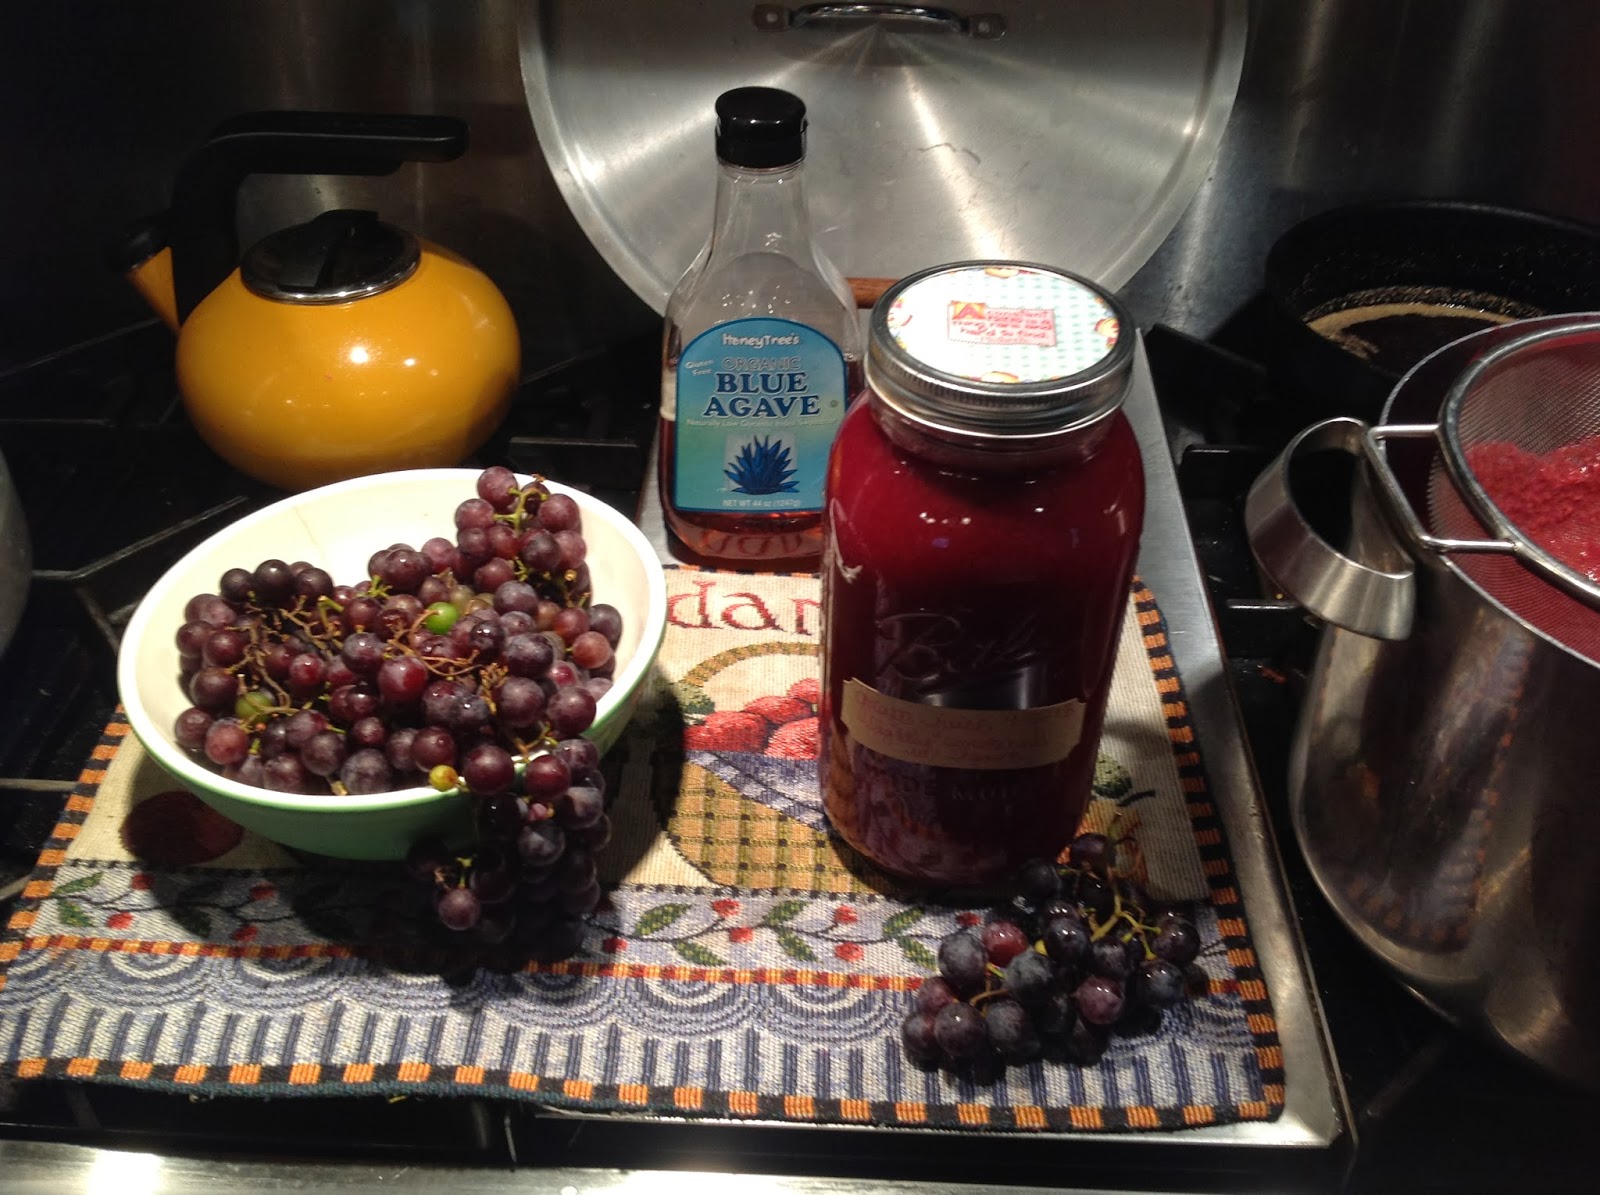
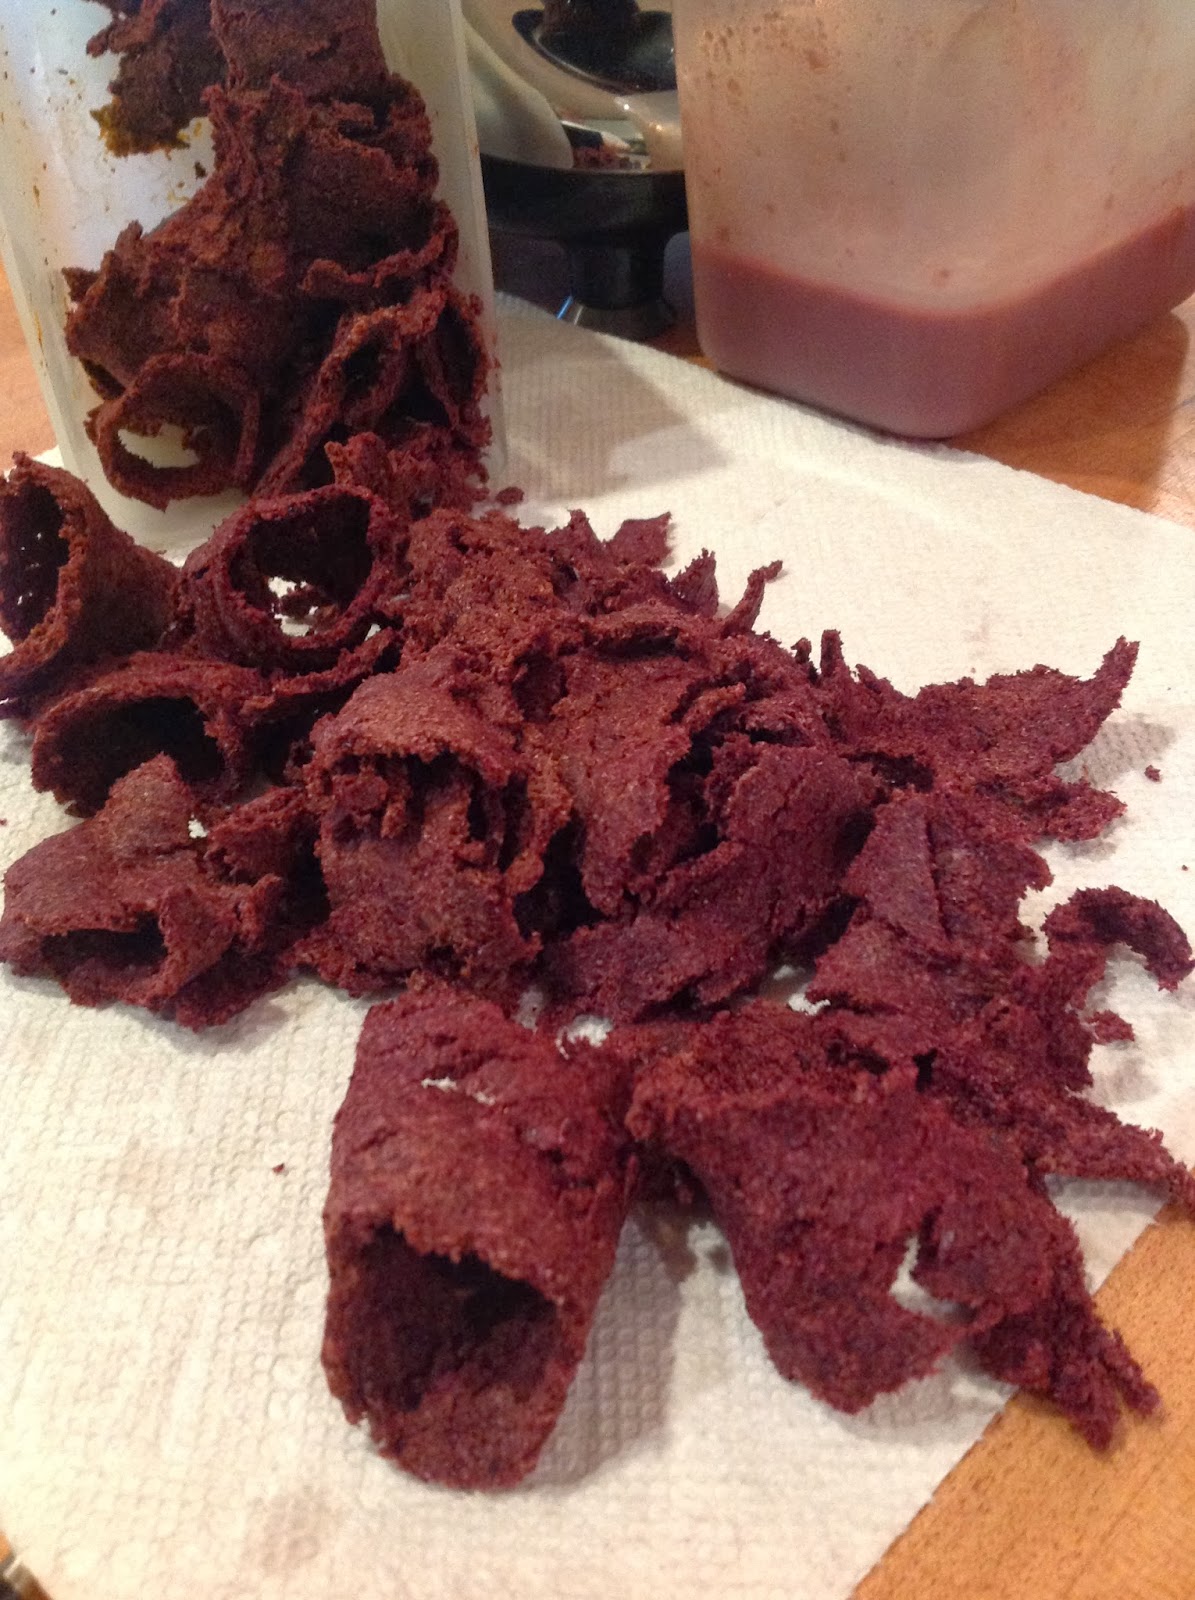
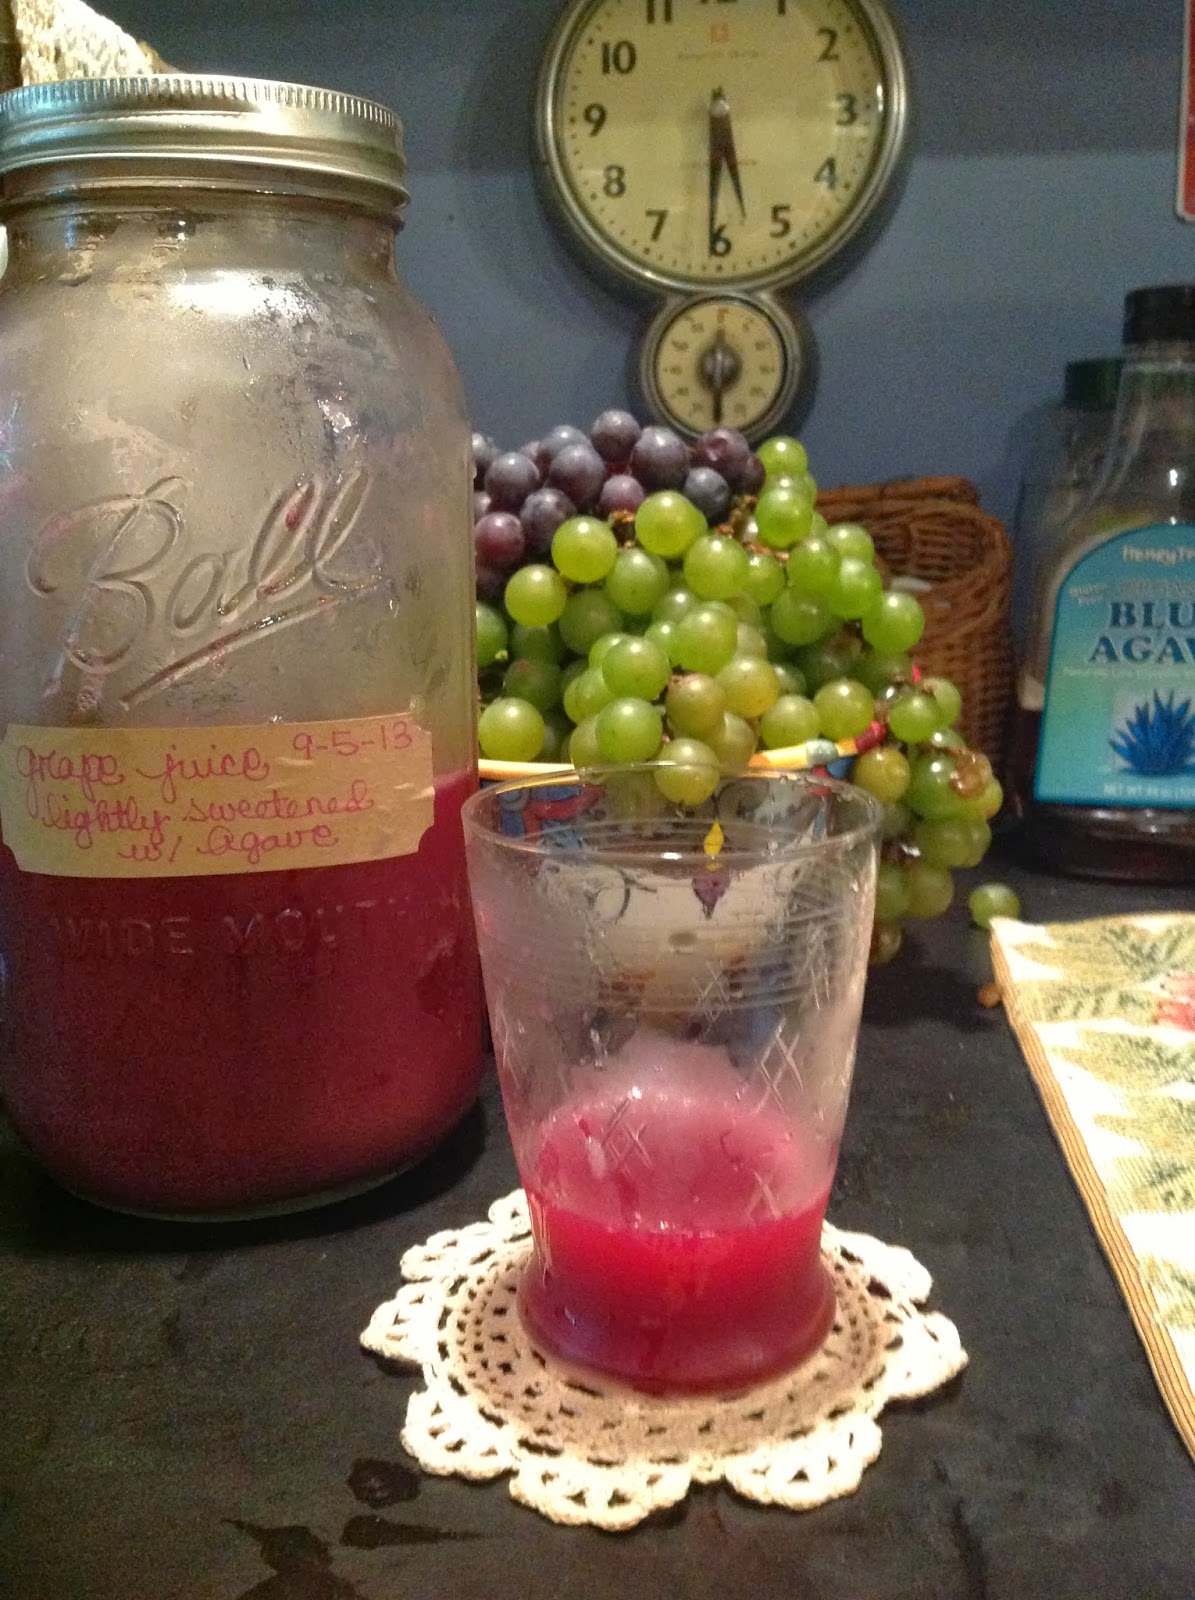
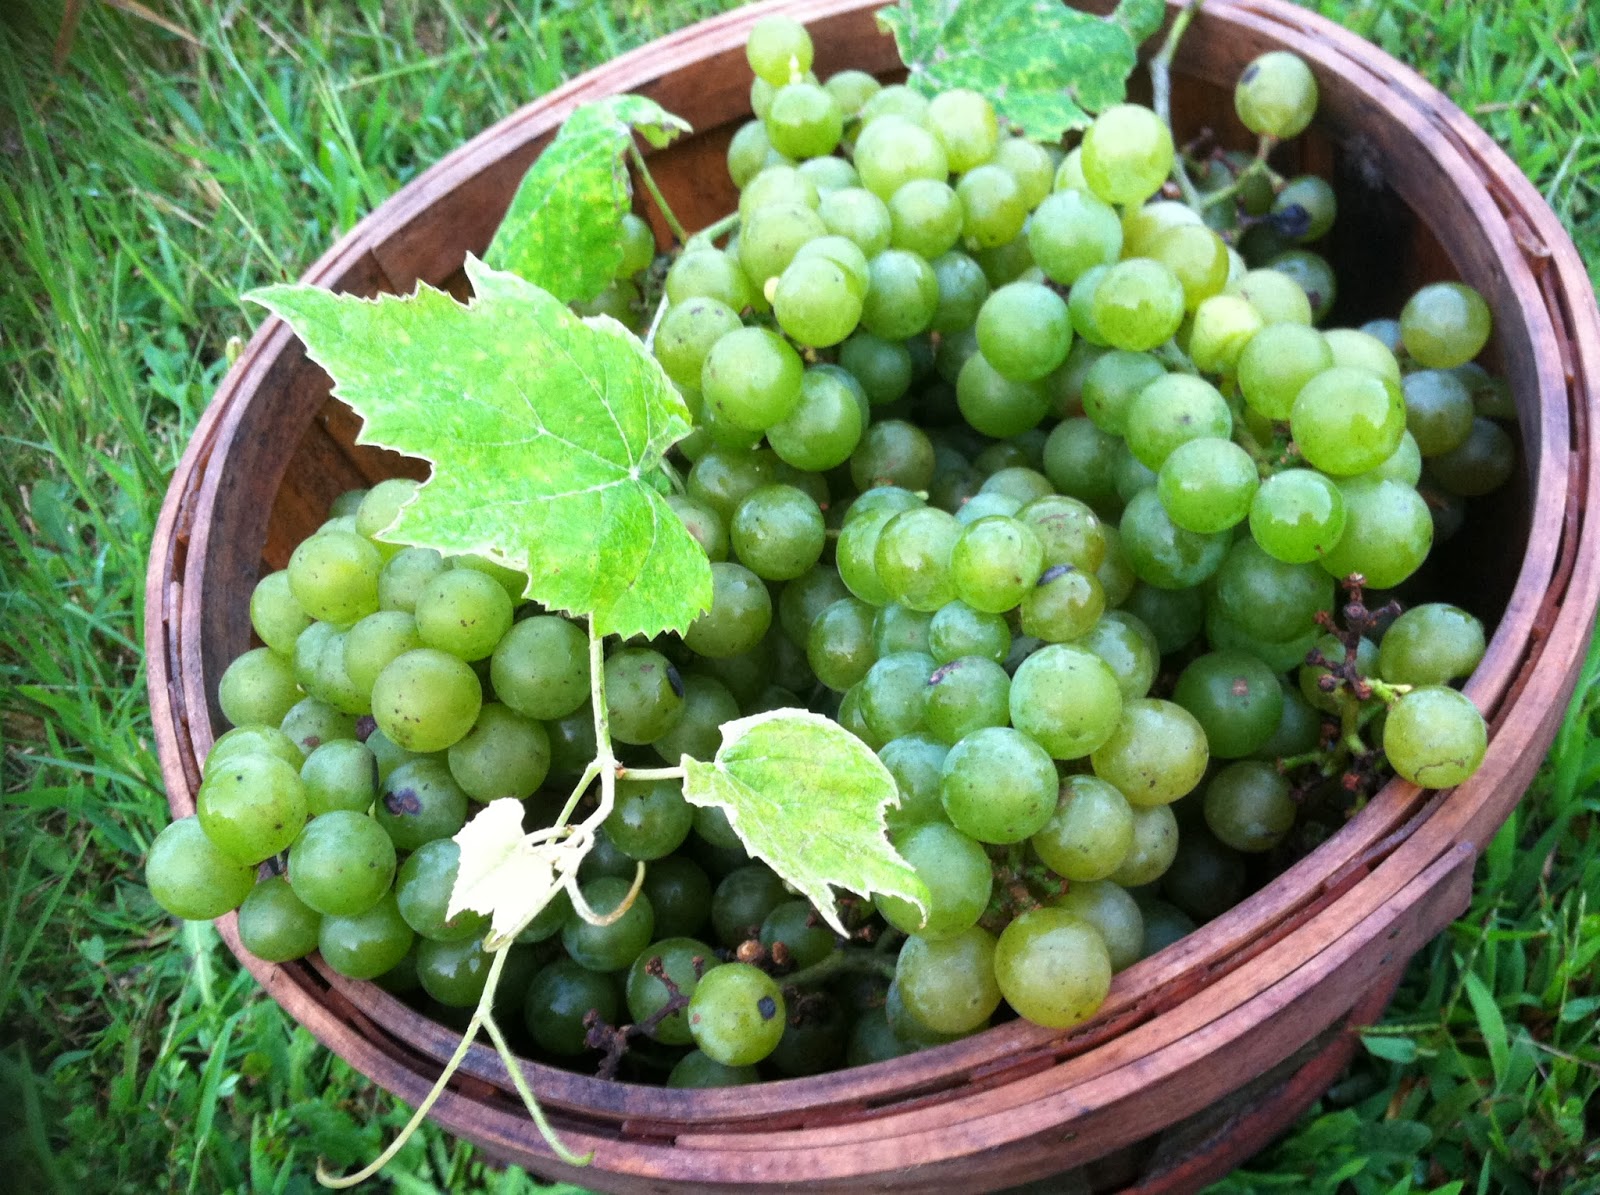
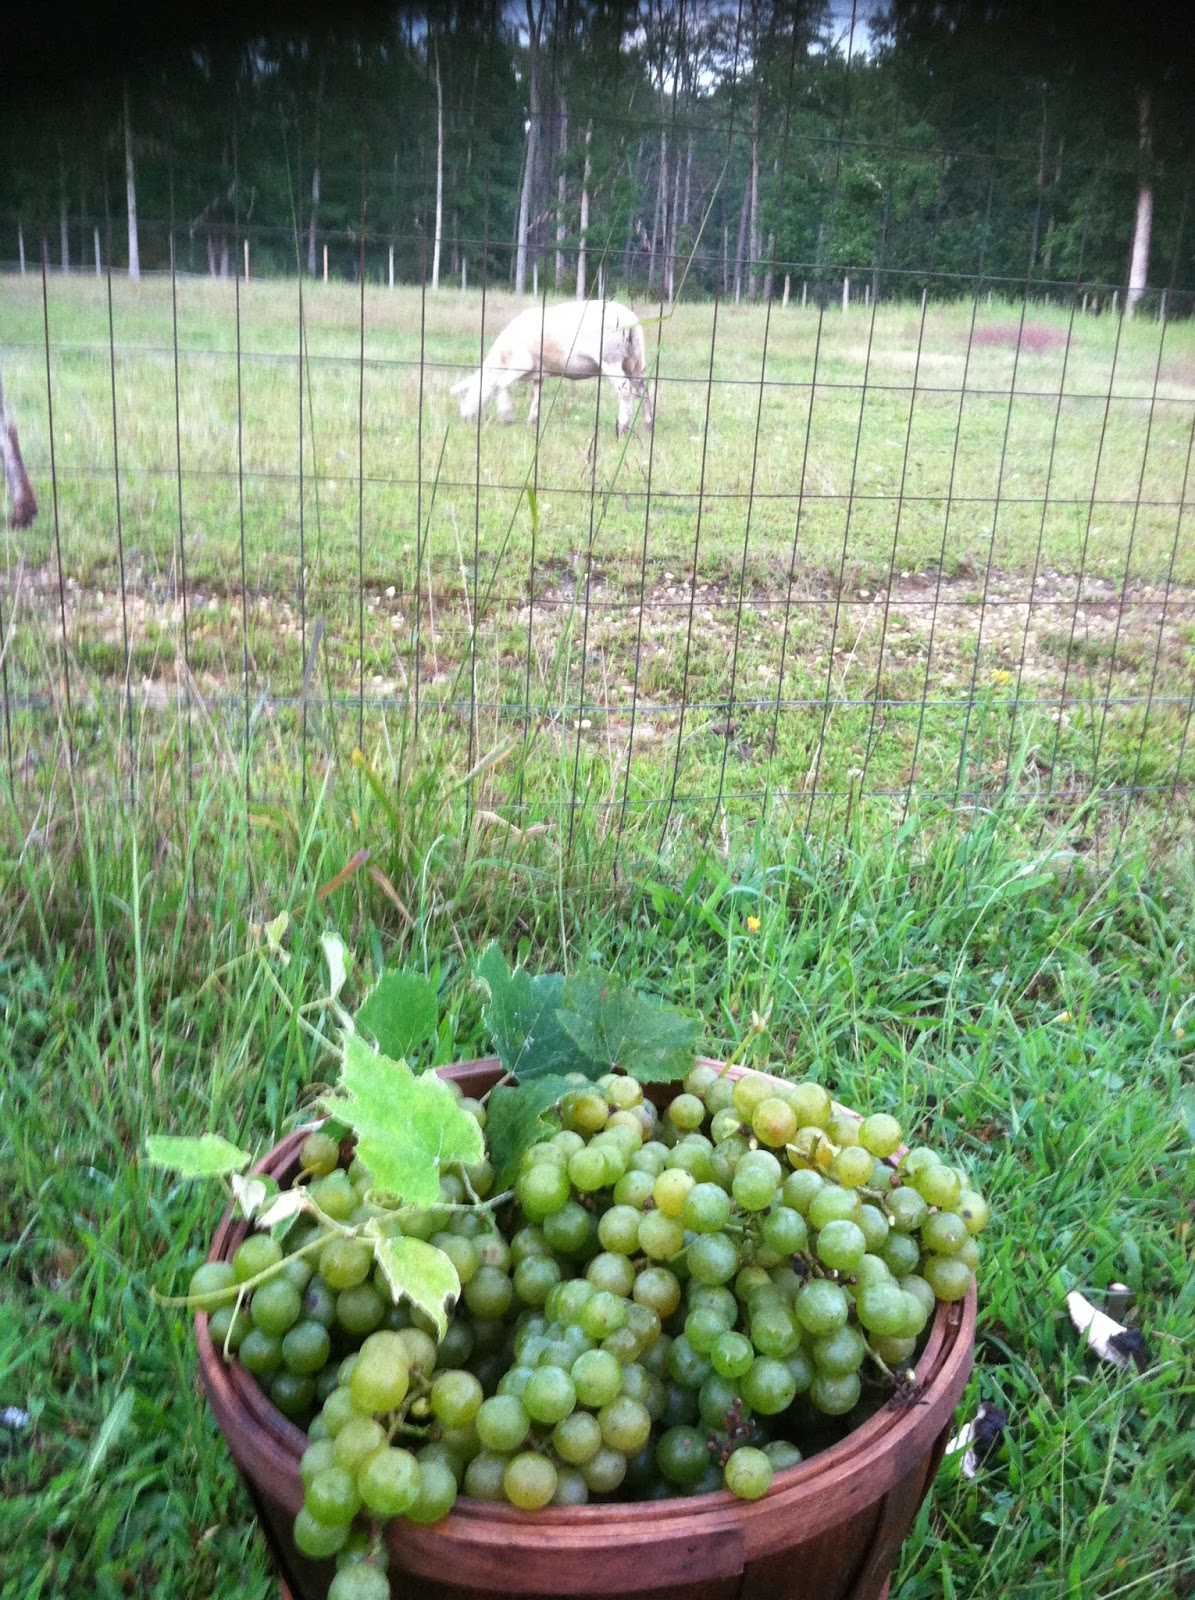
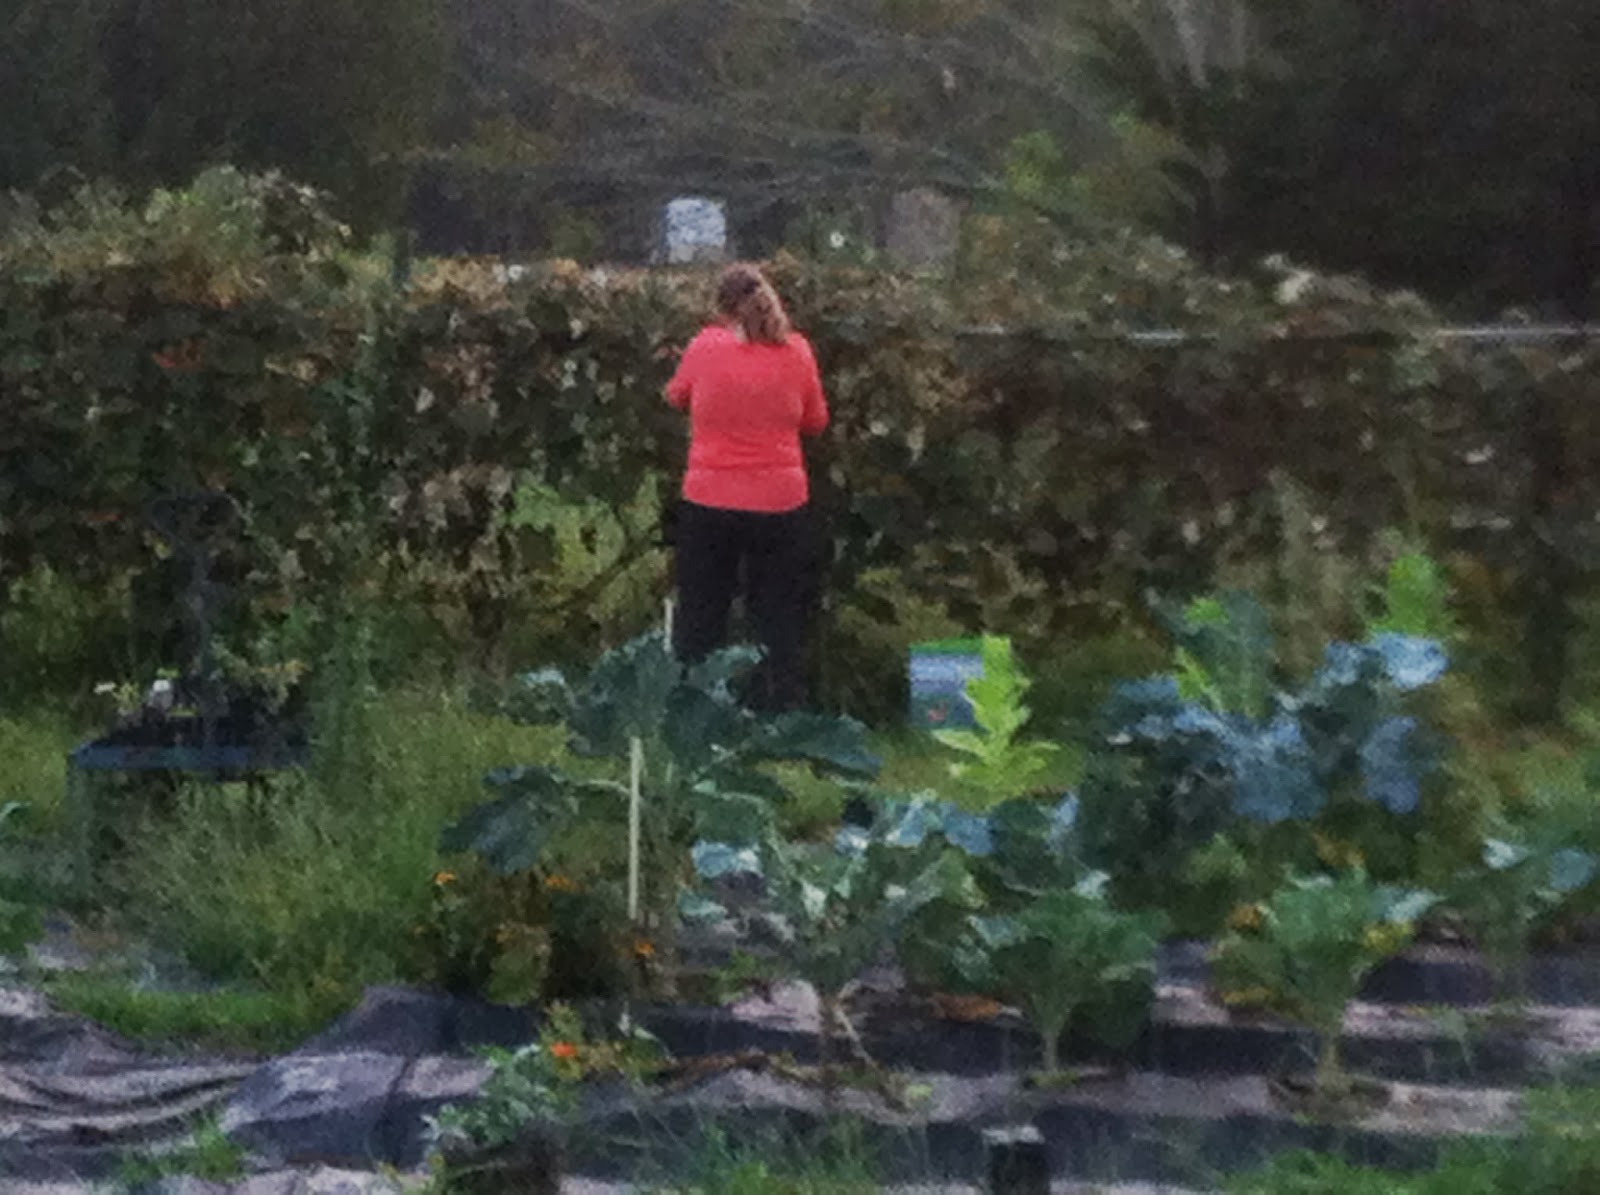
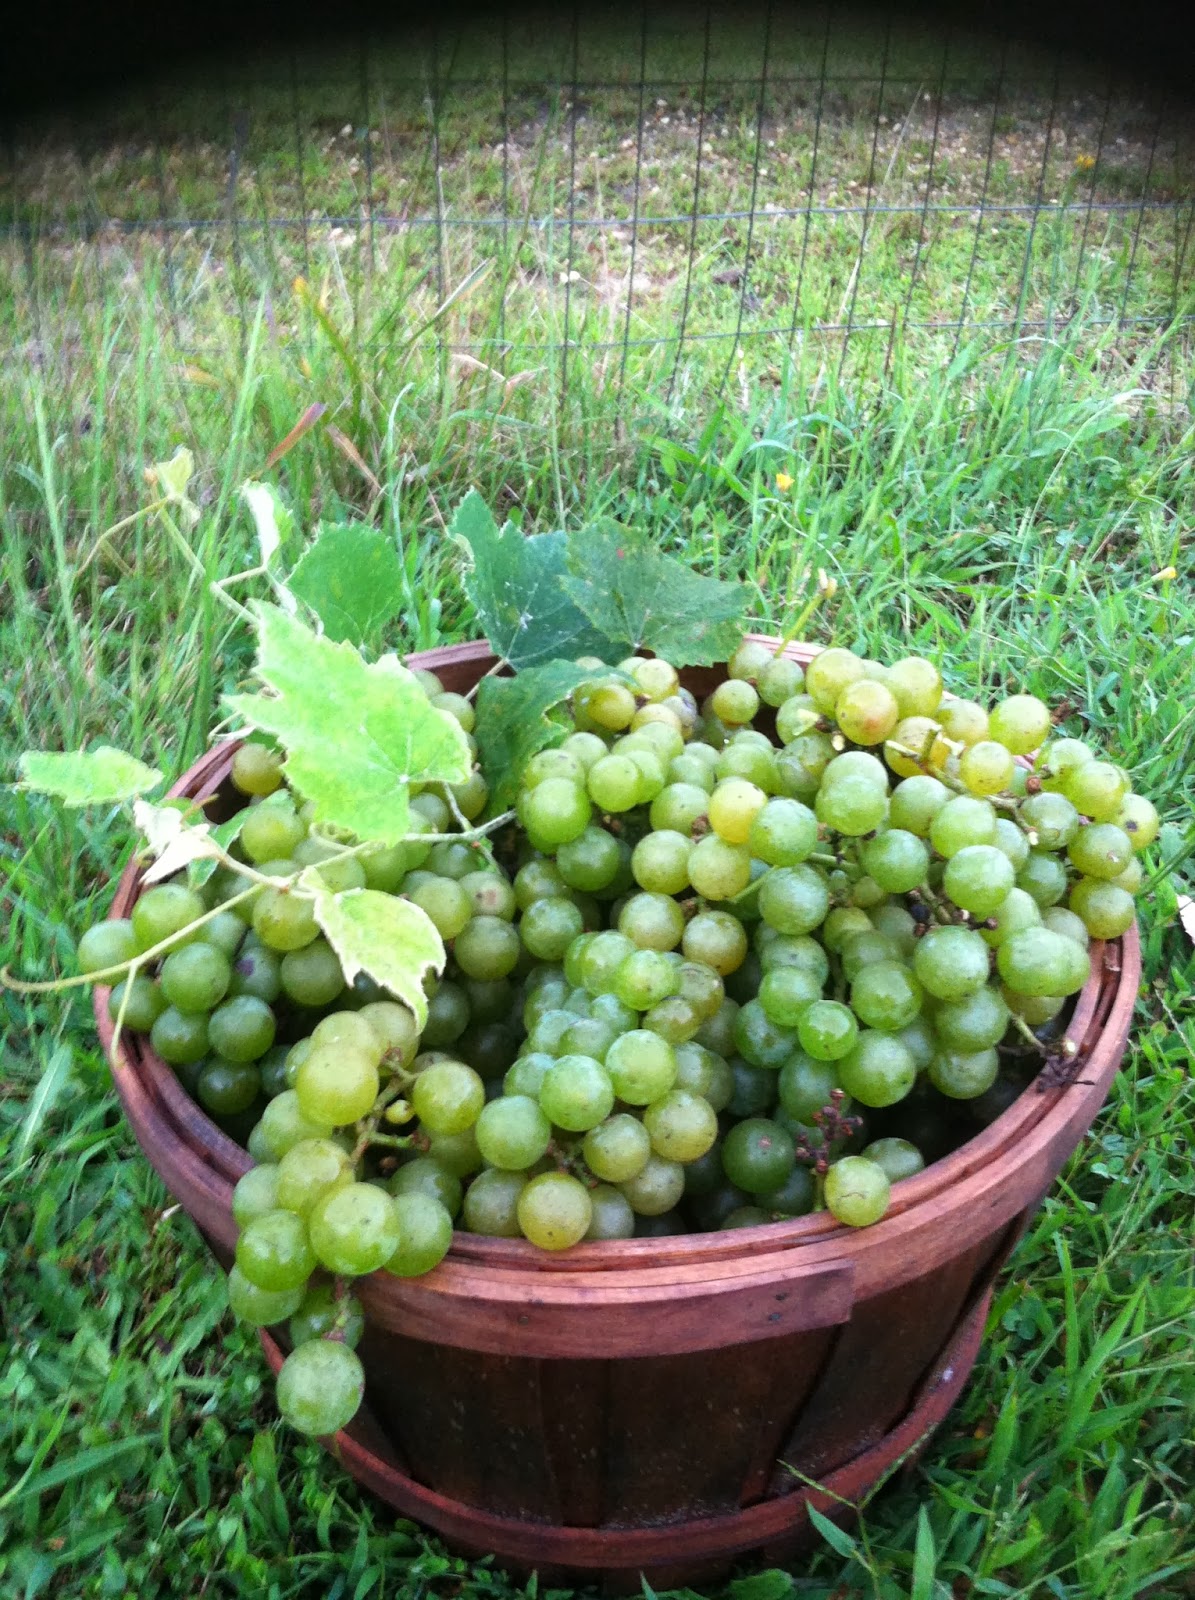
Having had great success with the concord vines we planted in 2009, we decided to add another variety of grapes in 2011: white table grapes. Unfortunately, the budding vines were nearly destroyed when a freak derecho storm ripped through our property in late June 2012. So this past summer’s harvest was truly something to celebrate. Pulled out the juicer for this basketful:“My Omega”
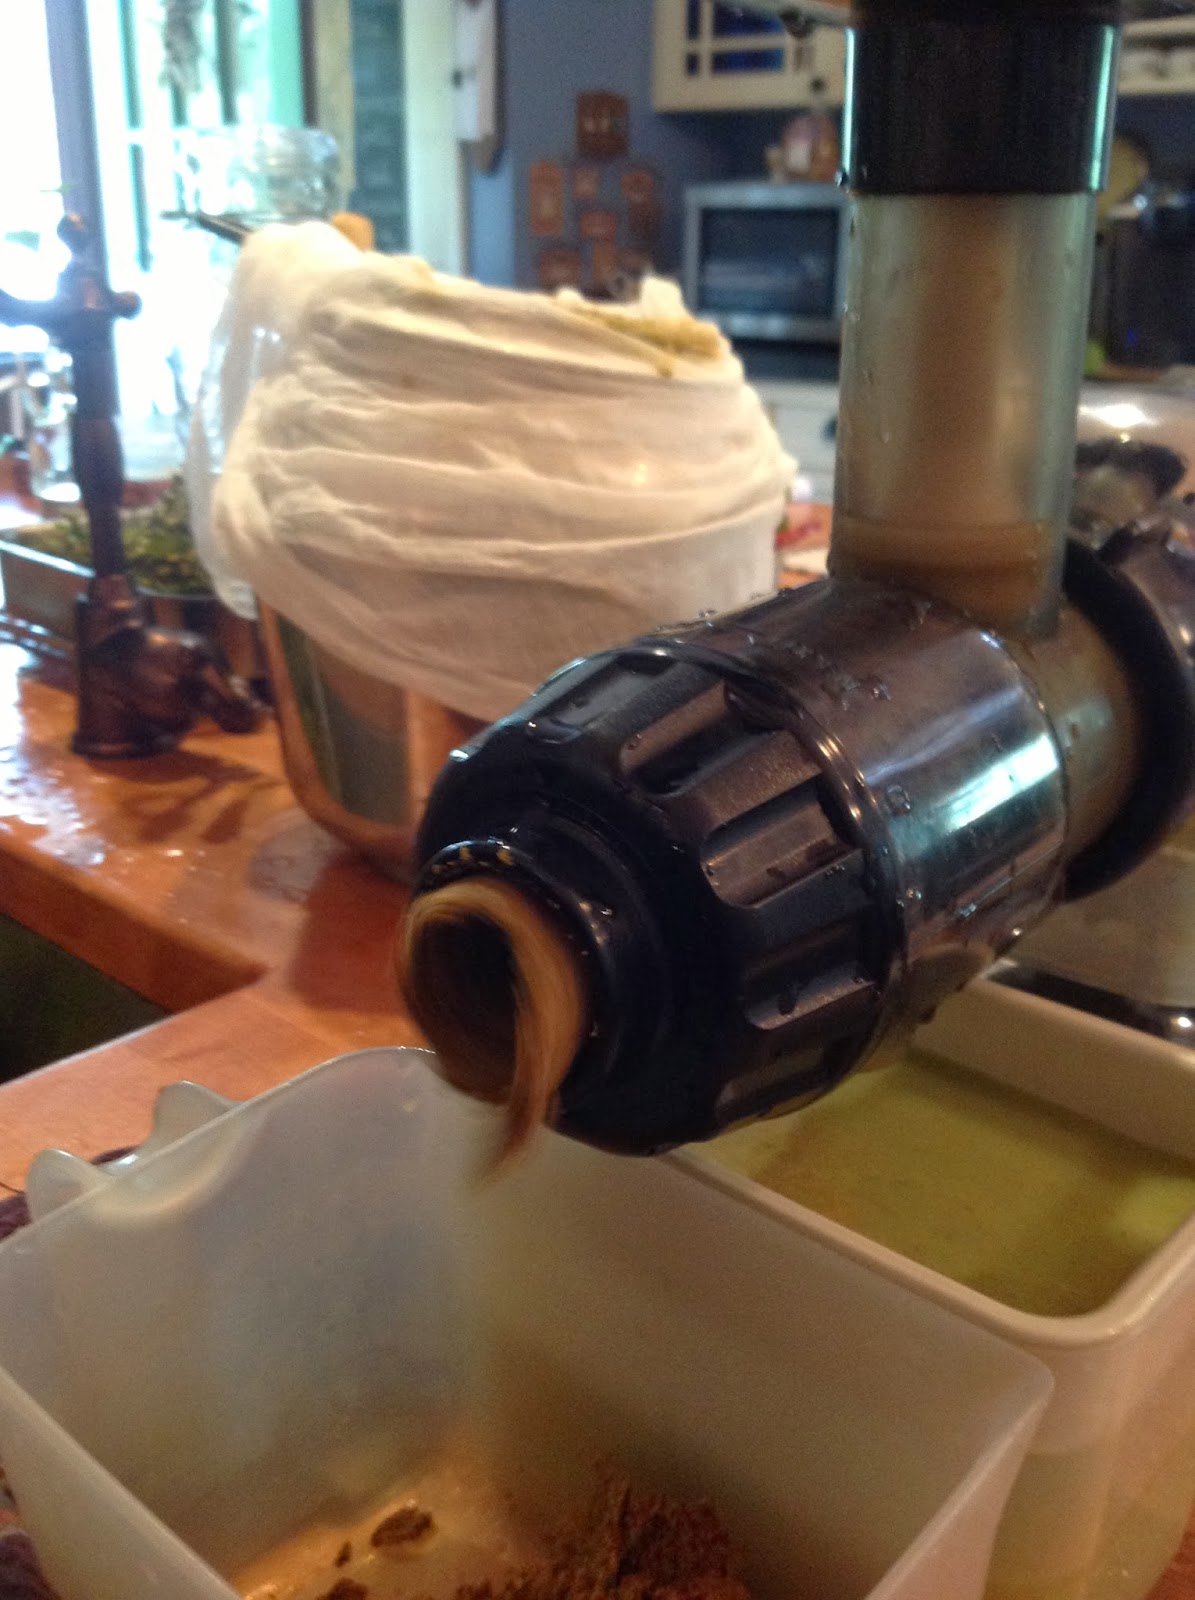
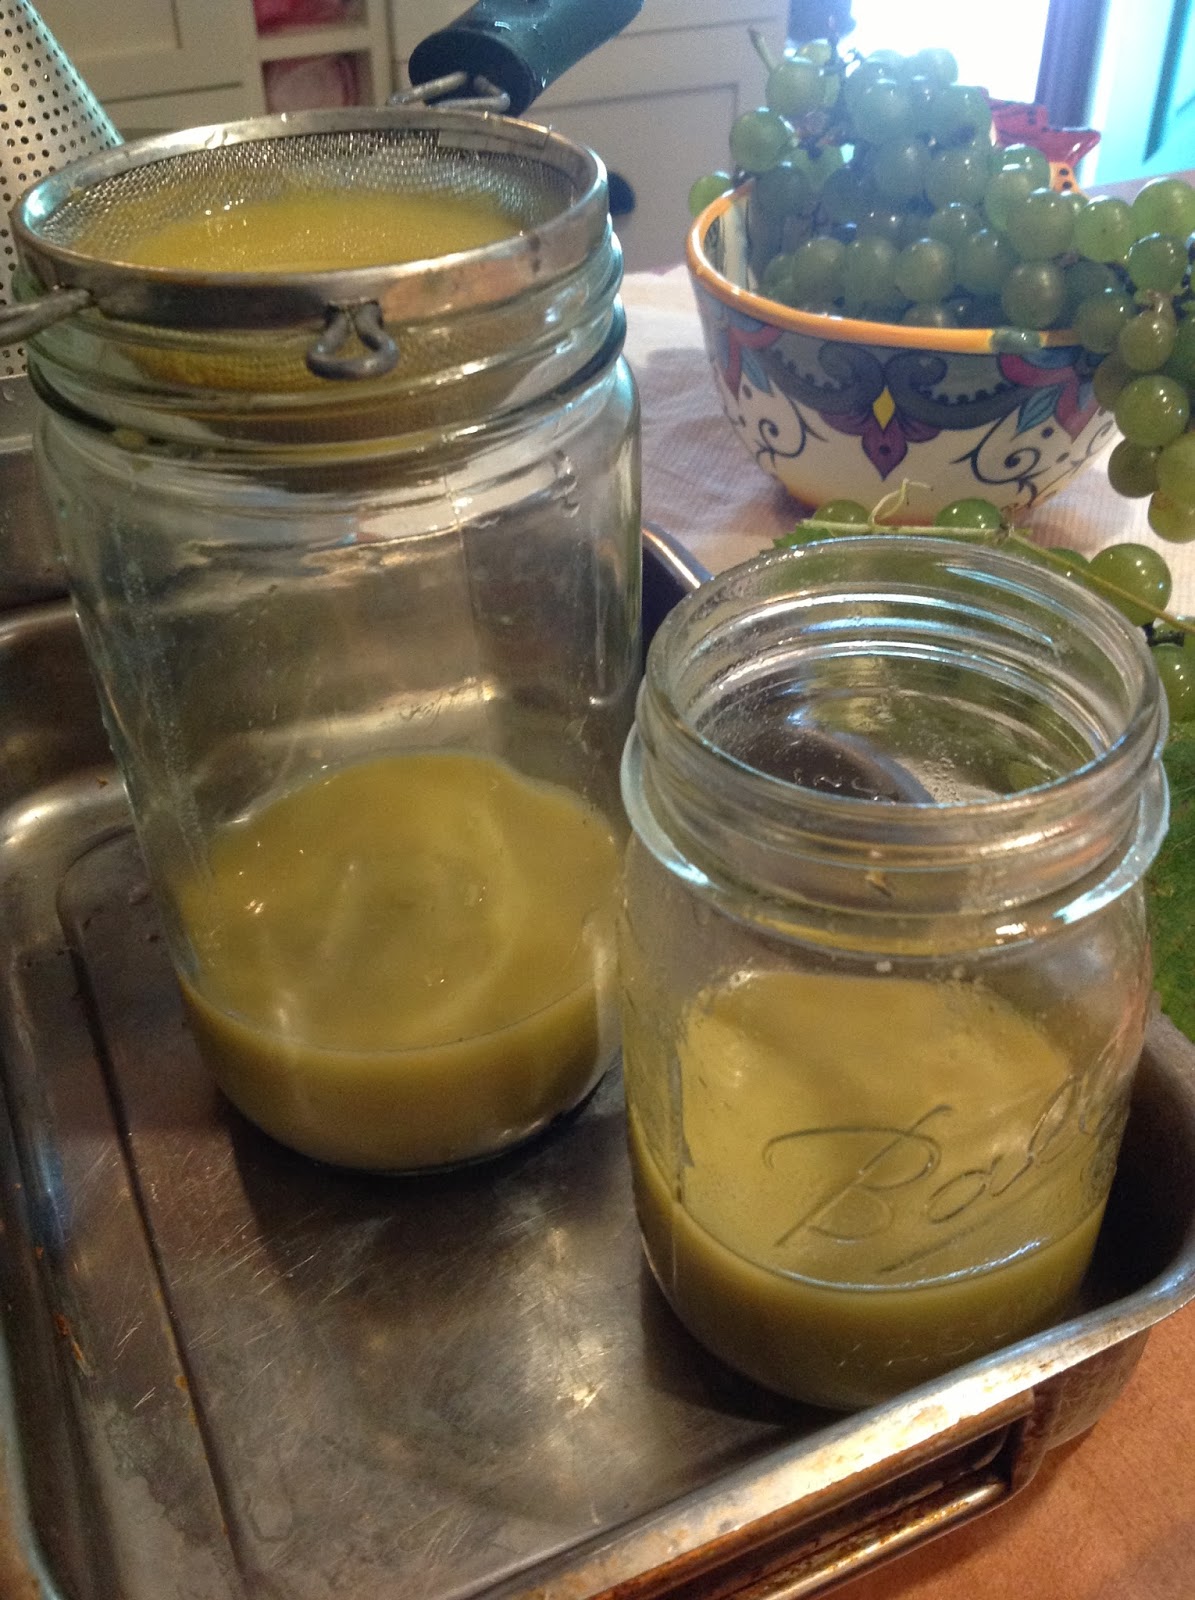
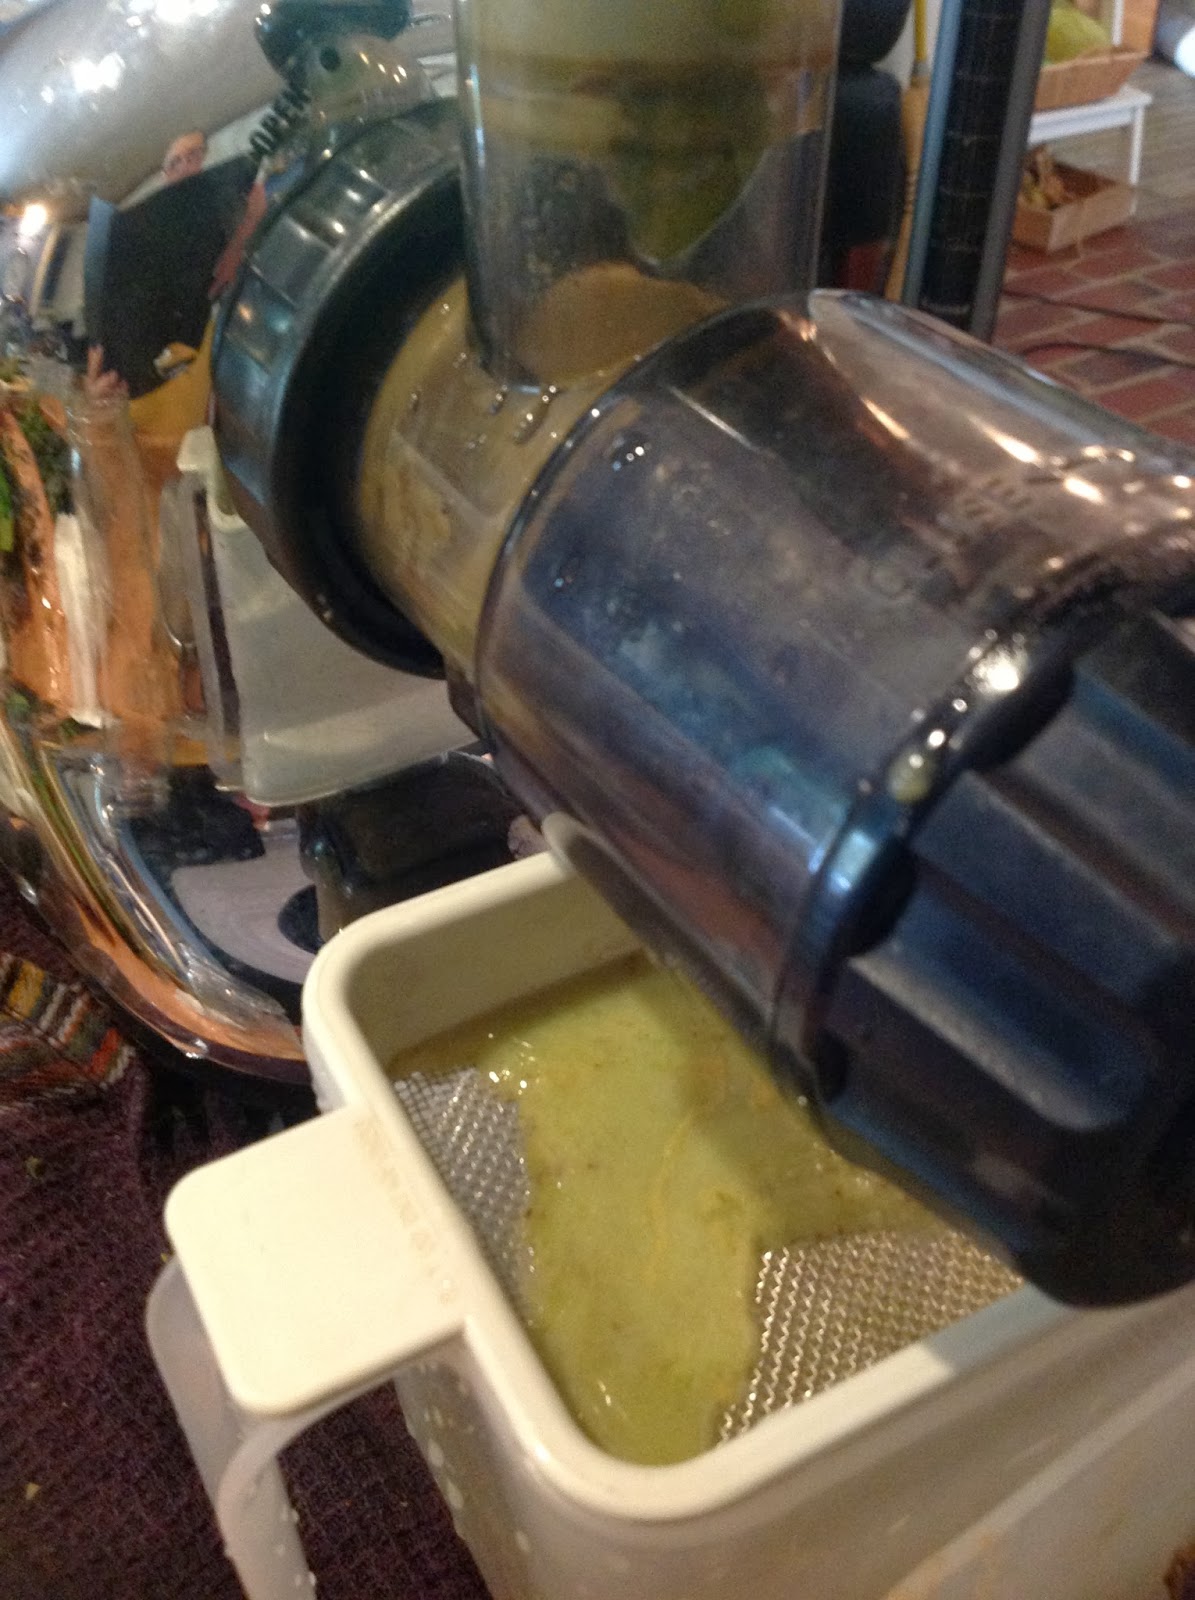
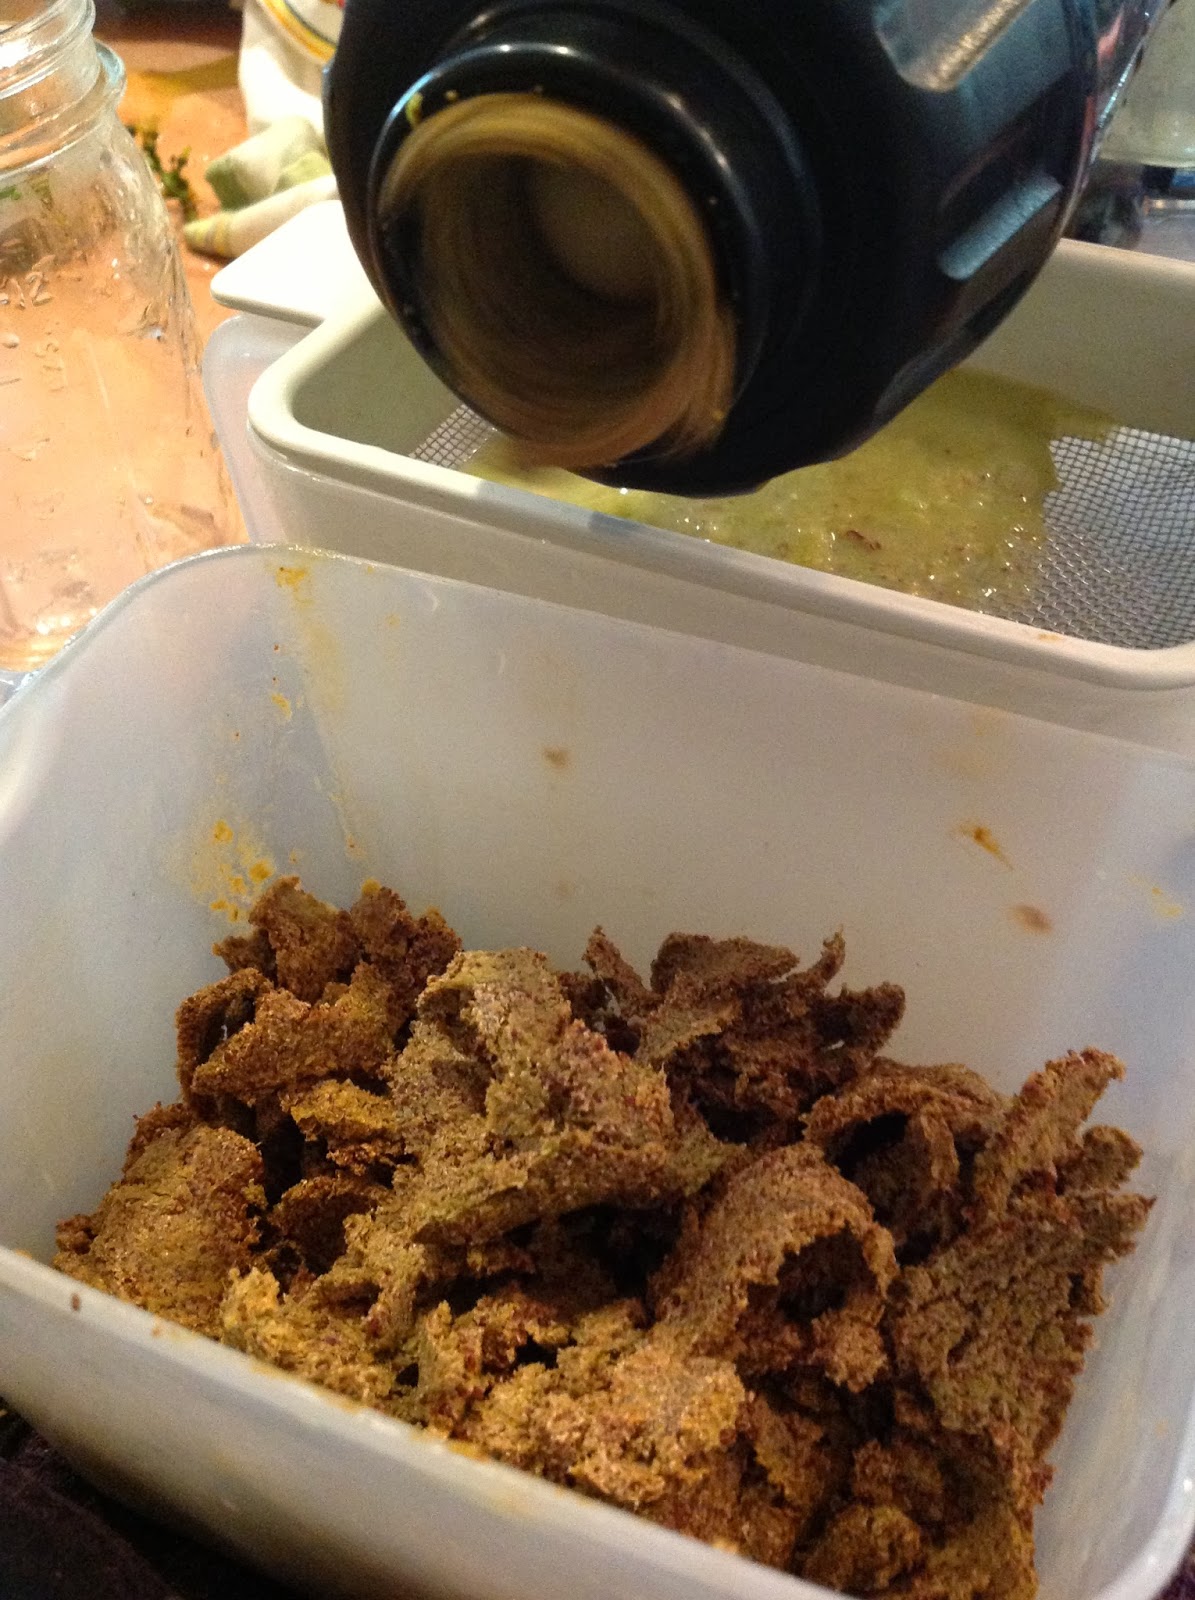
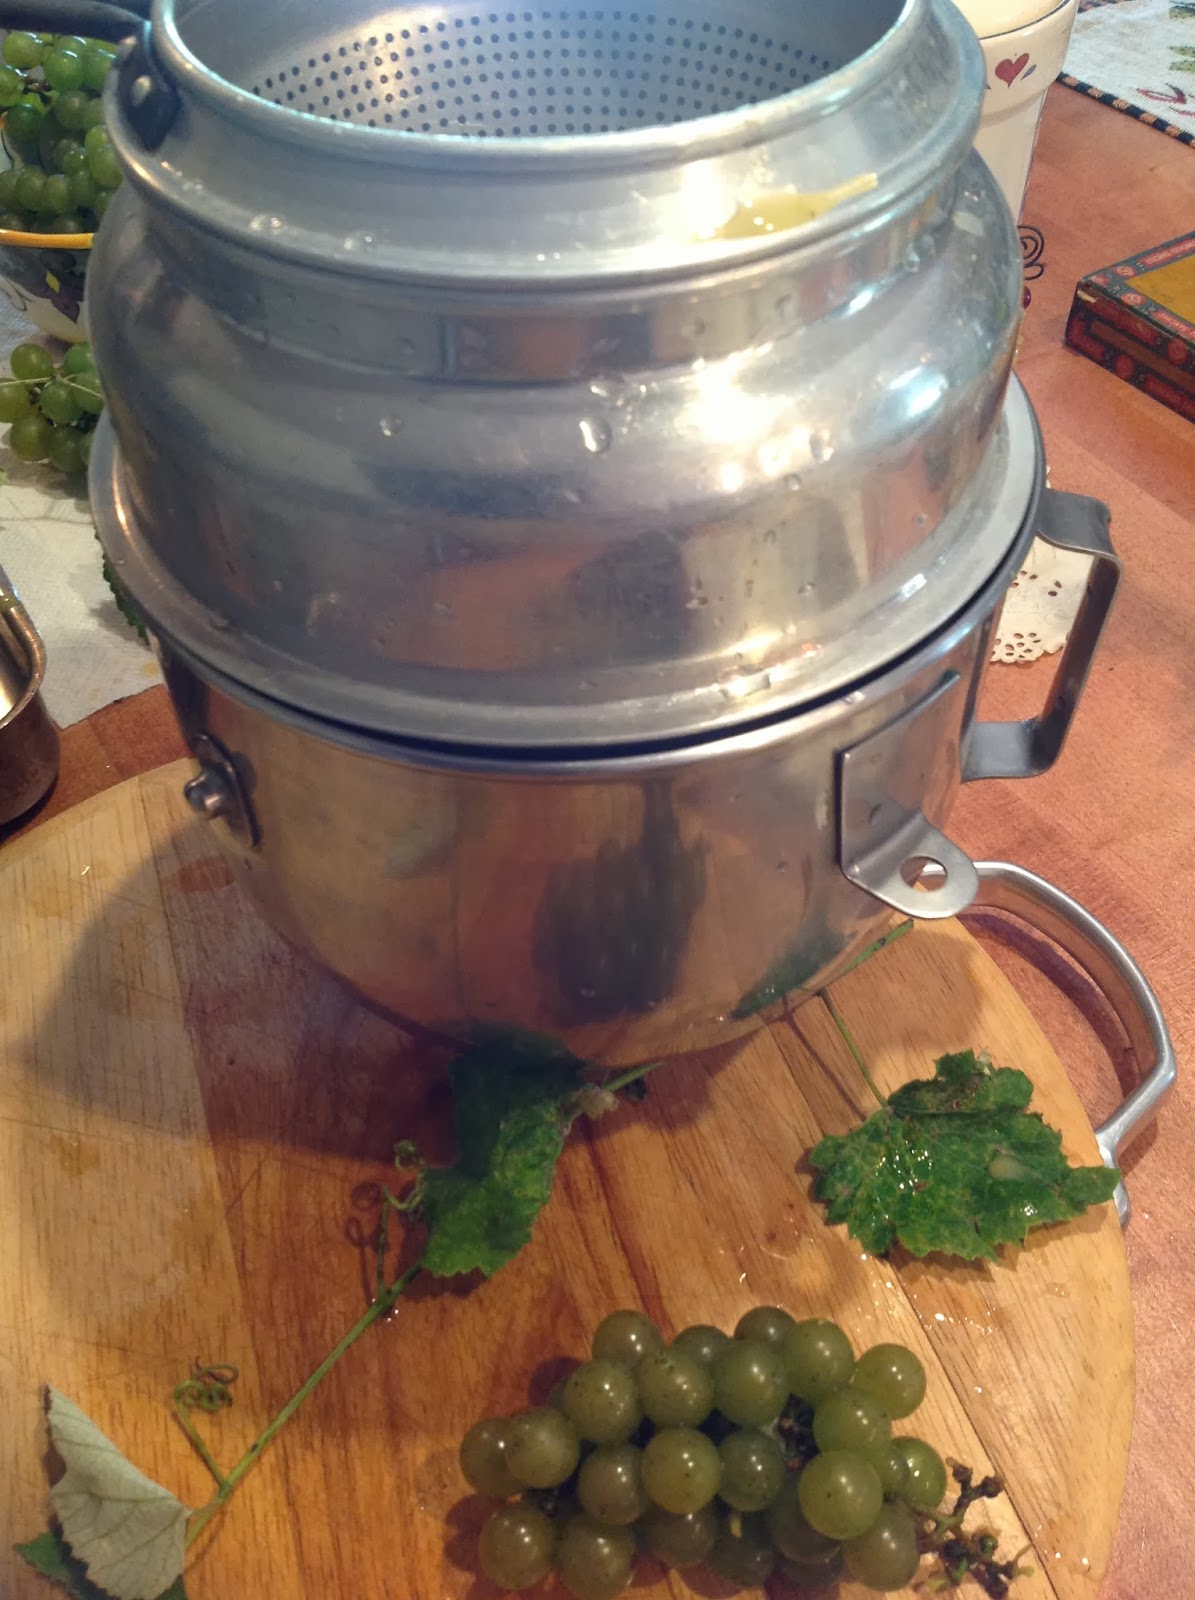
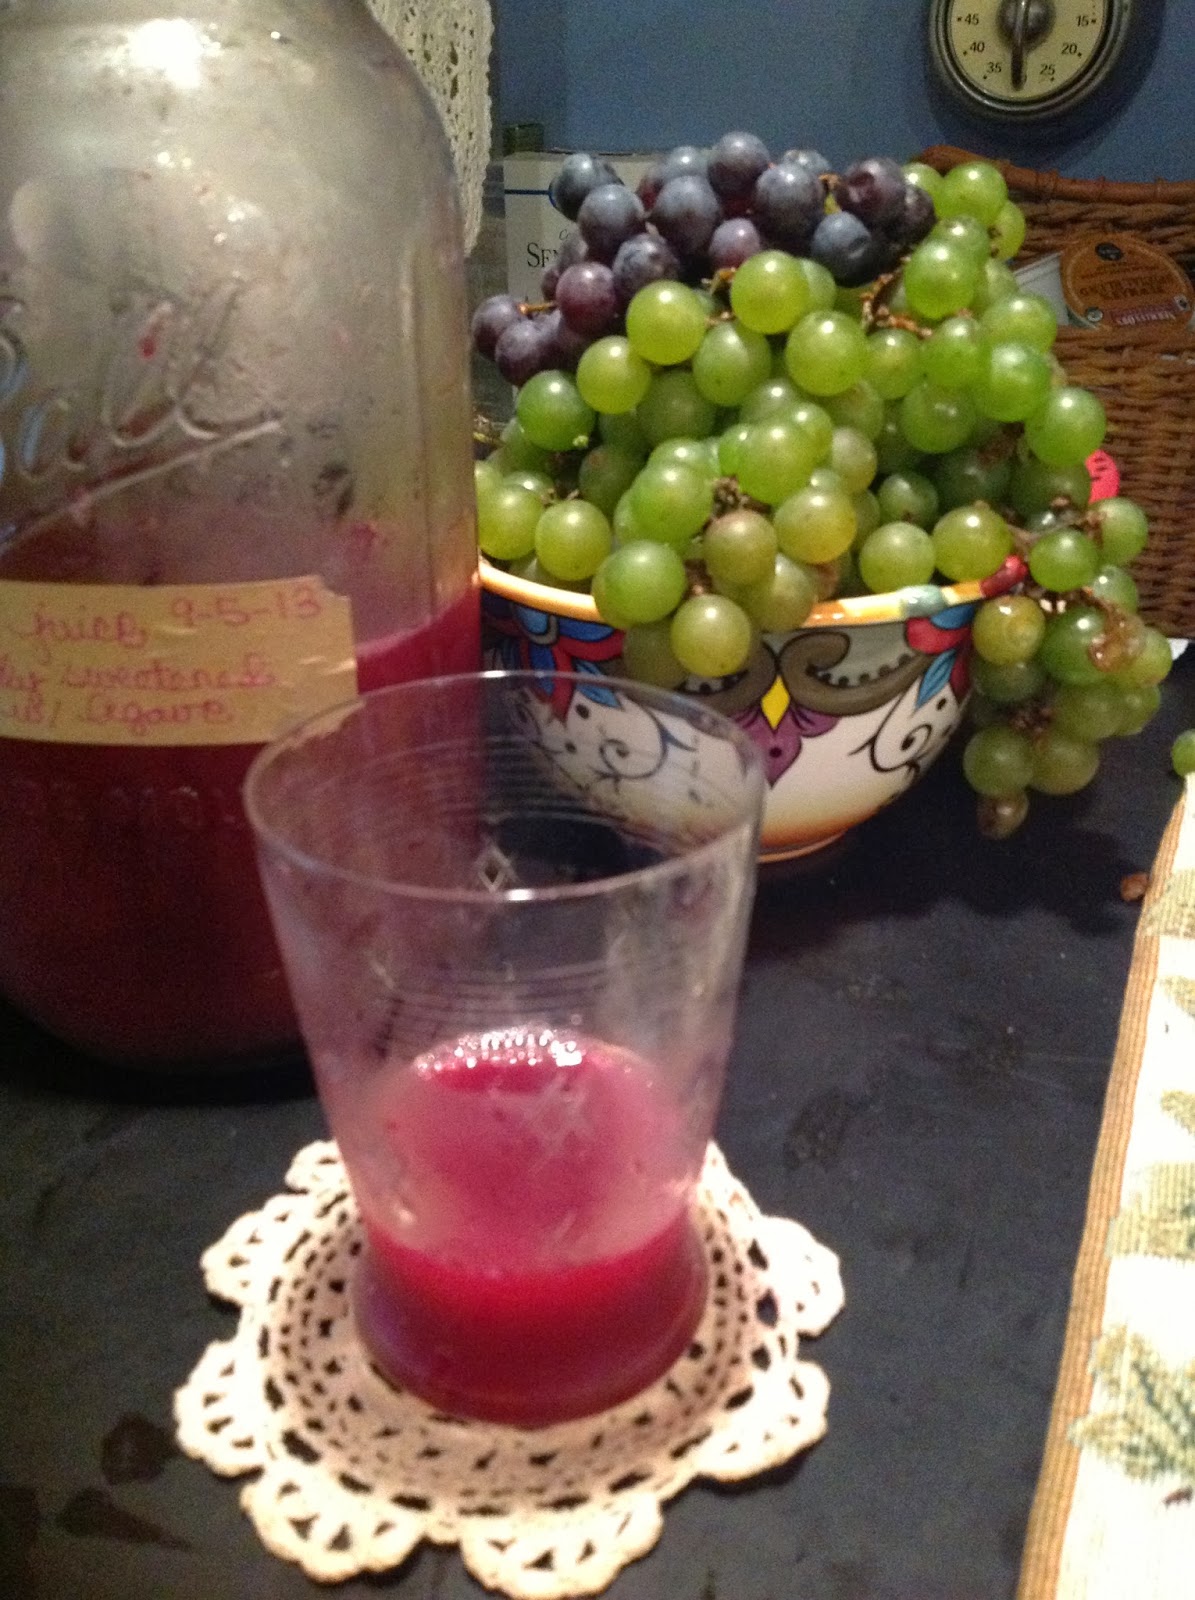
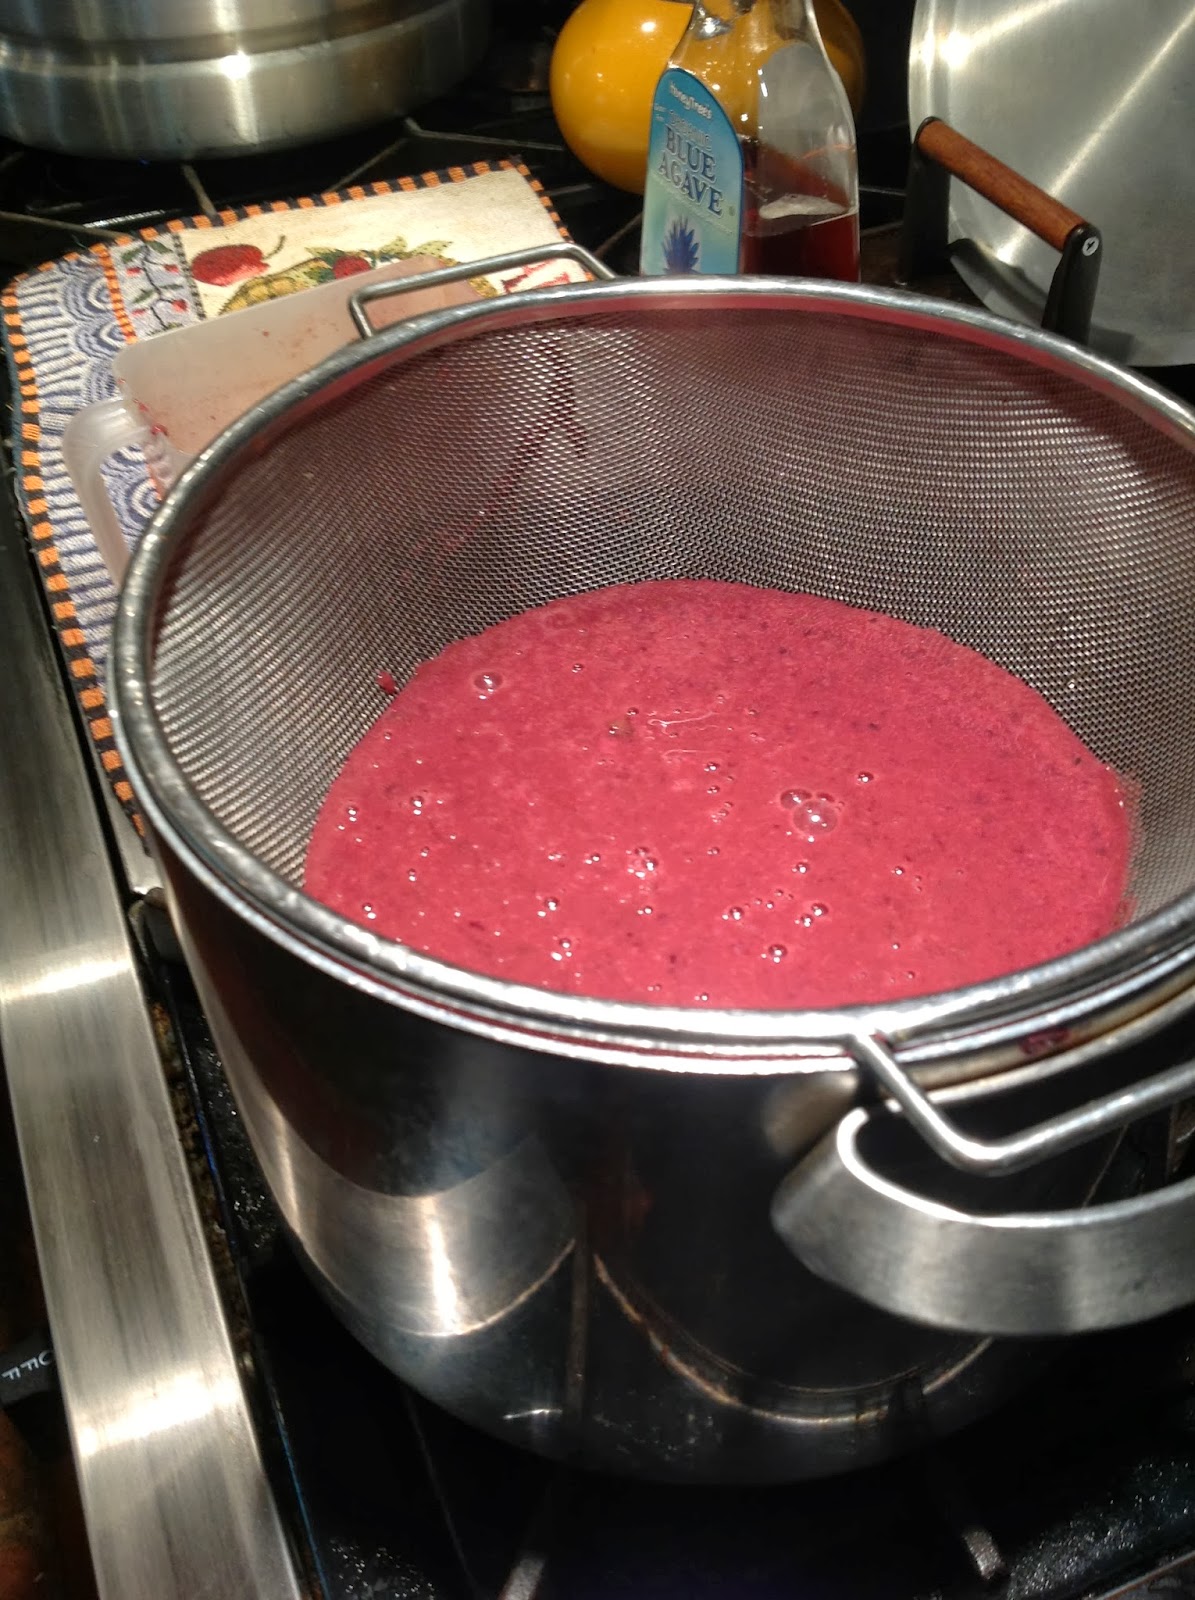
The juicer was not the best choice for a “clean” outcome. Too many seeds gumming up the works, albeit grapeseed extract does have its finer points. It was quite the task trying to find the best method for straining it. After employing just about every type of strainer, mesh basket and assorted layerings of cheesecloth, it definitely proved to be a labor-intensive exercise in futility. After all was said and done strained and jarred and well-rested in the fridge, enough of the sediment did settle to the bottom so that we could enjoy the clearer juice via straw from the top.
Unless you’re into self flagellation, I highly recommend employing this method. Regardless, making grape juice is a time-consuming affair, but the results are absolutely heavenly.
Nothing’s wasted around here, of course, but these lovely “grounds” never made it to the compost yard; they were a colorful treat for our trio of pigs that evening.
So refreshing!
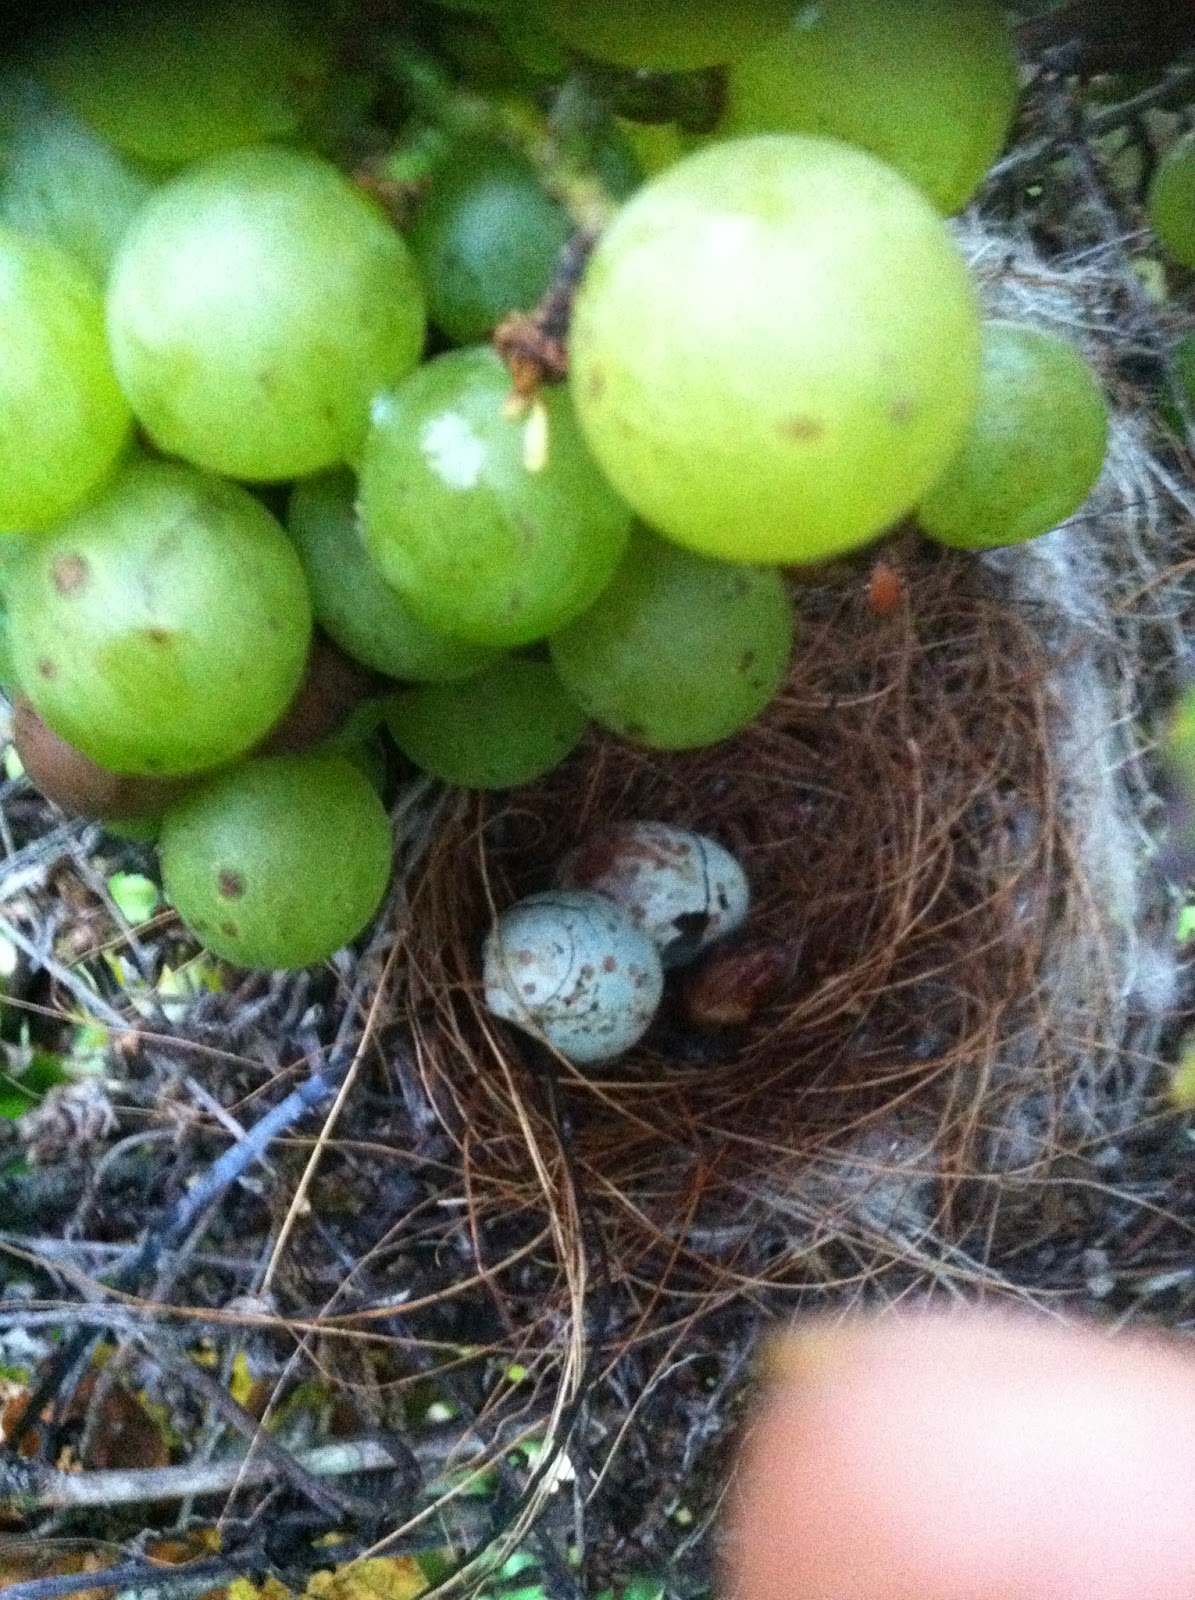
Ironic that a Northern MOCKING bird chose our white table grape vine to build its nest.
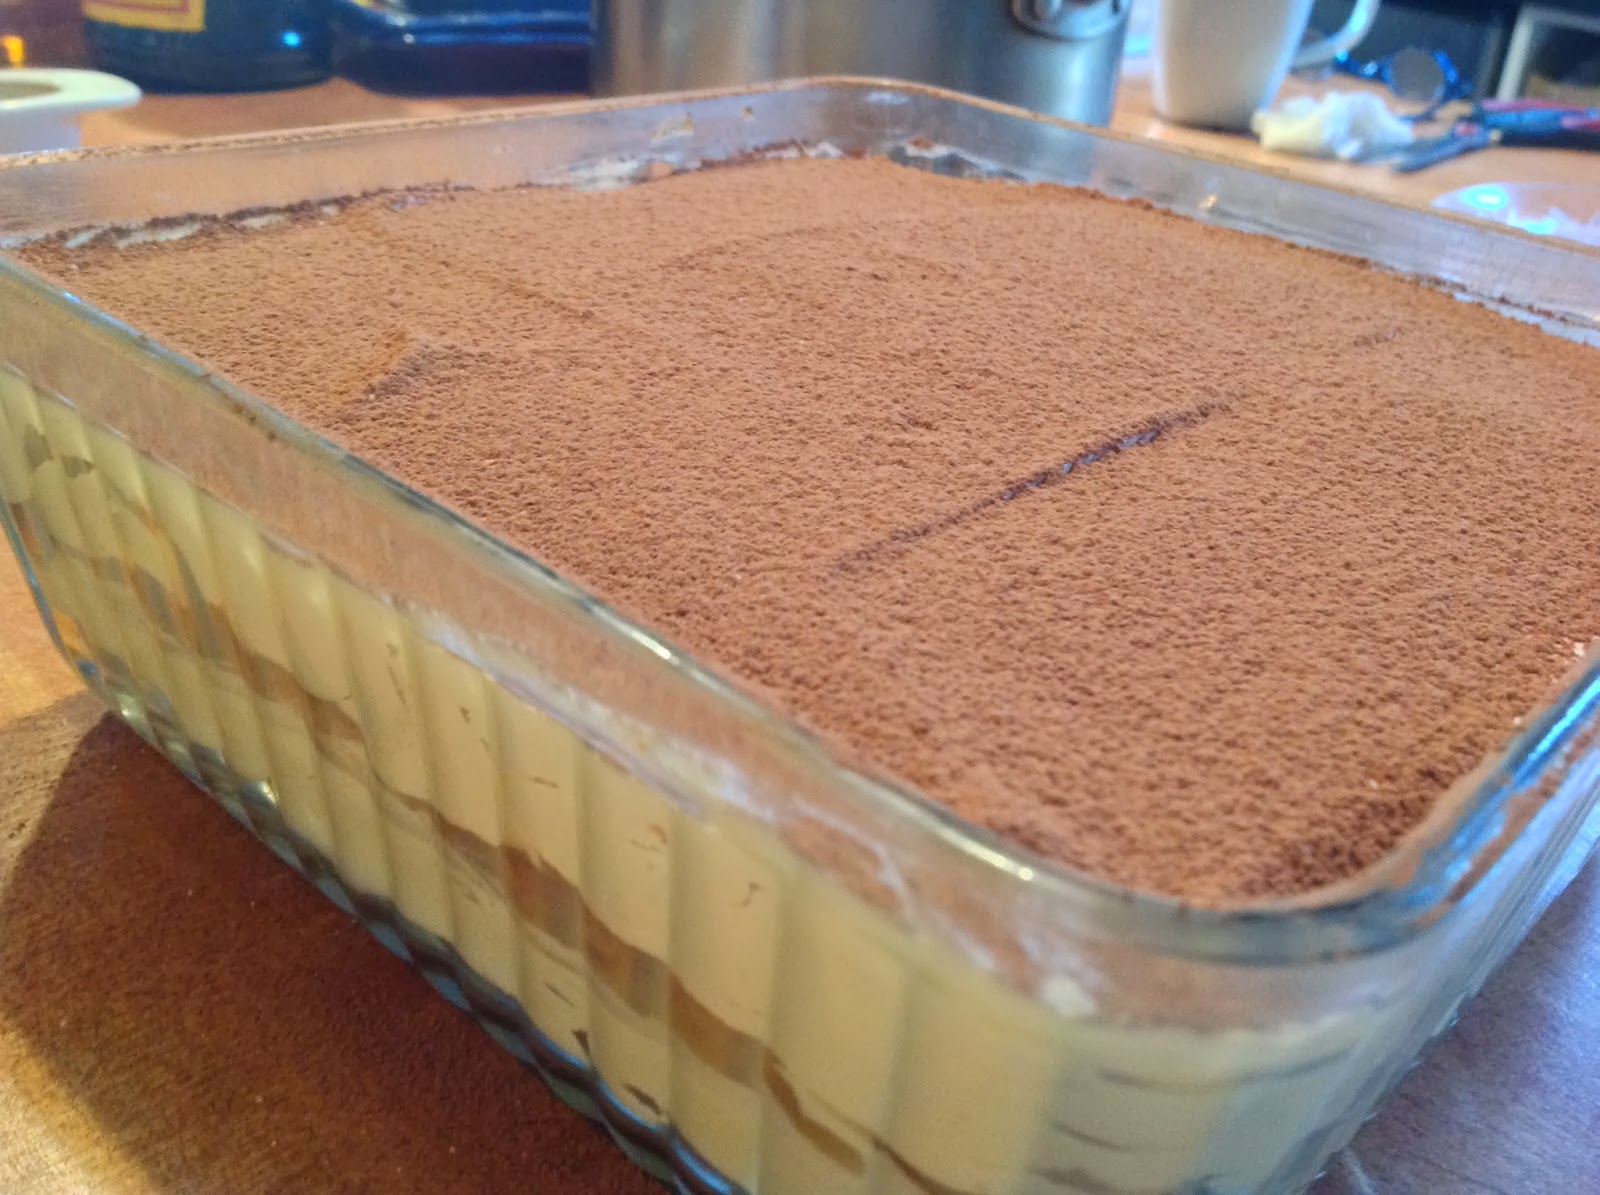
Connie’s Tiramisu– (fills a 9×9 glass refrigerator dish) – best when made a day ahead
6 eggs separated 1 lb mascarpone
¾ cups sugar ½ cup strong tepid coffee
2/3 cups whole milk 2-4 tablespoons dark rum
1 ¼ cups heavy cream 2-4 tablespoons Kahlua
½ tsp vanilla 8 oz Savoiardi ladyfingers
unsweetened cocoa powder
pinch of espresso powder (optional)
Whisk yolks and sugar in saucepan until well blended, then whisk in milk and cook over medium heat, stirring, until mixture begins to boil.Allow it to boil gently for a minute or so, stirring constantly as it thickens. Remove from heat, let it cool down some before covering tightly and chilling in fridge an hour or so.
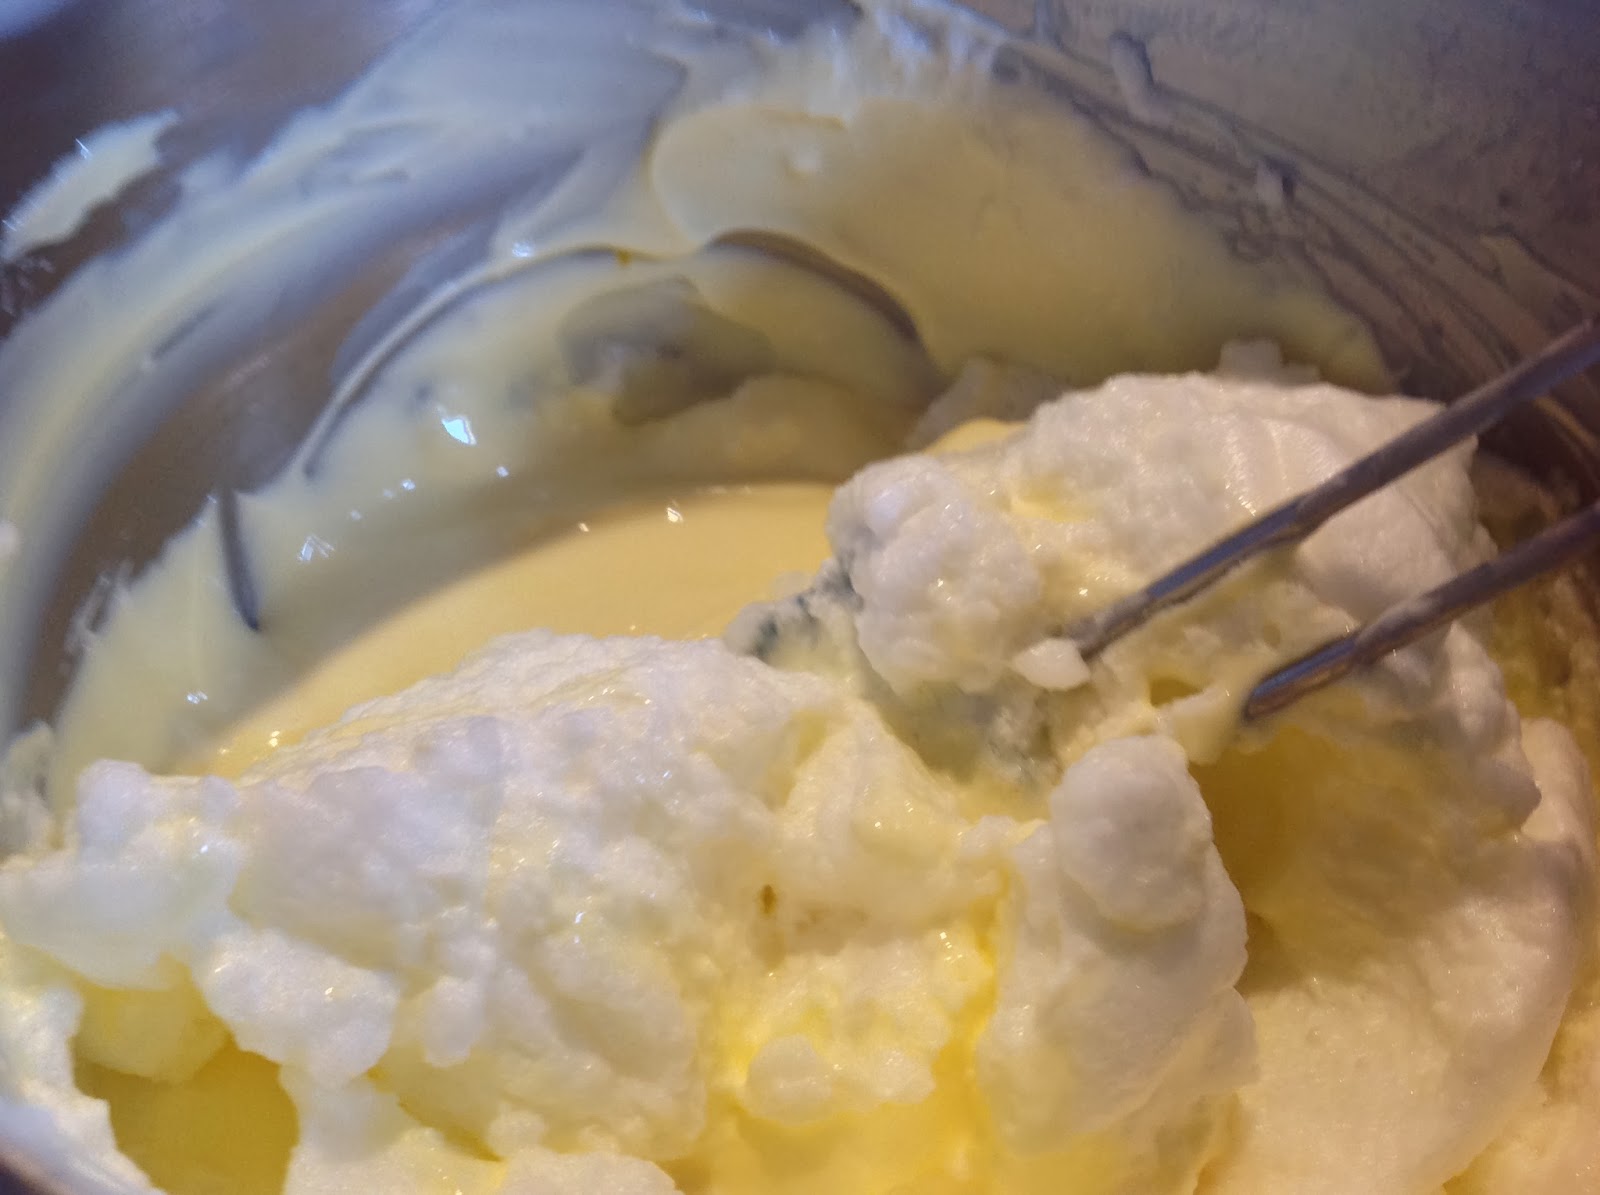
Whip egg whites in clean dry mixing bowl until soft peaks form.Pour into a separate bowl, then beat heavy cream with vanilla until stiff peaks form.
Gently but thoroughly whisk/fold until smooth (in this order):first, mascarpone into the cooled yolk mixture; second, whipped cream; third, egg whites.
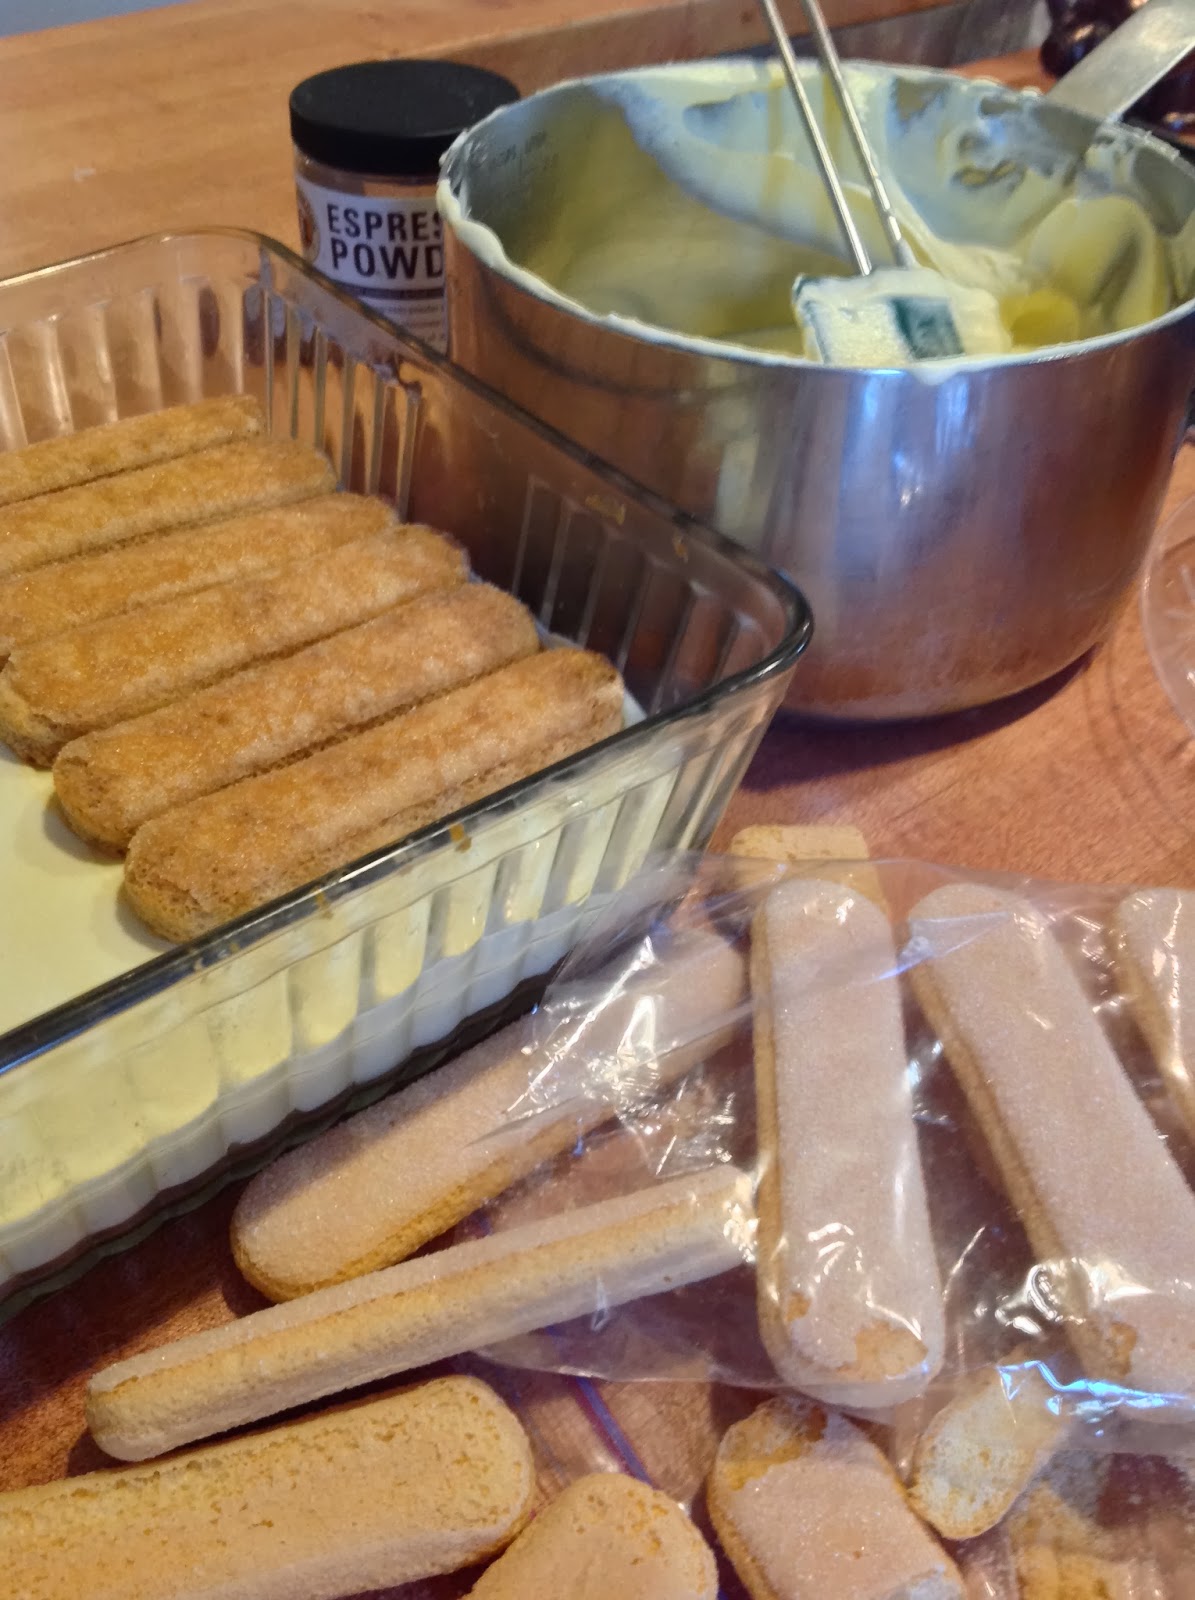
Combine the coffee and liquors in a dish that can accommodate the size of the ladyfingers and so that the liquid is not too deep. A casserole dish works well. Do a “dry run” with the ladyfingers to size them up so they fit the glass dish you’re going to use.Cut to size the number of ladyfingers you’ll need to complete two layers.
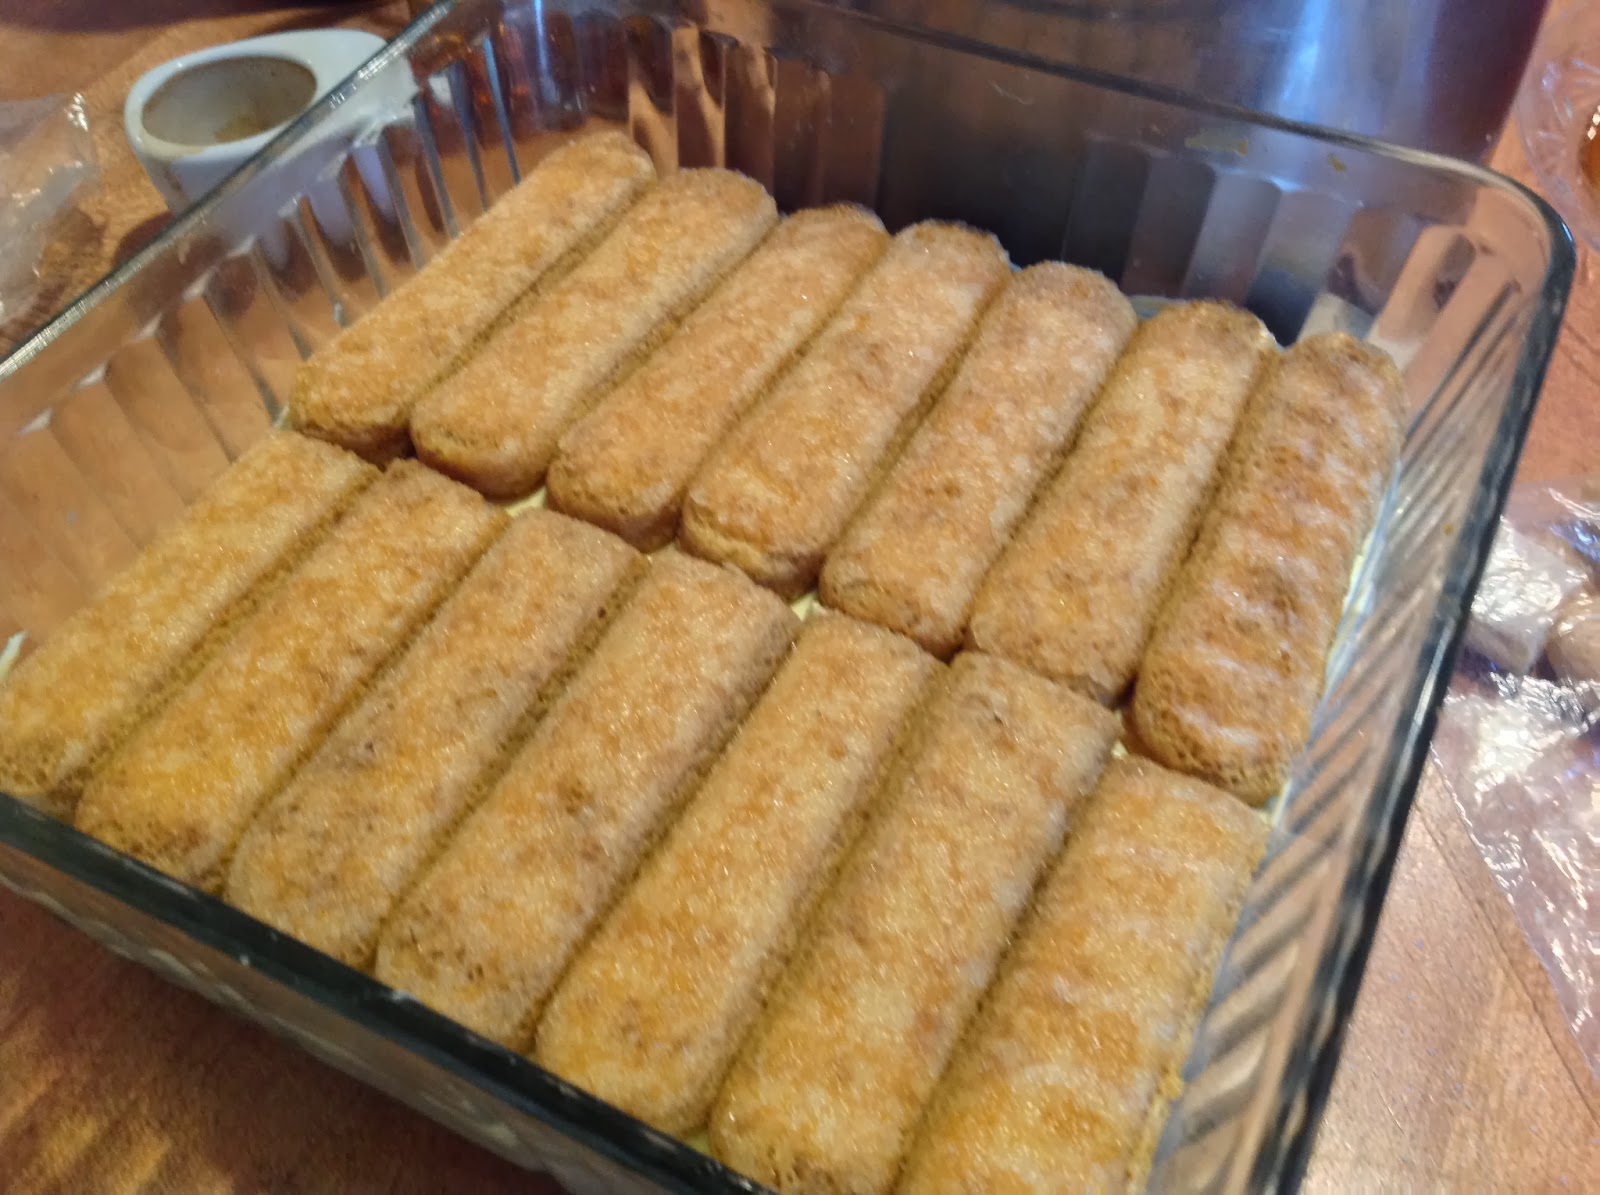
One at a time, lay each ladyfinger in the coffee mixture to the count of 2 seconds on each side.You do not want to soak them through.Continue with the full-size and cut pieces of ladyfingers until the bottom of the dish is thoroughly covered, then spoon half the mascarpone mixture on top and smooth out evenly and flat with an offset spatula all the way and cleanly to the edges. Apply second layer of dipped ladyfingers, then second layer of mascarpone, smoothing out flat to edges.
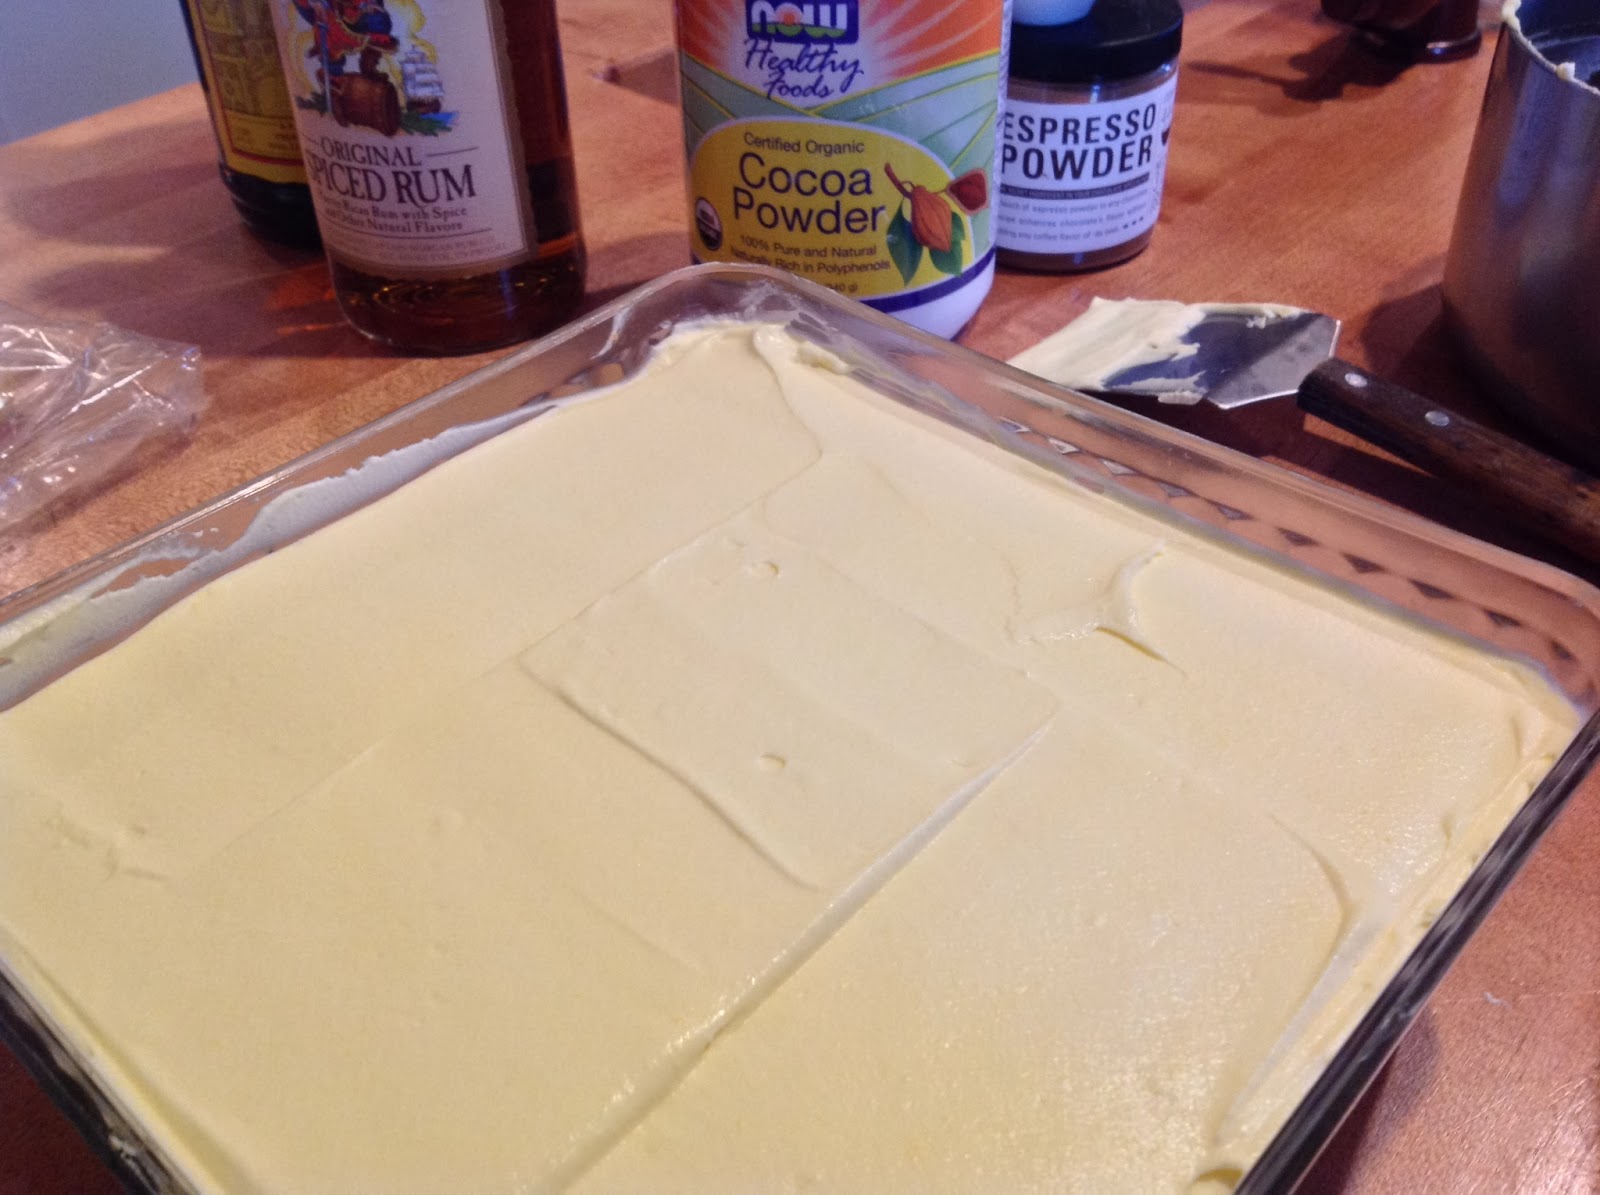
Use a small hand strainer to evenly sift on a top coat of cocoa (with that optional pinch of espresso powder mixed into it).Cover and refrigerate 6 to 24 hours. Before serving, garnish as desired; i.e., a chocolate-covered coffee bean “flower” in the center and/or whipped cream stars around the edges.
What works best for me…
Clear glass will show off those luscious layers. My favorite vessel for tiramisu is this square old-fashioned glass refrigerator dish which came with a fitted glass lid. Single-servings in fancy glasses are great for individual place settings, or a trifle bowl with upright ladyfingers along the perimeter like a charlotte for a dinner party centerpiece. You’ll need extra ladyfingers for a trifle bowl, of course. Regardless of your chosen vessel, the last thing you want is to be short of fingers, so buy two 8-oz packages if larger packages aren’t available. Ladyfingers are great coffee dunkers any time of day!
Use the crisp ladyfingers called Savoiardi, like Bellino brand, not the soft cake ones.
I use more eggs than most recipes call for, and most call for just using the yolks. I live on a farm and have a ready supply of fresh eggs, plus I do like it very light and airy, thus the whipping and folding in of the egg whites. You don’t have to use the whites at all, especially if you prefer your mascarpone custard layer a bit on the denser side. Always use the freshest eggs possible, at room temp if whipping the whites.
Mise en place. Measure out exactly how many cookies fit whole and then how much of the ends of others you’ll need to slice off to make a tight fit. Cut them in advance and have everything at the ready when you start to assemble so you can work kind of quickly. Err on the generous side when you cut the Savoiardi ends as they’ll become more pliable once dipped and the presentation is always lovelier when the biscuit layers are distinctly visible. Place the rounded side out, cut side against the other biscuit. Don’t oversoak the biscuits – they’ll disintegrate. They’ll soak through just right as the dish sits in the fridge overnight (6 hours minimum). The longer it sits, the better it tastes! Don’t let the egg whites sit too long once they’re whipped because they’ll start to weep and you don’t want any runny whites when you fold them into the mascarpone mixture.
As far as the liquors, feel free to suit your personal taste. You could use Frangelico or Amaretto. I like the rum and Kahlua. My Italian friend uses Strega. Next time, I’m definitely going to try the Van Gogh Double Espresso Vodka!
I’ve sensed some intimidation, a stigma of sorts, associated with making a tiramisu, that it’s complicated, “advanced,” or the ingredients are hard to find. Not so. Nearly every grocery chain nowadays has specialty and ethnic sections, or at least a wider variety of ethnic foods. Mascarpone may be with the specialty cheeses.
I’ve tried a lot of different recipes over the past 30 years, tweaking this one and that one until I came up with this lighter, airy version… which is just the way I like it. Hope you like it too!
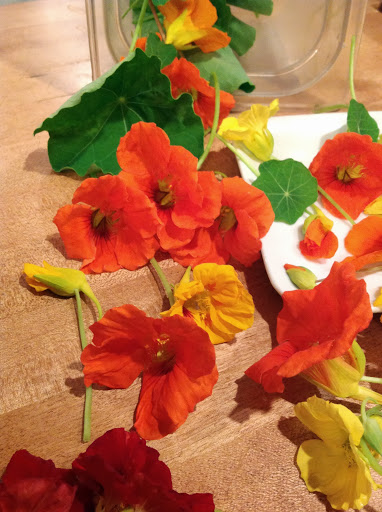
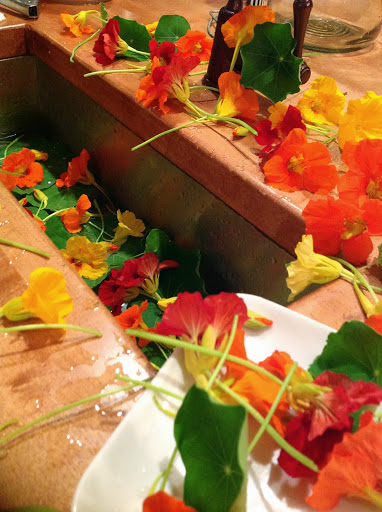
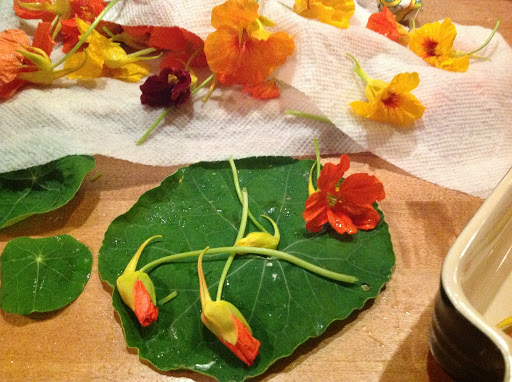
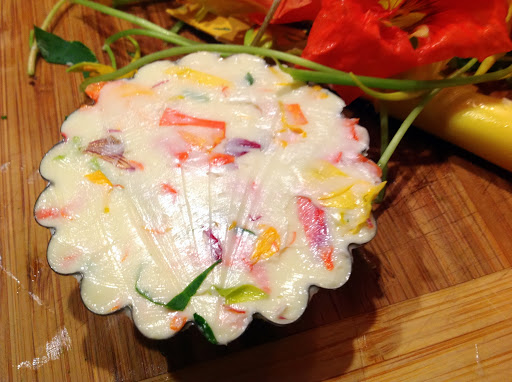
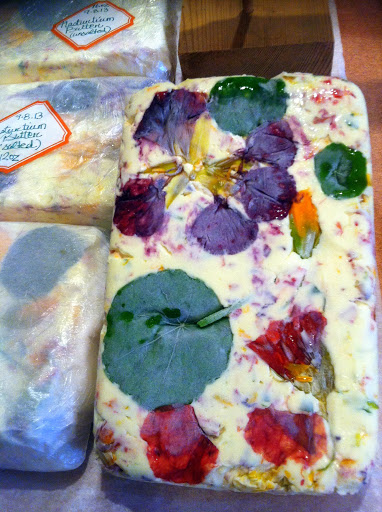
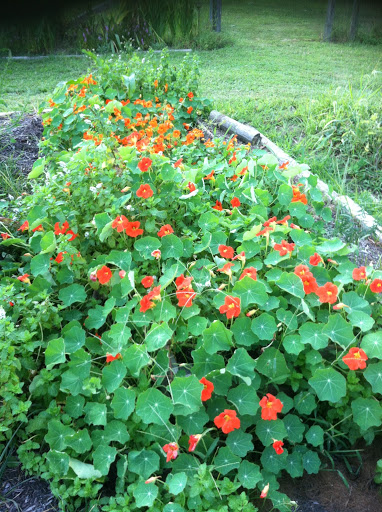
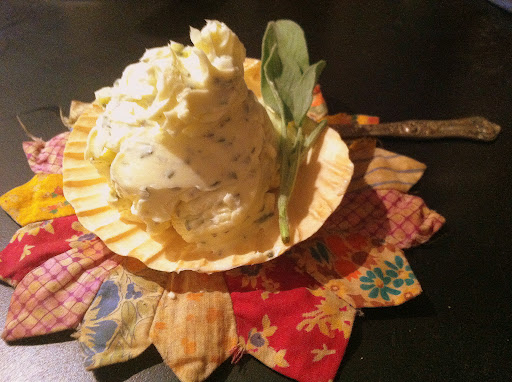
Nasturtiums (Tropaeolum) are delicate, brightly colored edible flowers with round lilypad-shaped foliage. Similar in taste to watercress, they make lovely garnishes, beautify salads or rice paper wraps such as spring rolls, make adorable canapes when stuffed with a sweet or savory soft whipped filling, can be folded into mayo or whipped butter that’s then “set” in decorative molds and enjoyed on breads, vegetables, baked potatoes or anything else you would slather with butter. Easy to grow directly in the ground or in containers, every garden should be punctuated with nasturtiums, not only for their cheerfulness, but their value in natural pest control.
According to Wiki, nasturtiums have been used in herbal medicine for their antiseptic and expectorant qualities. Good for chest colds, respiratory and urinary tract infections, and to promote formation of new blood cells. All parts are edible. The flowers contain about 130 mg (2g) of vitamin C per 100g (3.5 oz), about equivalent to parsley.
CRAFTING NASTURTIUM BUTTER
Grab your basket and gather up organically-grown flowers with some amount of stem still attached, along with a nice variety of leaf sizes.
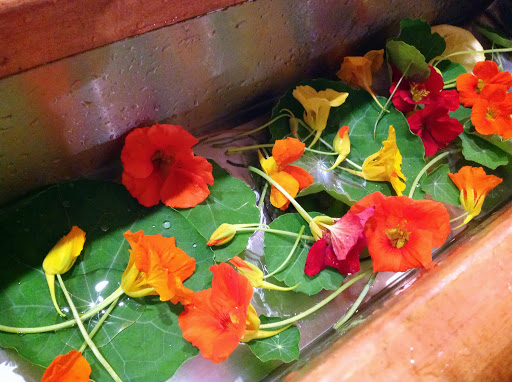
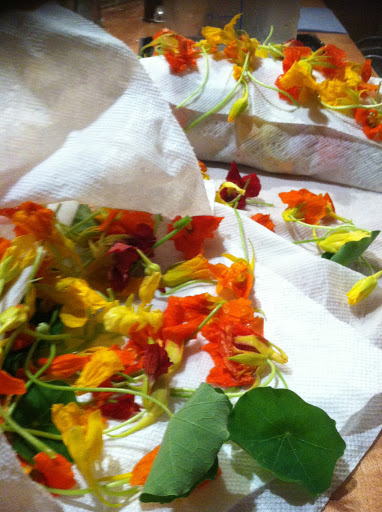
Gently wash in cool water, shake off excess droplets, and allow to air dry between sheets of plain white paper towels.
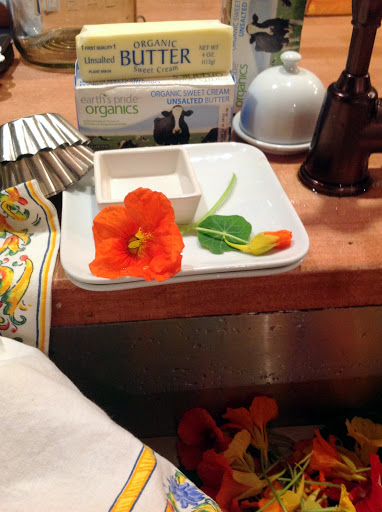
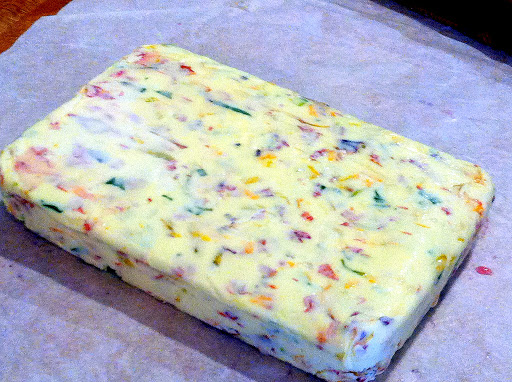
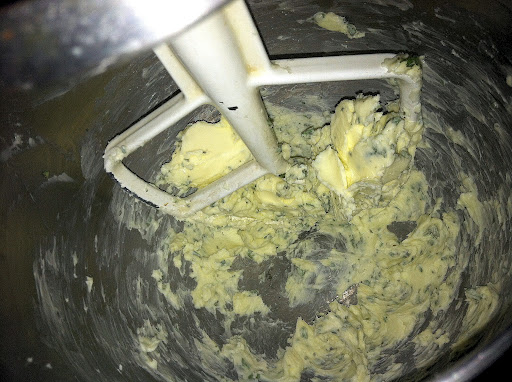
Whip room temperature butter (sweet or salted, but do keep it organic) just enough to make it light and fluffy.
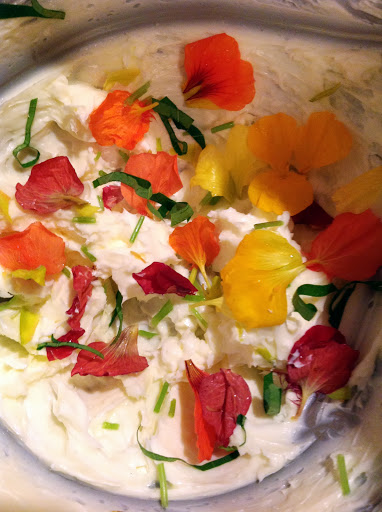
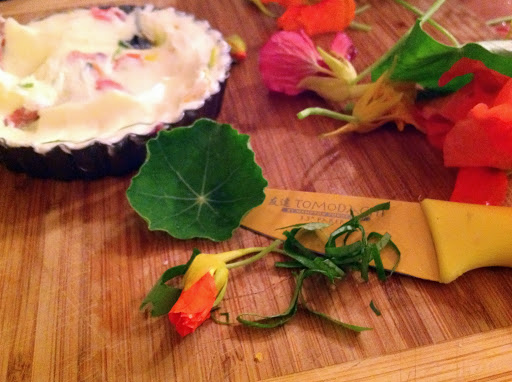
Pinch a generous amount of petals and snippets of stem directly into the butter.
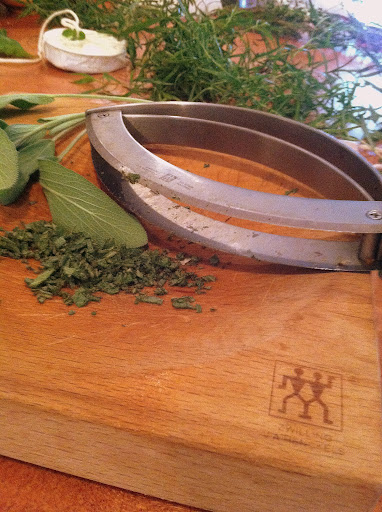
Chiffonadea couple leaves by rolling them up together in a cigar-like fashion and slicing into thin strips. Add to butter. (Optional: Add bits of scallion, chives or any other herbs. A little beet juice for a pink hue.)
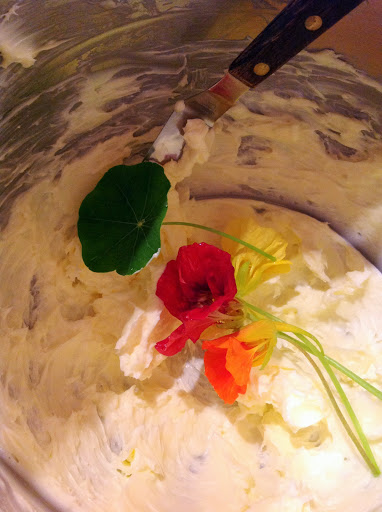
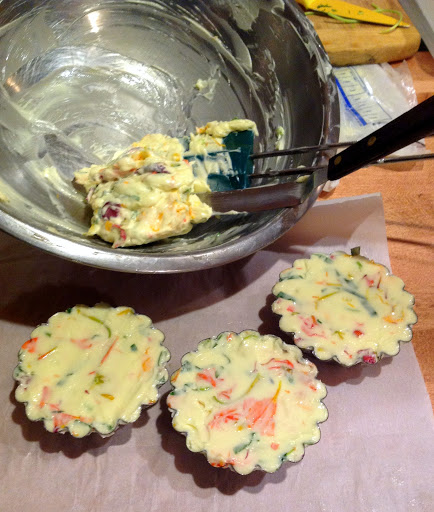
Mix until well incorporated.
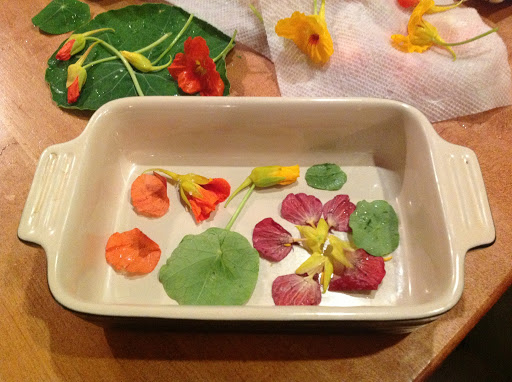
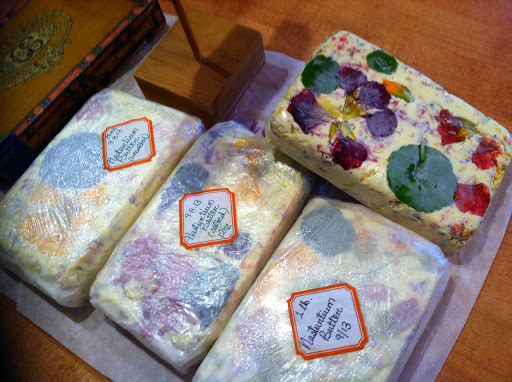
Smooth a little butter into the bottoms of your chosen molds and press an arrangement of whole flowers, buds and small leaves to design out a decorative top.
mini tart/cheesecake pans with those removable bottoms are great molds!
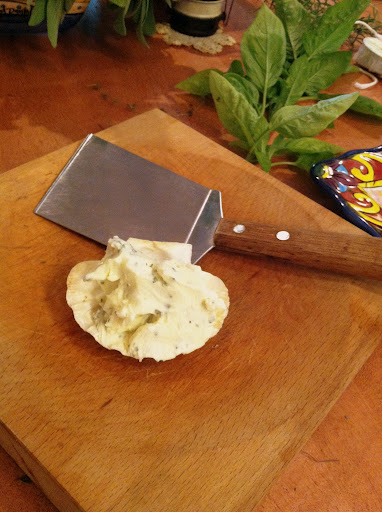
Using an offset spatula, press butter into molds and smooth top.
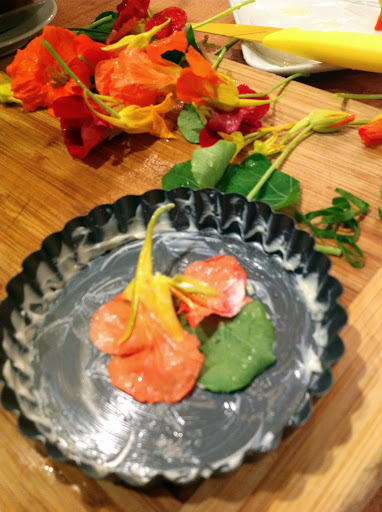
Press a piece of parchment paper on top and freeze until solid.
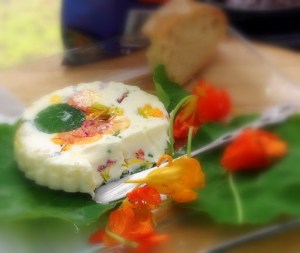
To unmold, tap upside down on counter, or apply a towel soaked in hot water, or run under hot water for a few seconds.
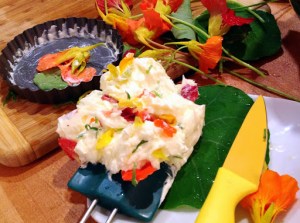
Use the larger leaves as “plating doilies” for a presentation with dainty style.
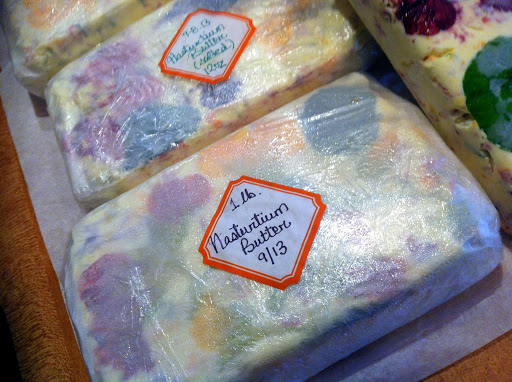
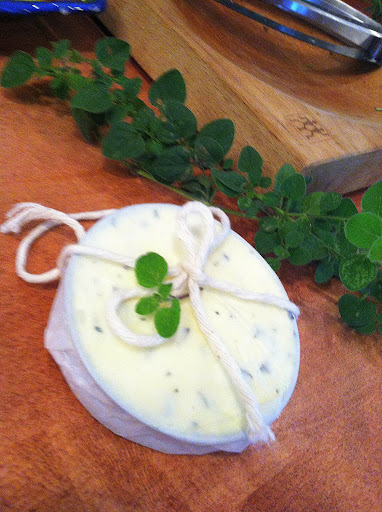
Packaged and labeled, I offered these at our August South Jersey Food Swap here at OneFlewOver Farm.
The “bottom” of one that was pressed into a mini casserole dish.
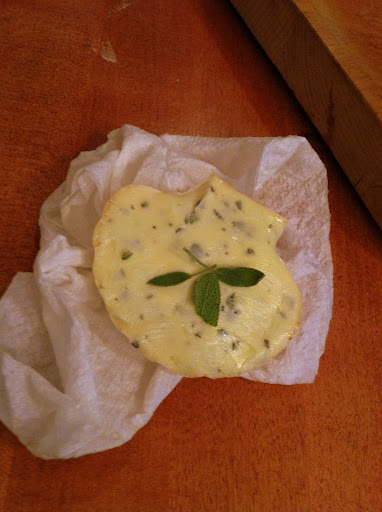
Wrap the unmolded butters up like a gift in parchment, then wrap again airtight in plastic. Label and freeze for a special occasion or an everyday affair.
Although settlement on the Mannheim Avenue property went down in March of 2008, we didn’t actually “make the move” until six months or so later. So I find myself counting fingers to figure how many years it’s been around this time every year…and it’s been five. Granting myself the luxury of time to pack (and purge) and gracefully transition from the 20-year stint in “family neighborhood USA” resulted in carrying two mortgages for a month shy of a full year and settling for many K less than what I thought was a very fair listing price on the neighborhood house. But with the real estate market slumping deeper into the abyss with each passing day right around that time, it could have been a lot worse.
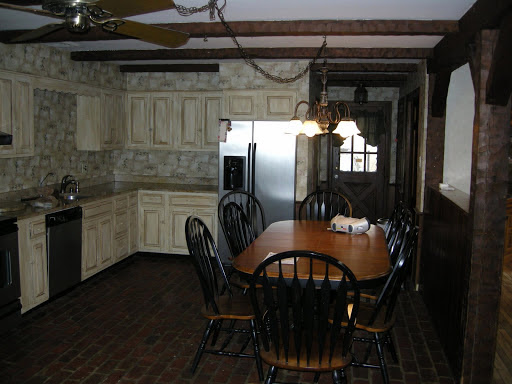
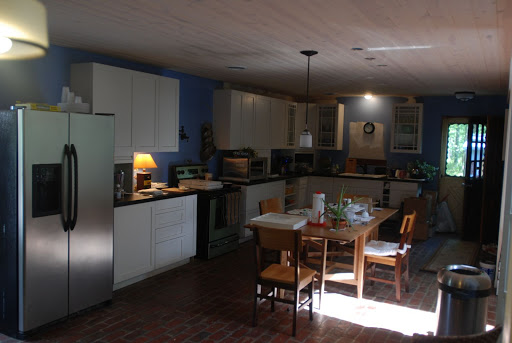
Our house on Mannheim is a bungalow with a narrow but cozy loft, spacious basement (which flooded just days after piling its floors with our packed belongings), and a long, rectangular addition. The house may have been “move-in ready” by the lender’s standards (or we wouldn’t have gotten a mortgage), but by our own modest living space needs, it hinged on uninhabitable. Months of big-dream anticipation for all its potential manifested into overwhelm as the ink dried on the contract of sale, but once we confirmed we had running water and the toilets flushed, we set about working first on the most important room, the heart of the home: the kitchen…from the brick and mortar flooring to the “Flintstonian” faux beamed ceilings. Below are a couple kitchen photos taken the day we “toured” the property.
(“Before” view from fireplace wall)
Behind the fridge wall is a laundry room with toilet and sink. Considered making it a pantry, but the narrow entrance with three doors vying for the space (basement, laundry, and north side exit) helped convince us that a sink with a window made much more sense. And this side door wound up becoming our main entrance.
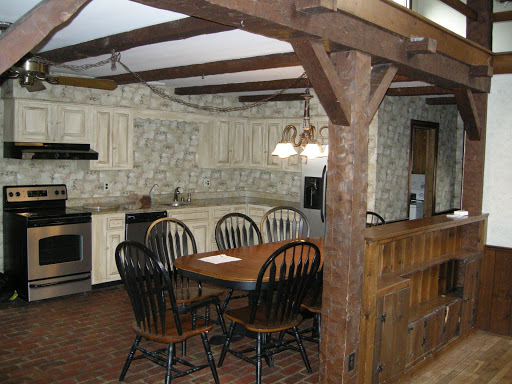
(“Before” view from front entrance)
The wallpaper was kind of cute, a vining ivy pattern, the cabinets were old, filthy, piss-poorly faux “antiqued,” and lacking any contrast whatsoever against the light-colored walls. Posts and beams may appear rustic and charming at first glance, but these too are “faux” and not even realistically hewn; more like “Bam-Bam was here.”
commence the deconstruction…
Wall units down. Old pantry closet on far right gutted… soon to be a coffee/beverage/microwave nook!
View into a then existing laundry/powder room. Considered making it a walk-in pantry, but decided having a more open kitchen with a window above the sink was a better idea. So that wall came tumbling down.
Wall and laundry room gone… kitchen opened up and gutted down to the studs
Bam-Bam beams and posts soon to be “wrapped” with an Arts & Crafts style facing…
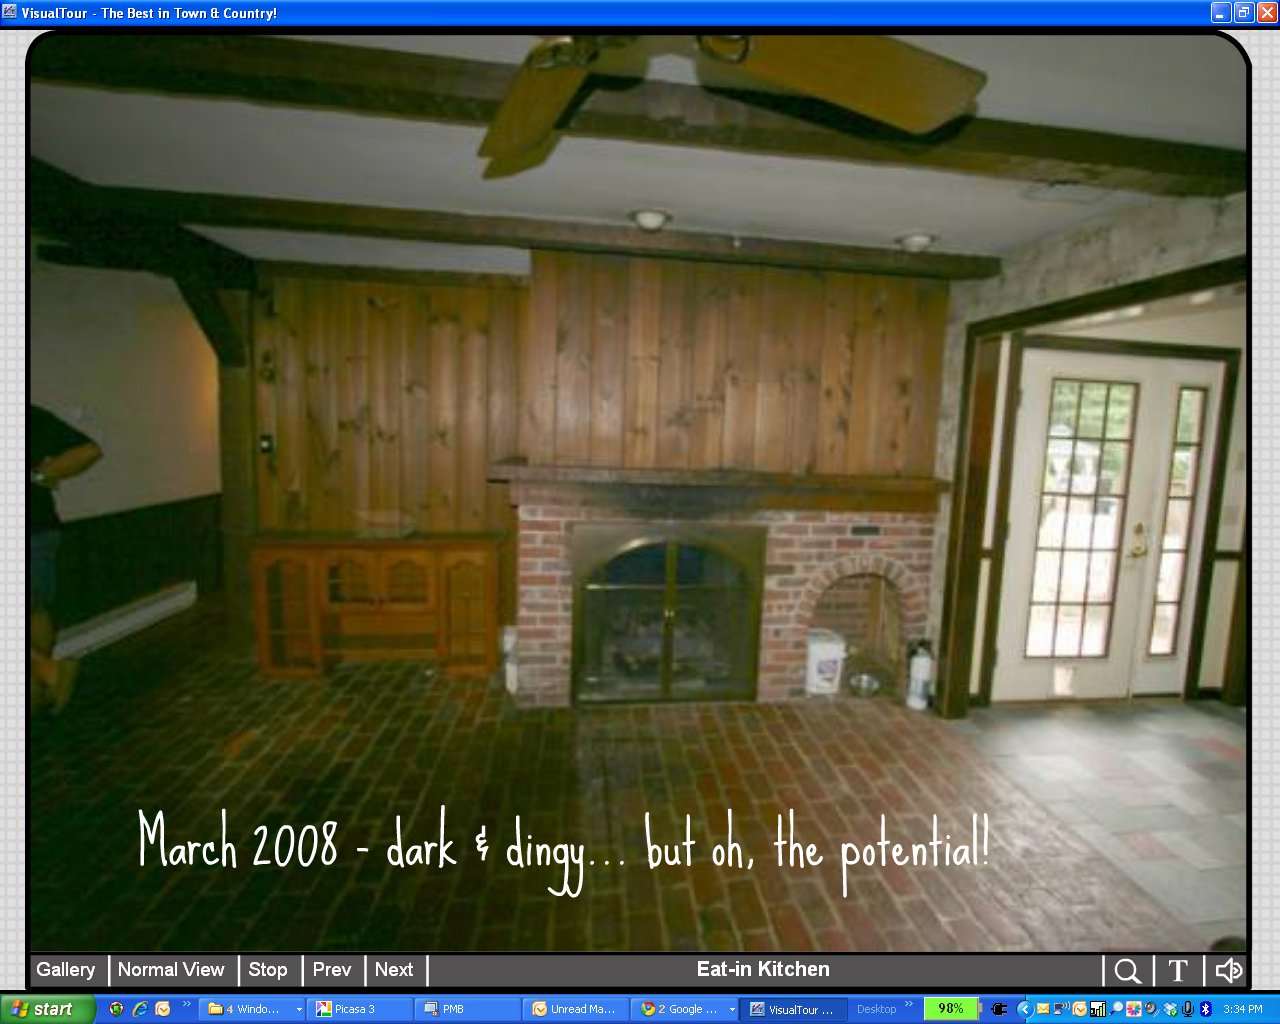
View of the opposite end of the kitchen lifted from the listing agent’s slide show…
…time to lighten things up!
Posts, headers and beams wrapped.
‘rocked, brick flooring filled in where wall once stood, old pantry doors removed
Bam-Bam ceiling beams removed, replaced with white-washed tongue ‘n groove, some ceiling lights installed
Former neighbor and friend, Steve “The TopMan,” measuring for our “low-cost” temporary laminate countertop … running low on funds here!
Posts and headers painted in Valspar’s “Sailcloth” white.
Decided to go with black pulls and button knobs, which haven’t yet arrived.
Sink and faucet installed, window template cut out and awaiting moving the utility meters inconveniently located on the outside wall where the window will go.
Ample space left for the future purchase of a 48″ range and french door fridge.
I think we’re ready to start sleeping here now …
Thanks for visiting and please stay tuned for restoration updates!
The best choice for perfecting one’s cookie dunking technique has got to be the Lorna Doone. The modifier “shortbread cookie” would be redundant there, wouldn’t it? Does Lorna make anything but? A short wide-mouth glass of ice-cold milk and a tall tower of those little squares in all their enriched flour and simulated butter-flavored sandiness challenge your ability to pull out before the dreaded premature oversaturation sends all but the wee top left corner between your thumb and forefinger to a milky grave, which is why it’s imperative to have a spoon at the ready for they tend to self-destruct within seconds of their descent.
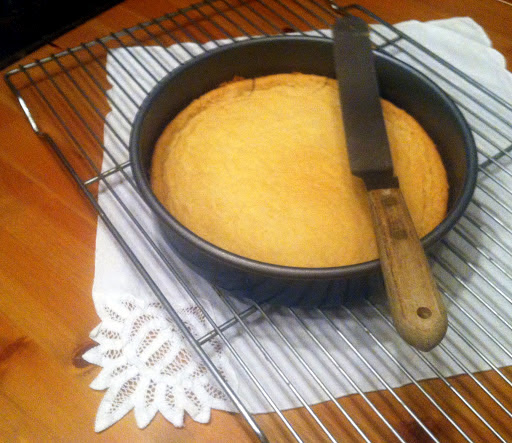
Cravings for yet another of my favorite processed prepared foods with a shelf life just short of forever – although that box rarely occupied its designated space longer than half a fortnight – needed to be fulfilled with a rich organic substitute. A preconceived notion manifested itself somewhere along the line to healthier eating habits that homemade Doones would more probably than not result in something more akin to a desert dune; thus, I never attempted. And then I became enamored with those decorative kiln-fired shortbread molds “impressed” with vining hearts and flowers and old-fashioned country motifs. But they were a bit pricey and I certainly didn’t need another gadgety bulk of bakeware, a fragile one at that. That’s not to say I failed to drop hints around obligatory “they gotta get me a gift” occasions sponsored by Hallmark and the fact that I was a wife and a mother and born on a certain day.
Cruising the web about a year ago for some light reading about the winter solstice, I eventually weaved my way over to one of my favorite sites, KAF, and it was here that I stumbled upon this recipe that I’d stash away until I broke down and bought myself one of those silly little molds.
And then there’s Mo…
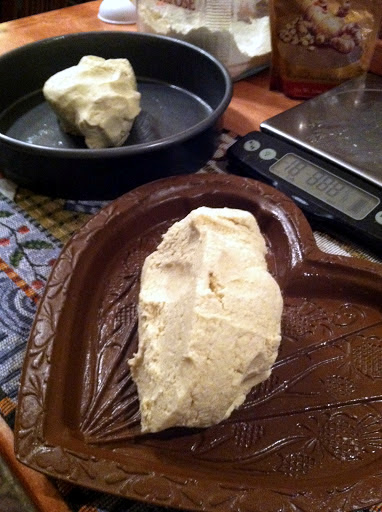
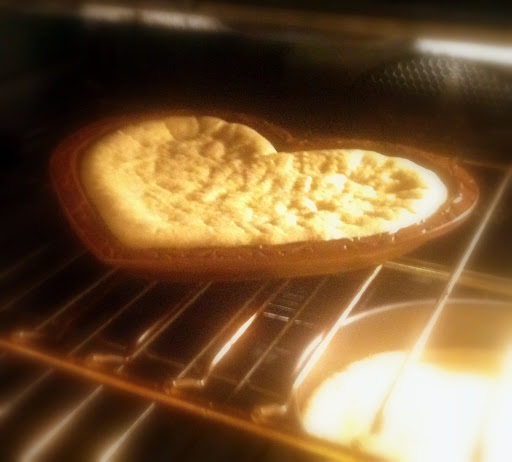
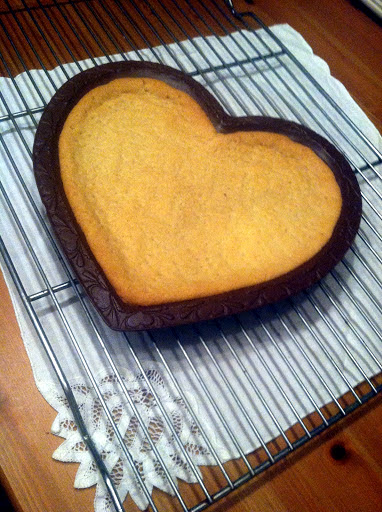
Maureen a/k/a “Mo” came into my life via a CompuServe Forum circa 1992 and has been like the “chicken soup of my soul” ever since. If I were to compose a novel, it would probably be based on the life story of my father (1916-1975); if a book, that would definitely be Mo’s life story. In the meantime, I’ll just have to settle for making her shortbread in the heart-shaped gift she bought me last month. So, a wife, a mother, born on a certain day… and a friend of Mo’s.
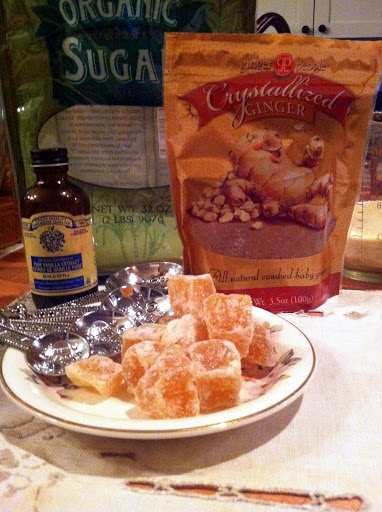
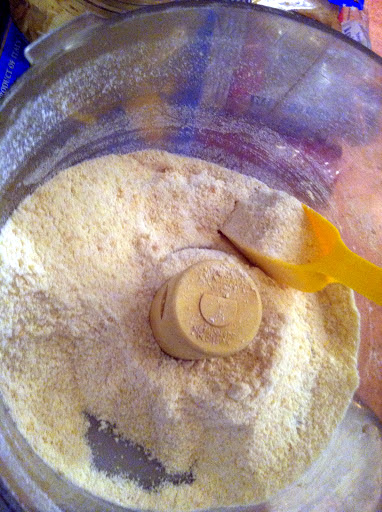
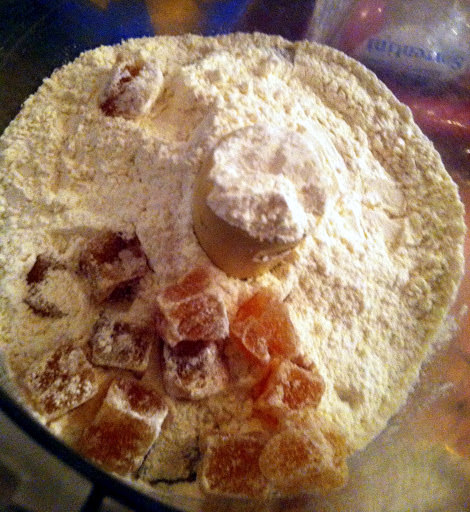
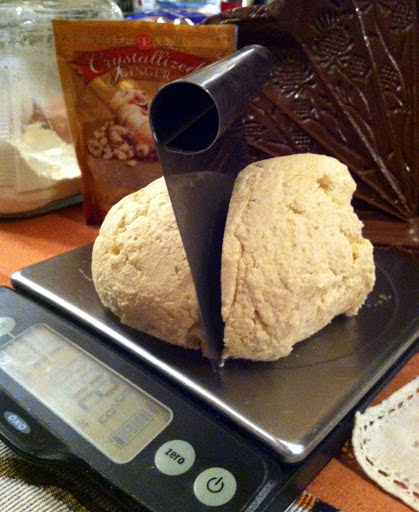
Never much cared for the perfume-like taste of ginger, but the raw stuff is so good for you. I had this bag of candied ginger chunks getting stale in the cupboard, which is another reason I decided on this particular recipe. I used a little more than half of what the recipe called for. It was processed into the flour like so, and the flavor in the cookies turned out to be pleasantly subtle.
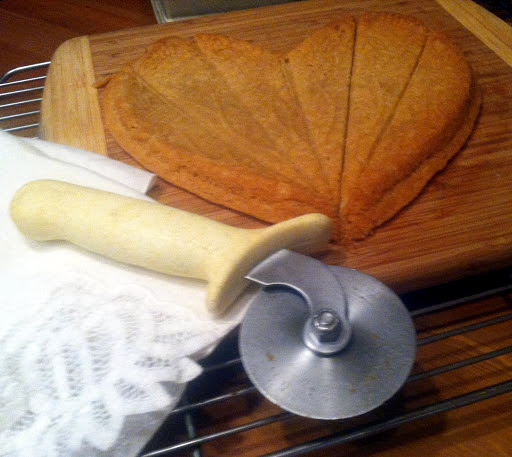
a handy makeshift rolling pin that “fit the mold”
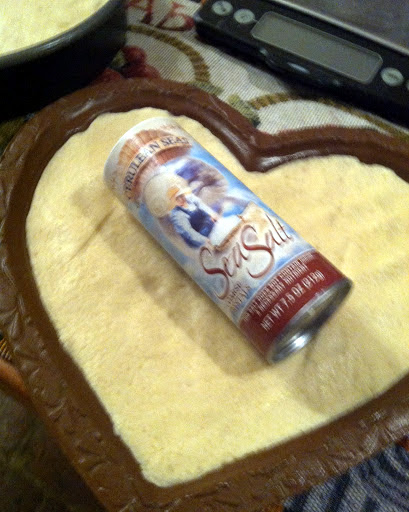
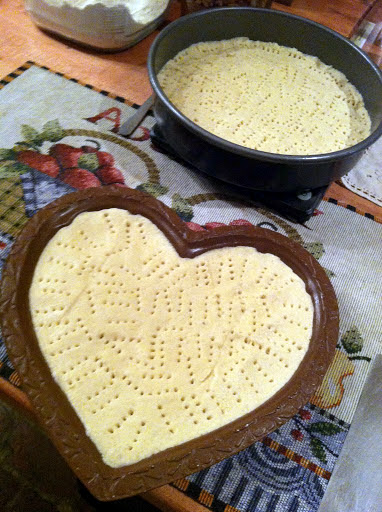
Next time I’ll press the dough deeper into the mold so the design is more “impressive”
If someone were to ask me, “What’s the most utterly disgusting thing you ever ate and actually LIKED?” I’d pass over the sweet memory of chocolate-crusted insects my 7th grade science teacher made the entire class eat and would shamelessly admit that “my thing” was a lovely pink mush packaged in a petite round tin, gift-wrapped in crisp white paper with bright red lettering and a mischievous pitchfork-toting, horn-headed devil. This mystical substance slathered between mayonnaised slices of wispy Wonder sans crust, cut two times two into triangles… this canned pet food-like substance… was my adolescent culinary bliss, especially if slammed before bitten into a crumb pile of Amish-made chips… the fancy ones with those lard-filled bubbles.
My affinity for this pastel poo followed me well into the age of “you know better” and well beyond any justifiable excuse for label-reading ignorance. I wouldn’t dare read the ingredients label. Why ruin it? Surely it wouldn’t exactly be a list that was truly “honest in content” anyway, considering a fire-breathing heathen from hell served as its spokes… uh, beast.
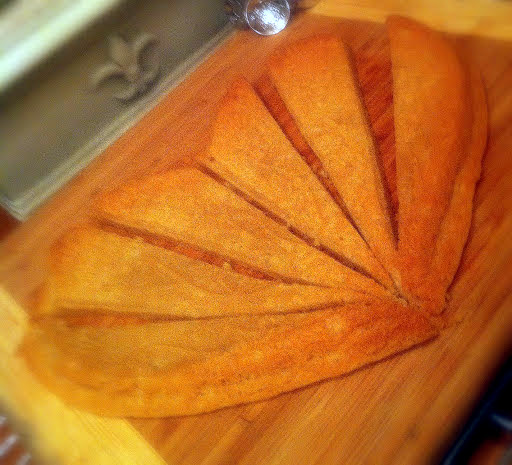
It’s been decades since I’ve ripped paper with a can of Underwood Deviled Ham, a Spamettini of sorts, but if those neatly stacked cans to the left of the tuna catch my eye, the cravings pour in, and I know exactly what I have to do when I get home. I still, to this day, have no idea what I was actually eating back then. The white paper wrapper with its little red devil was quickly wadded into an aerodynamic ball and shot three-point style into the trash; a ritual performed as my nonchalant way to avoid exposing myself to any poison control warnings thereon with instructions to induce vomiting immediately. I should apologize to my organs and systems for introducing them to the toxic fluff, especially considering I’ve known my way around a kitchen from a fairly young age. But knowing your way around a kitchen and “how to prepare food” can actually be hazardous to your health and fringe on fruitlessness if what you’re actually doing is experimenting with a chemistry set of ingredients from an industrialized/pharma-driven food nation. Try to stumble upon food truths every day. It’s right at our fingertips. We’re not a bunch of imbecilic fools who don’t know the difference between corporate and unadulterated real food, but it does seem to me sometimes that this natural instinct way of eating has been “modified” right out of us through corporate commercial brainwashings. [end tangent]. I certainly haven’t sacrificed fulfilling my cravings for this mystically savory pink stuff, although it hasn’t always been easy to meet the challenge of socking away enough leftovers from those too-few ham dinners we had on chosen holidays during the year to pulverize into a more civilized spread fit for human consumption. But now that we raise our own sweet pigs in an organic and free-frolicking environment on our property, ham dinners have become a bit more commonplace around here. Lest my appreciation threaten to wane for ham stuffed hard-boiled eggs, tea sandwiches, or gloppity spoonfuls directly from the mixing bowl, I only make it a few times a year… AND if I want the whole damn ham to grind out my guiltless pleasures, I’ll just bake or simmer a whole butt, reserve a few choice slices for breakfast, and cleave the rest up ‘cuz the devil made me do it.
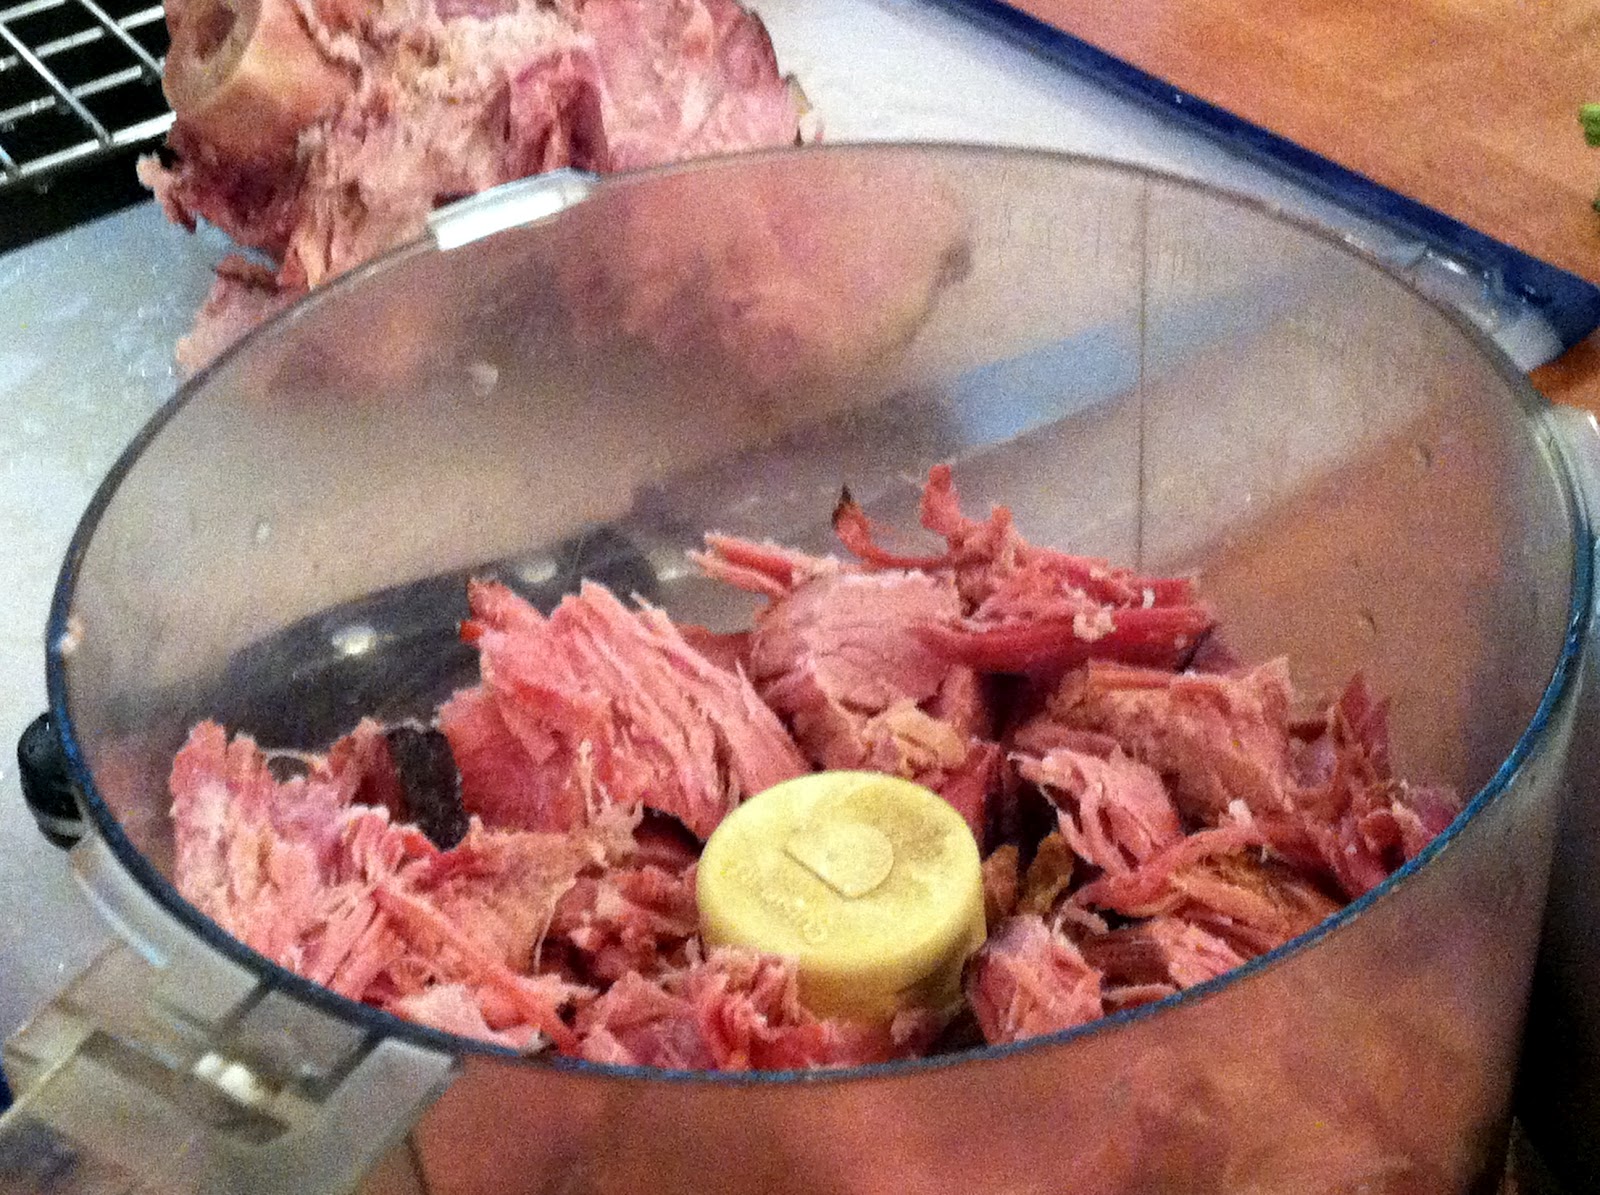
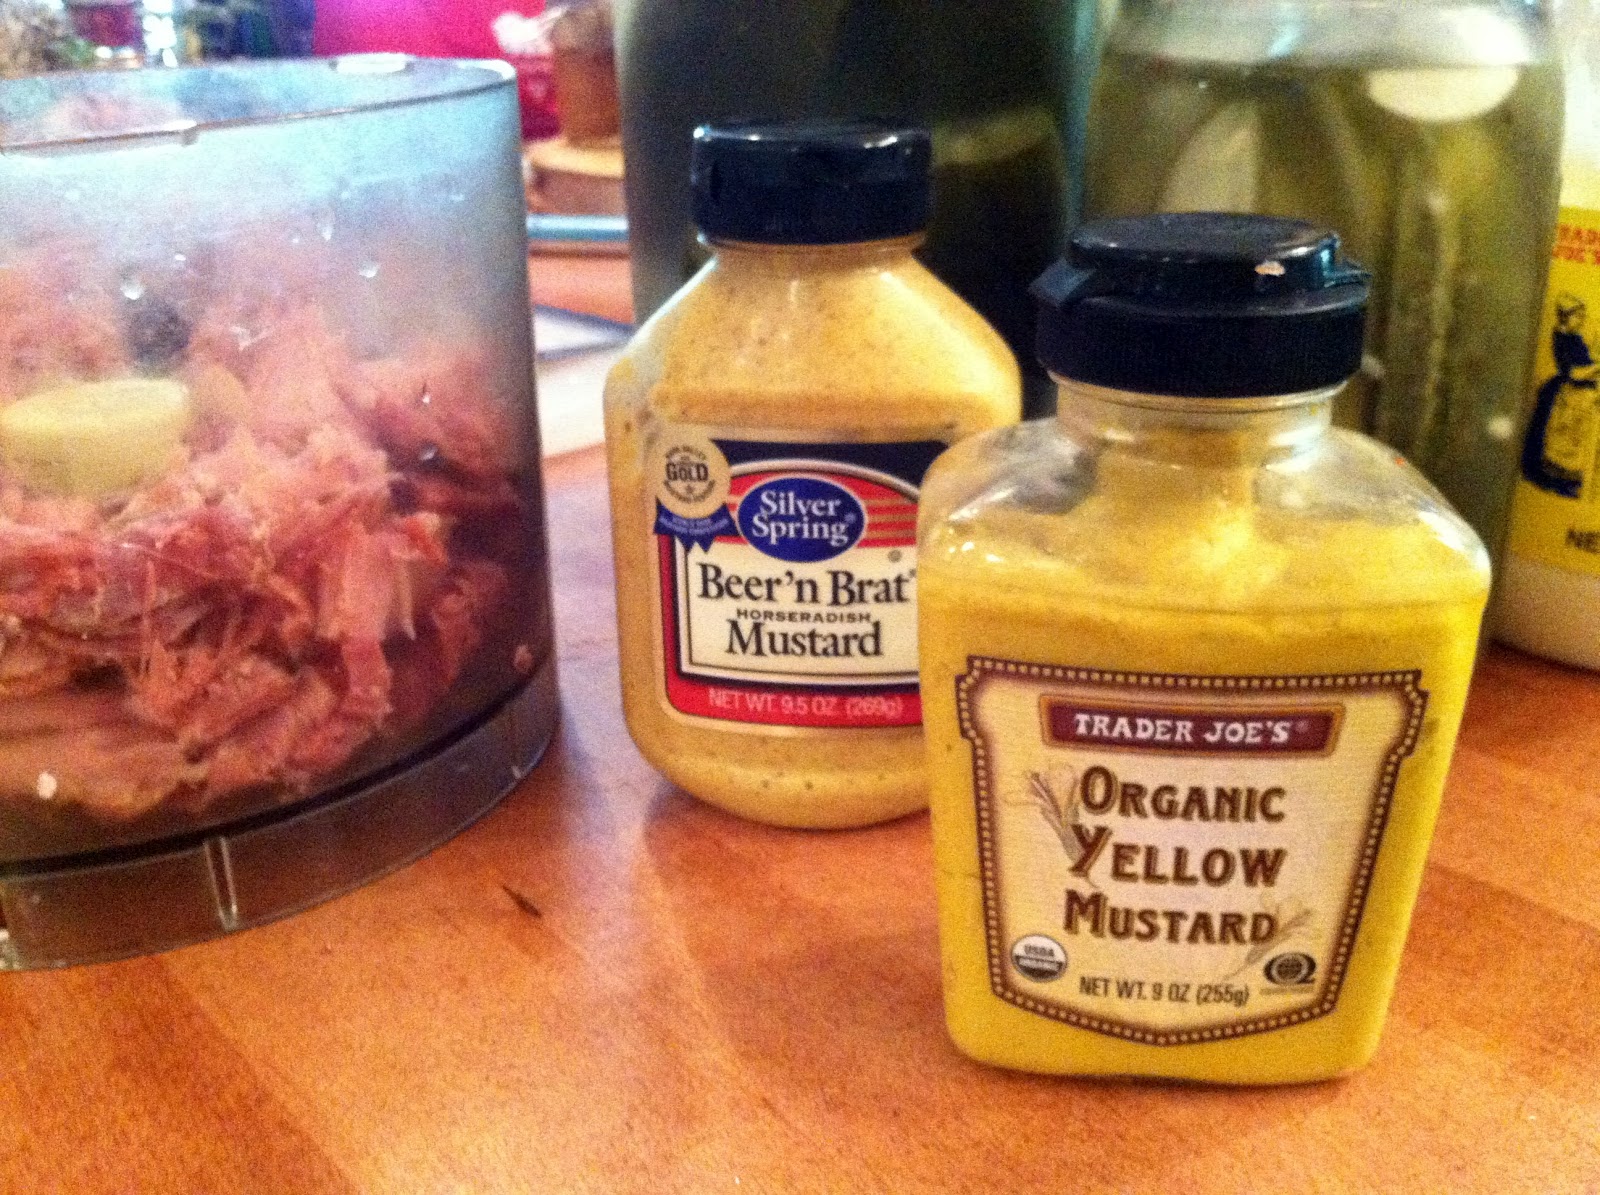
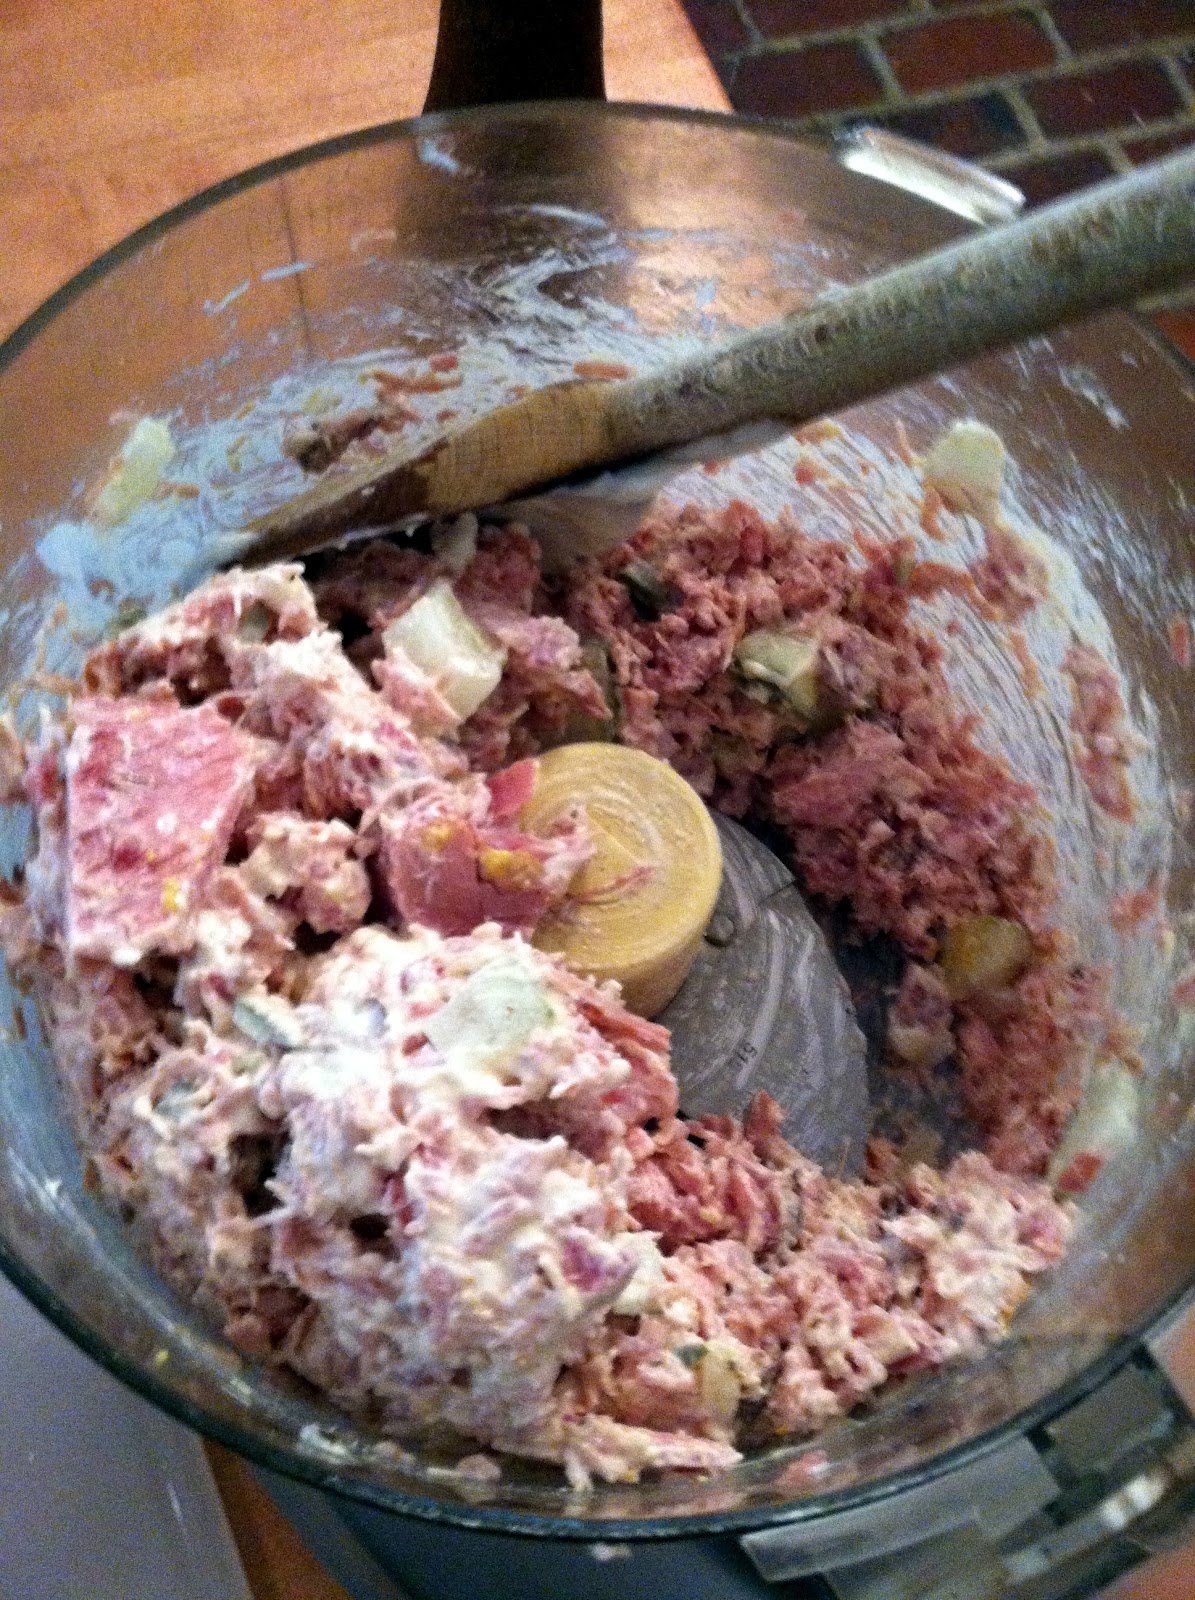
It’s as easy as whipping up a bowl of tuna salad, really, but I tend to go purist with mine in that only a processor will attain that authentic fine texture. There’s no sin in liking it chunky style, of course, and hand chopping with a sharp knife will do the trick if you’re lacking in the whirly blade appliance department. According to the blogger over at Pork, Knife and Spoon, “deviled” foods got their name from the “hot seasonings” worked into them. The only seasoning I use is a little freshly-ground black or pink peppercorns; the devil coming through in the horseradishy goodness of my favorite mustard: Silver Springs Beer & Brat. Plain yellow or any good-quality mustard will do, and there are certainly tons of specialty mustards to choose from these days.
I once spent an unwarranted amount of cash on a wee jar of Maille whole grain Dijon because it was a key ingredient in the dressing Ruth Chris used on their chopped salad that I was so determined to replicate at home because… well, that luscious round mini tower of produce cost an unwarranted amount of cash and pipedreams of visits to Ruthie’s house meant navigating beyond the boundaries of our modest “financial neighborhood.” The attempt to dupe the dressing was a major fail (it was that weird mustard, I swear); a labor- and ingredient-intensive salad “tossed.” Haven’t made a second attempt to mimic Ms. Chris, yet, but I have managed to find other useful tasks for the gadgety mini tower mold Greg custom crafted for me out of PVC after nodding without eye-rolling (at least until he got out to his shop) through my overly-descriptive attempt to explain exactly what I needed and why.
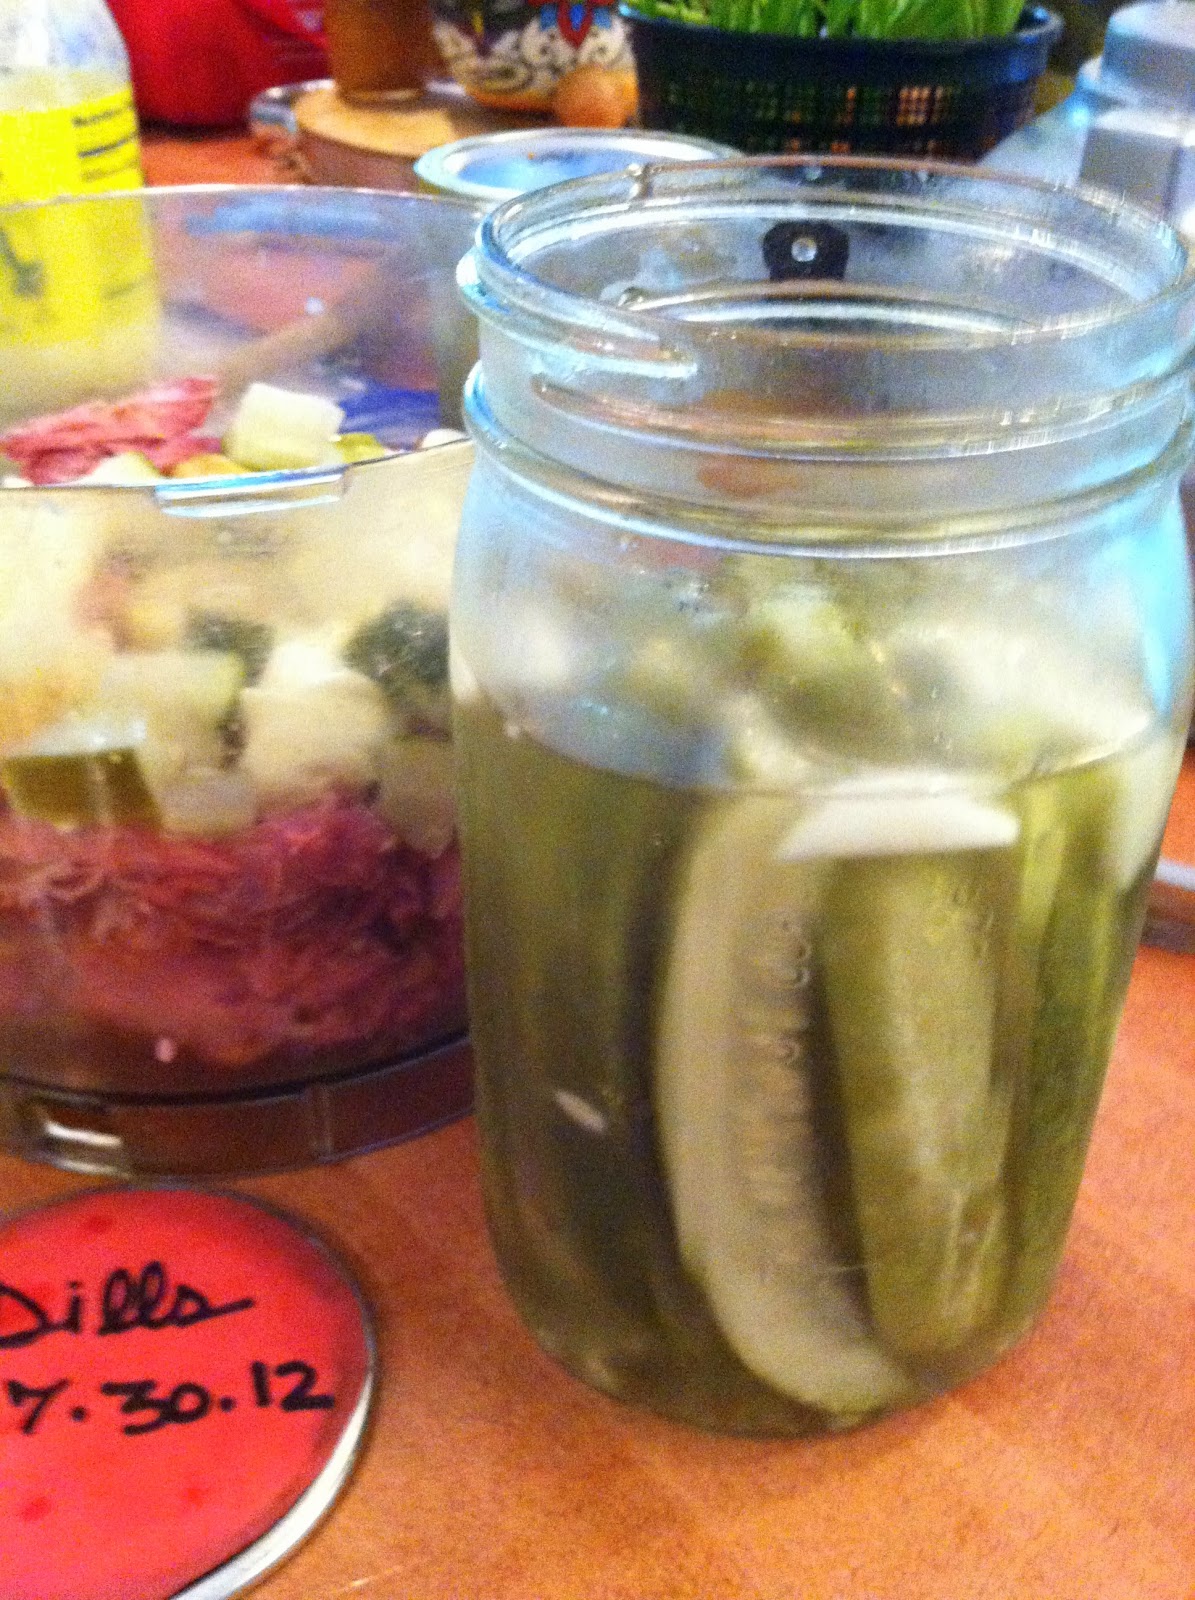
Having the good fortune of the best life can offer in the meat department (our own backyard to basement storage freezer), I want to use the best quality, preferably organic, mix ingredients. We’ve always got a cupboard full of home-grown pickles jarred up, but I just love those jalapeno-stuffed or “World’s Largest” olives on the shelves at Trader Joe’s, so I use them instead of pickles sometimes. A relish works if you like yours on the sweeter side.
Deviled Ham (oneflewover farm style):
Fill bottom of processor bowl with chunks of lean ham. A wee bit of soft fat is good.
Top with three or four “spaced out” generous clouds of homemade or best-quality mayo and one or two spurtles of your favorite mustard. Whirl with two or three quick pulses, then add in large chunks of pickle (or olives); large so they don’t totally dissipate into microscopic flecks.
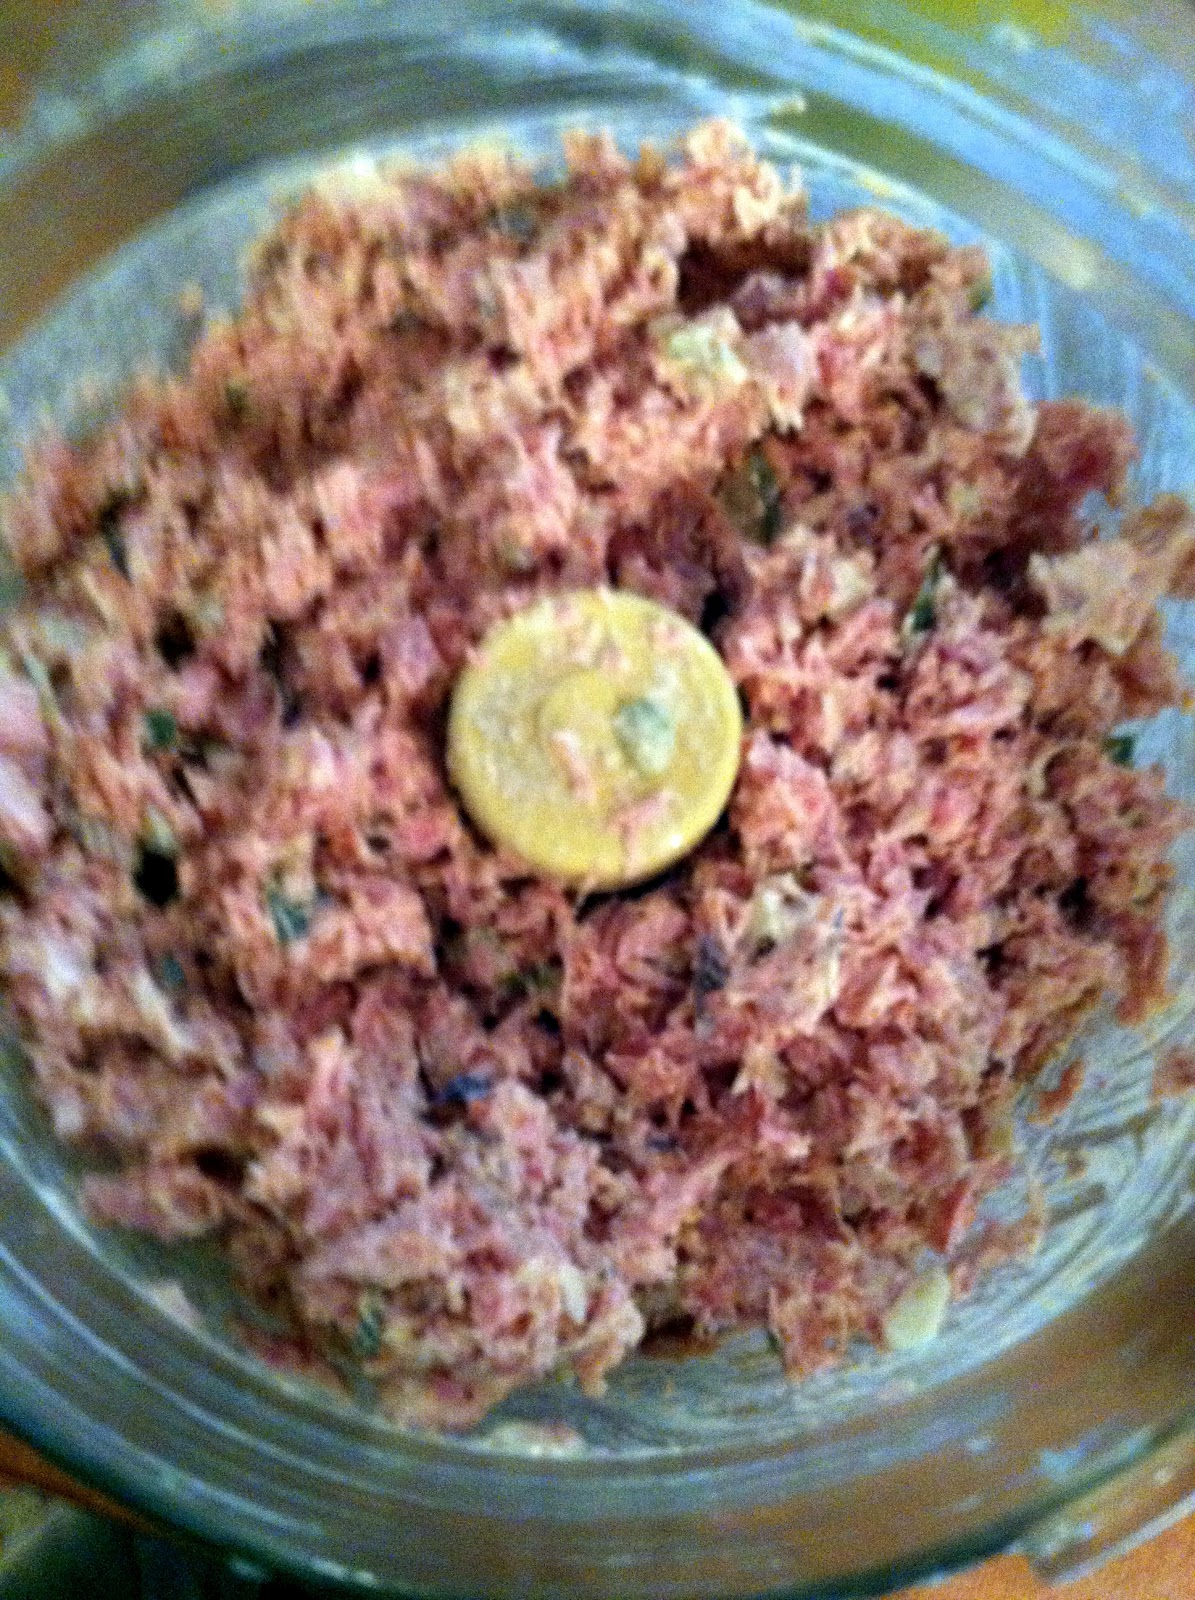
Another two or three quick pulses, then scrape down sides and up from bottom. Repeat short, quick pulse button pushing and thorough scrapings until blended uniformly to the texture you prefer, making any necessary ingredient additions along the way to get your desired result.
Enjoy with hard-boiled eggs, downy soft white or crusty seeded rye (Triscuit’s rye crackers are great for scooping), or drop like a centerpiece atop your favorite salad greens.
Sometimes a simple word will snag on my brain as it rolls off my tongue and I’ll subliminally ponder where in the world that ubiquitous word originated anyway, and how ironic it is that it sounds so perfectly right for exactly what it is. Nowadays, the etymology of just about anything, whether confirmed fact or suspicious wive’s tale, is but a quickie search and Wiki walk away.
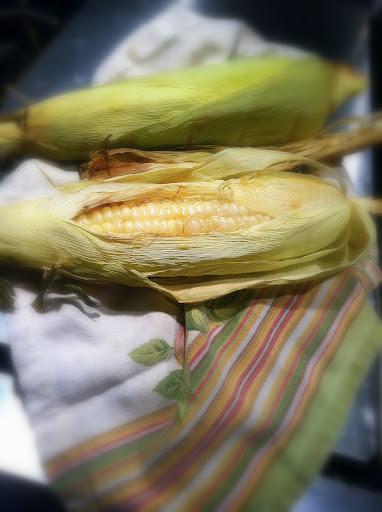
September is like the pentultimate checkpoint before the final curtain call on the plentitude of the “backyard-fresh” and locally-grown produce we enjoy all summer. Dozens of just-picked, quick-blanched and sharp-sheared ears of corn from Reed’s Farm, as well as our own modest corn crop, have already been hustled into air-tight bags for chilly weather comfort foods… think airy fluffs of custard casseroles, souffles and spoonbreads.
So, with this pensive thought of pending seasonal changes, I ventured out early Saturday morning to tend to errands I’d put off forever if it weren’t for the fact that my favorite cool weather business attire jackets were due for a dry cleaning and my swimming pool damaged hair was overdue a good chopping. Whenever I do manage to drag myself “out there,” I usually make it a mission to cram as many “necessary things” as can possibly be squeezed into that venture… motivation often coming from unnecessary things accumulating in corners and tote bags… some migrating closer and closer to the doorway as gentle reminders that it’s time to make a public appearance.
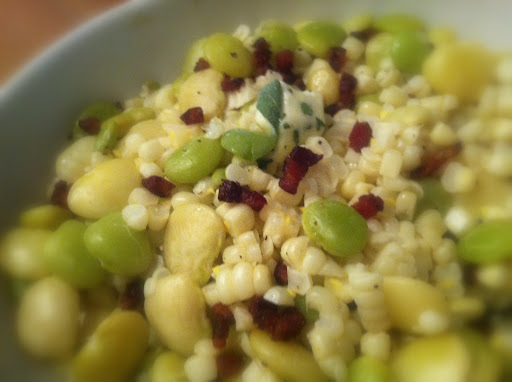
Heading home with a half dozen errands checked off the list, a few solid drops in the AmVets used clothing bin and no “confrontational episodes” encountered, my sense of accomplishment evolved into shameless thoughts of deserved rewards, which led to a glimmering hope that Reed’s, which is right on route, still had some corn and maybe something else of seasonal interest… besides apples. I knew a basket of blushing ripe peaches was wishful thinking, but I’m not ready for apples just yet. Oh, joyous reward, there were limas! Corn, too, they said for about 7 to 10 more days; thus, I knew this was to be my last “husky” haul ’til July 2013.
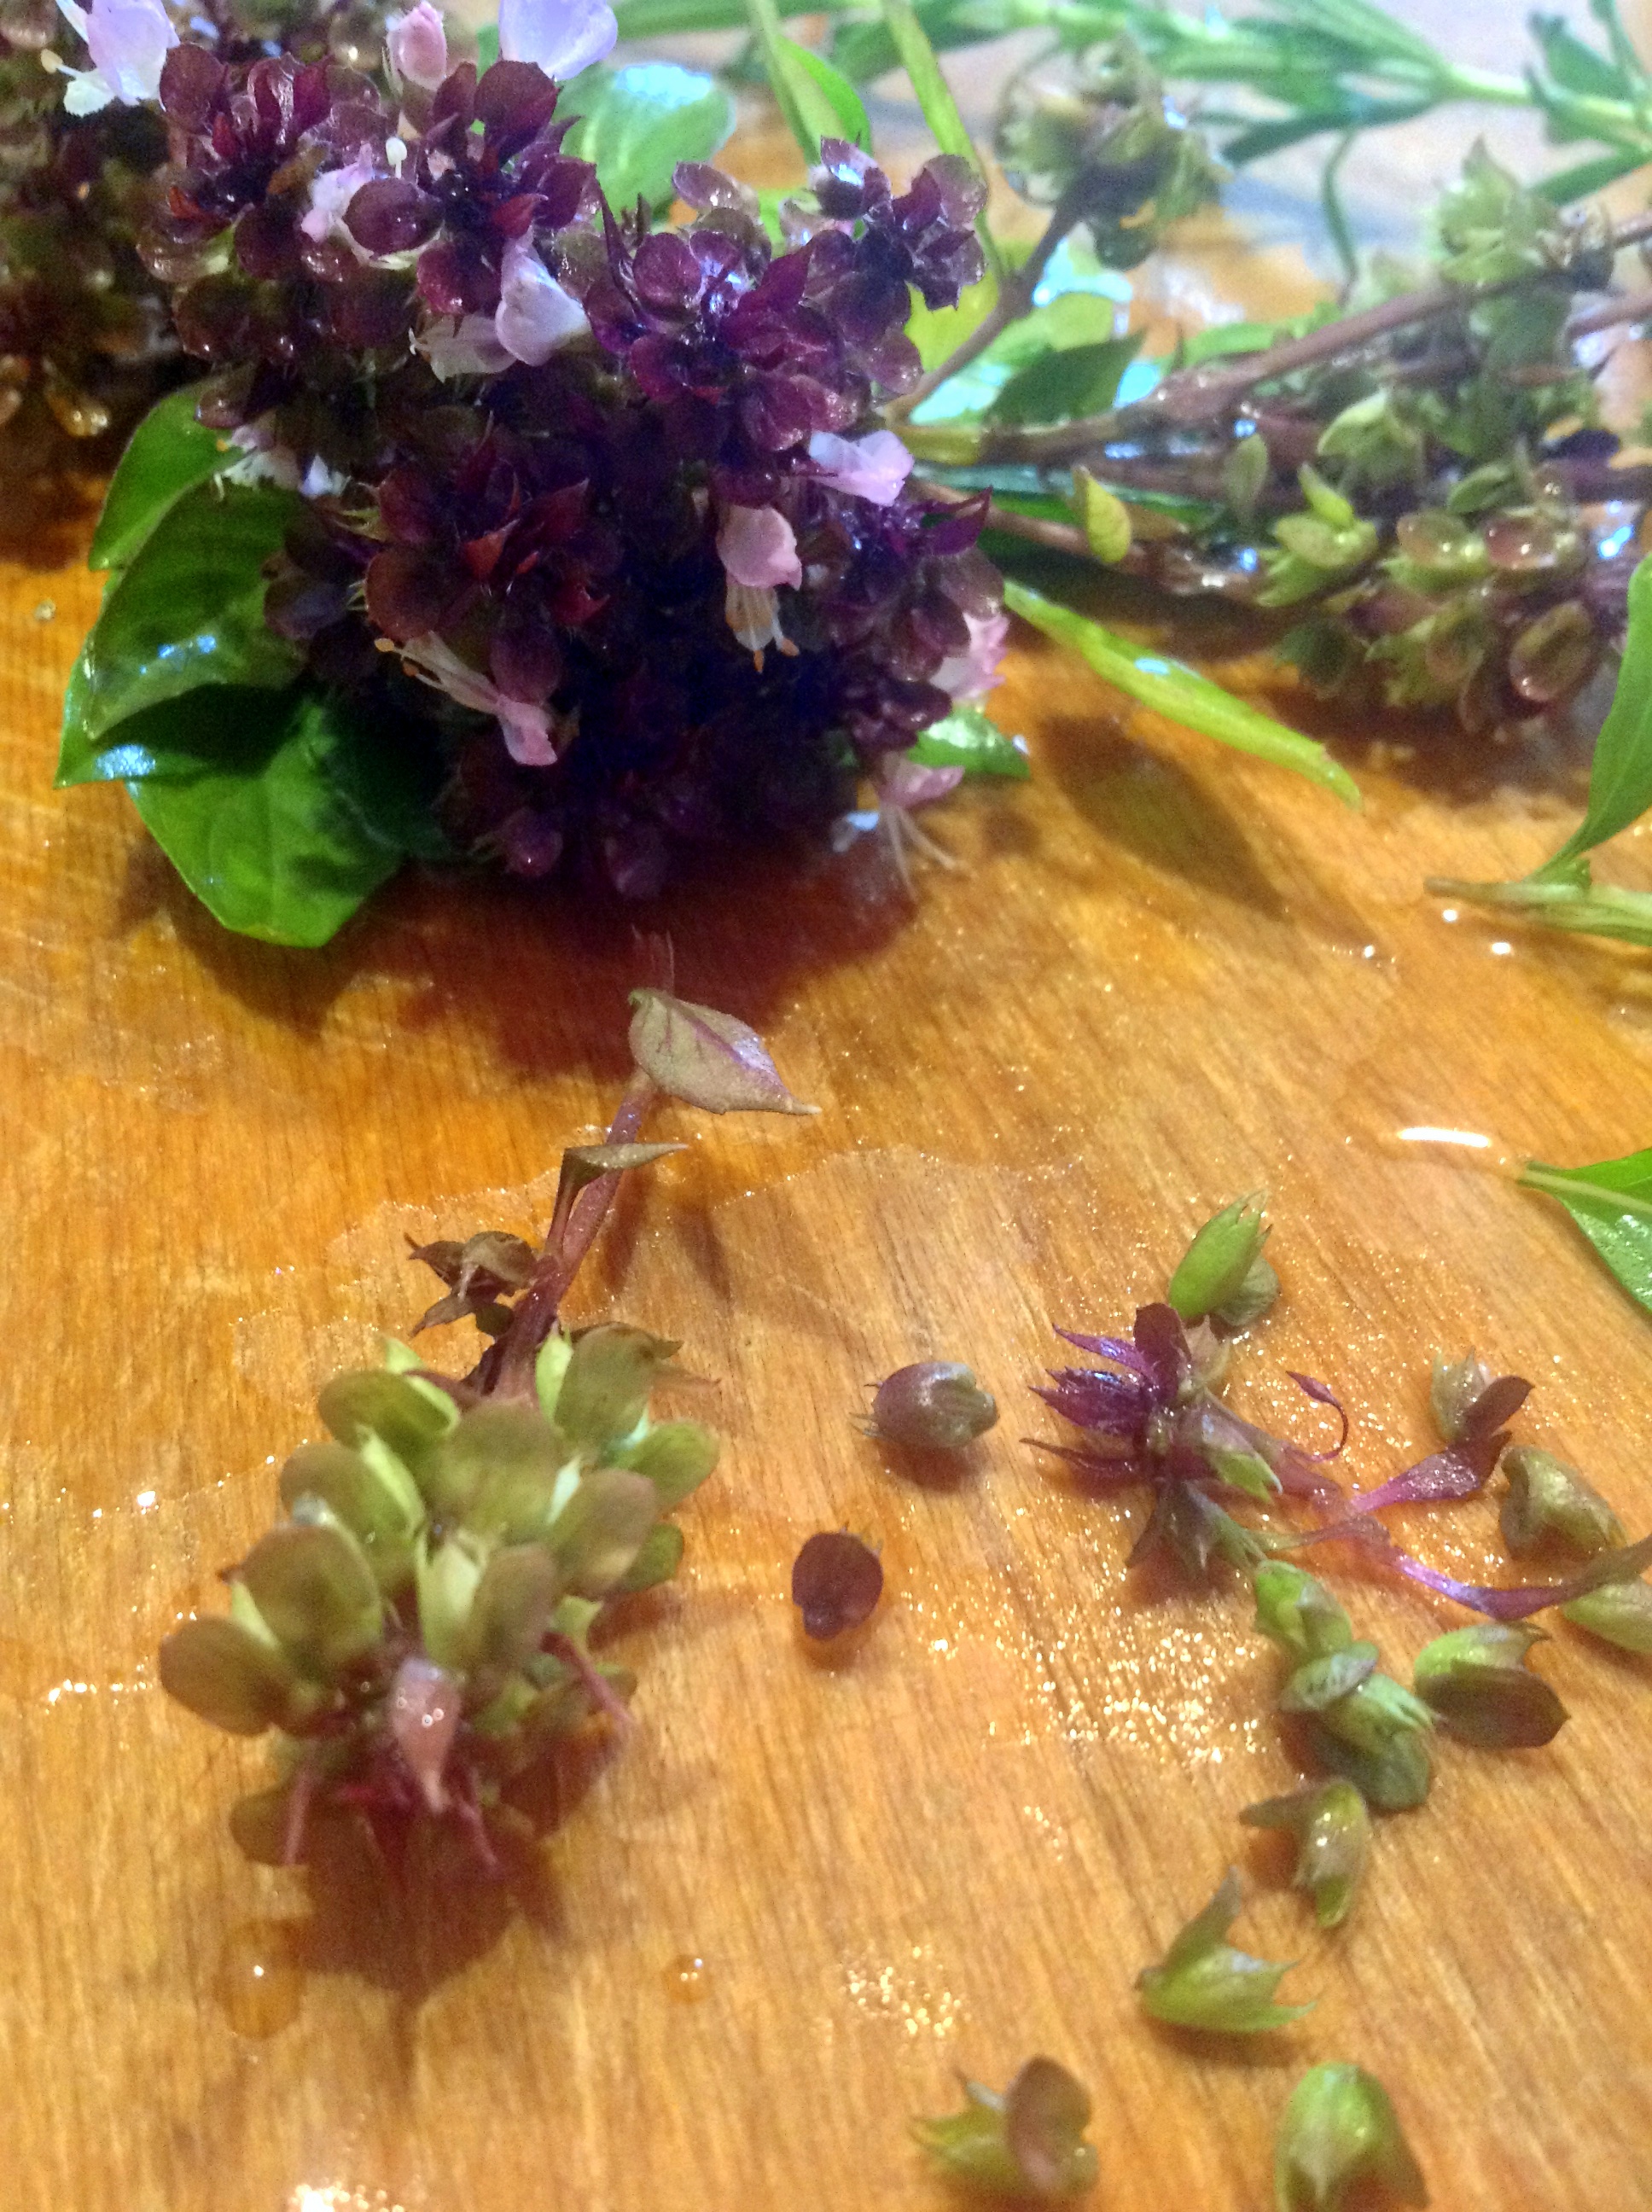
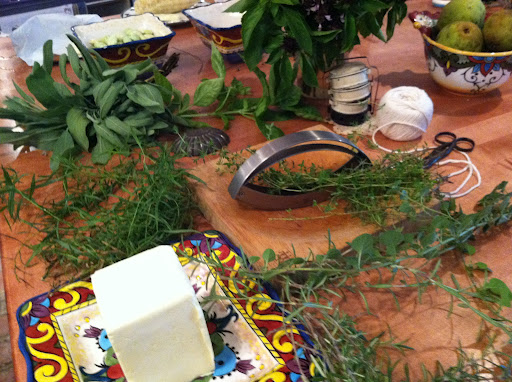
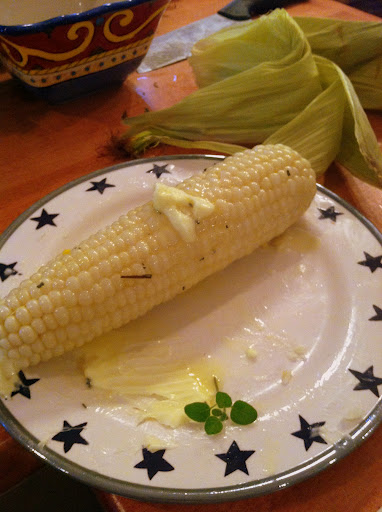
With little regard and nary a care as to what else might round out our Sunday dinner plates, I was squarely making succotash! I really didn’t need to store up any more corn, so I figured I’d try some Pinterest experiments on “alternative ways to cook corn” with a few ears while hulling limas and finally getting around to whisking together fresh herb butters to freeze before a mean October frost delivered its buzz-killing blow to the herbs gone wild party in the half barrels outside the kitchen door…and then, of course, there’s that experimental corn that so graciously made itself available for the obligatory herbed butter taste test, volunteering without protest to lie still for repeated merciless slatherings… now well-decorated kernels, a medal of honor is served.
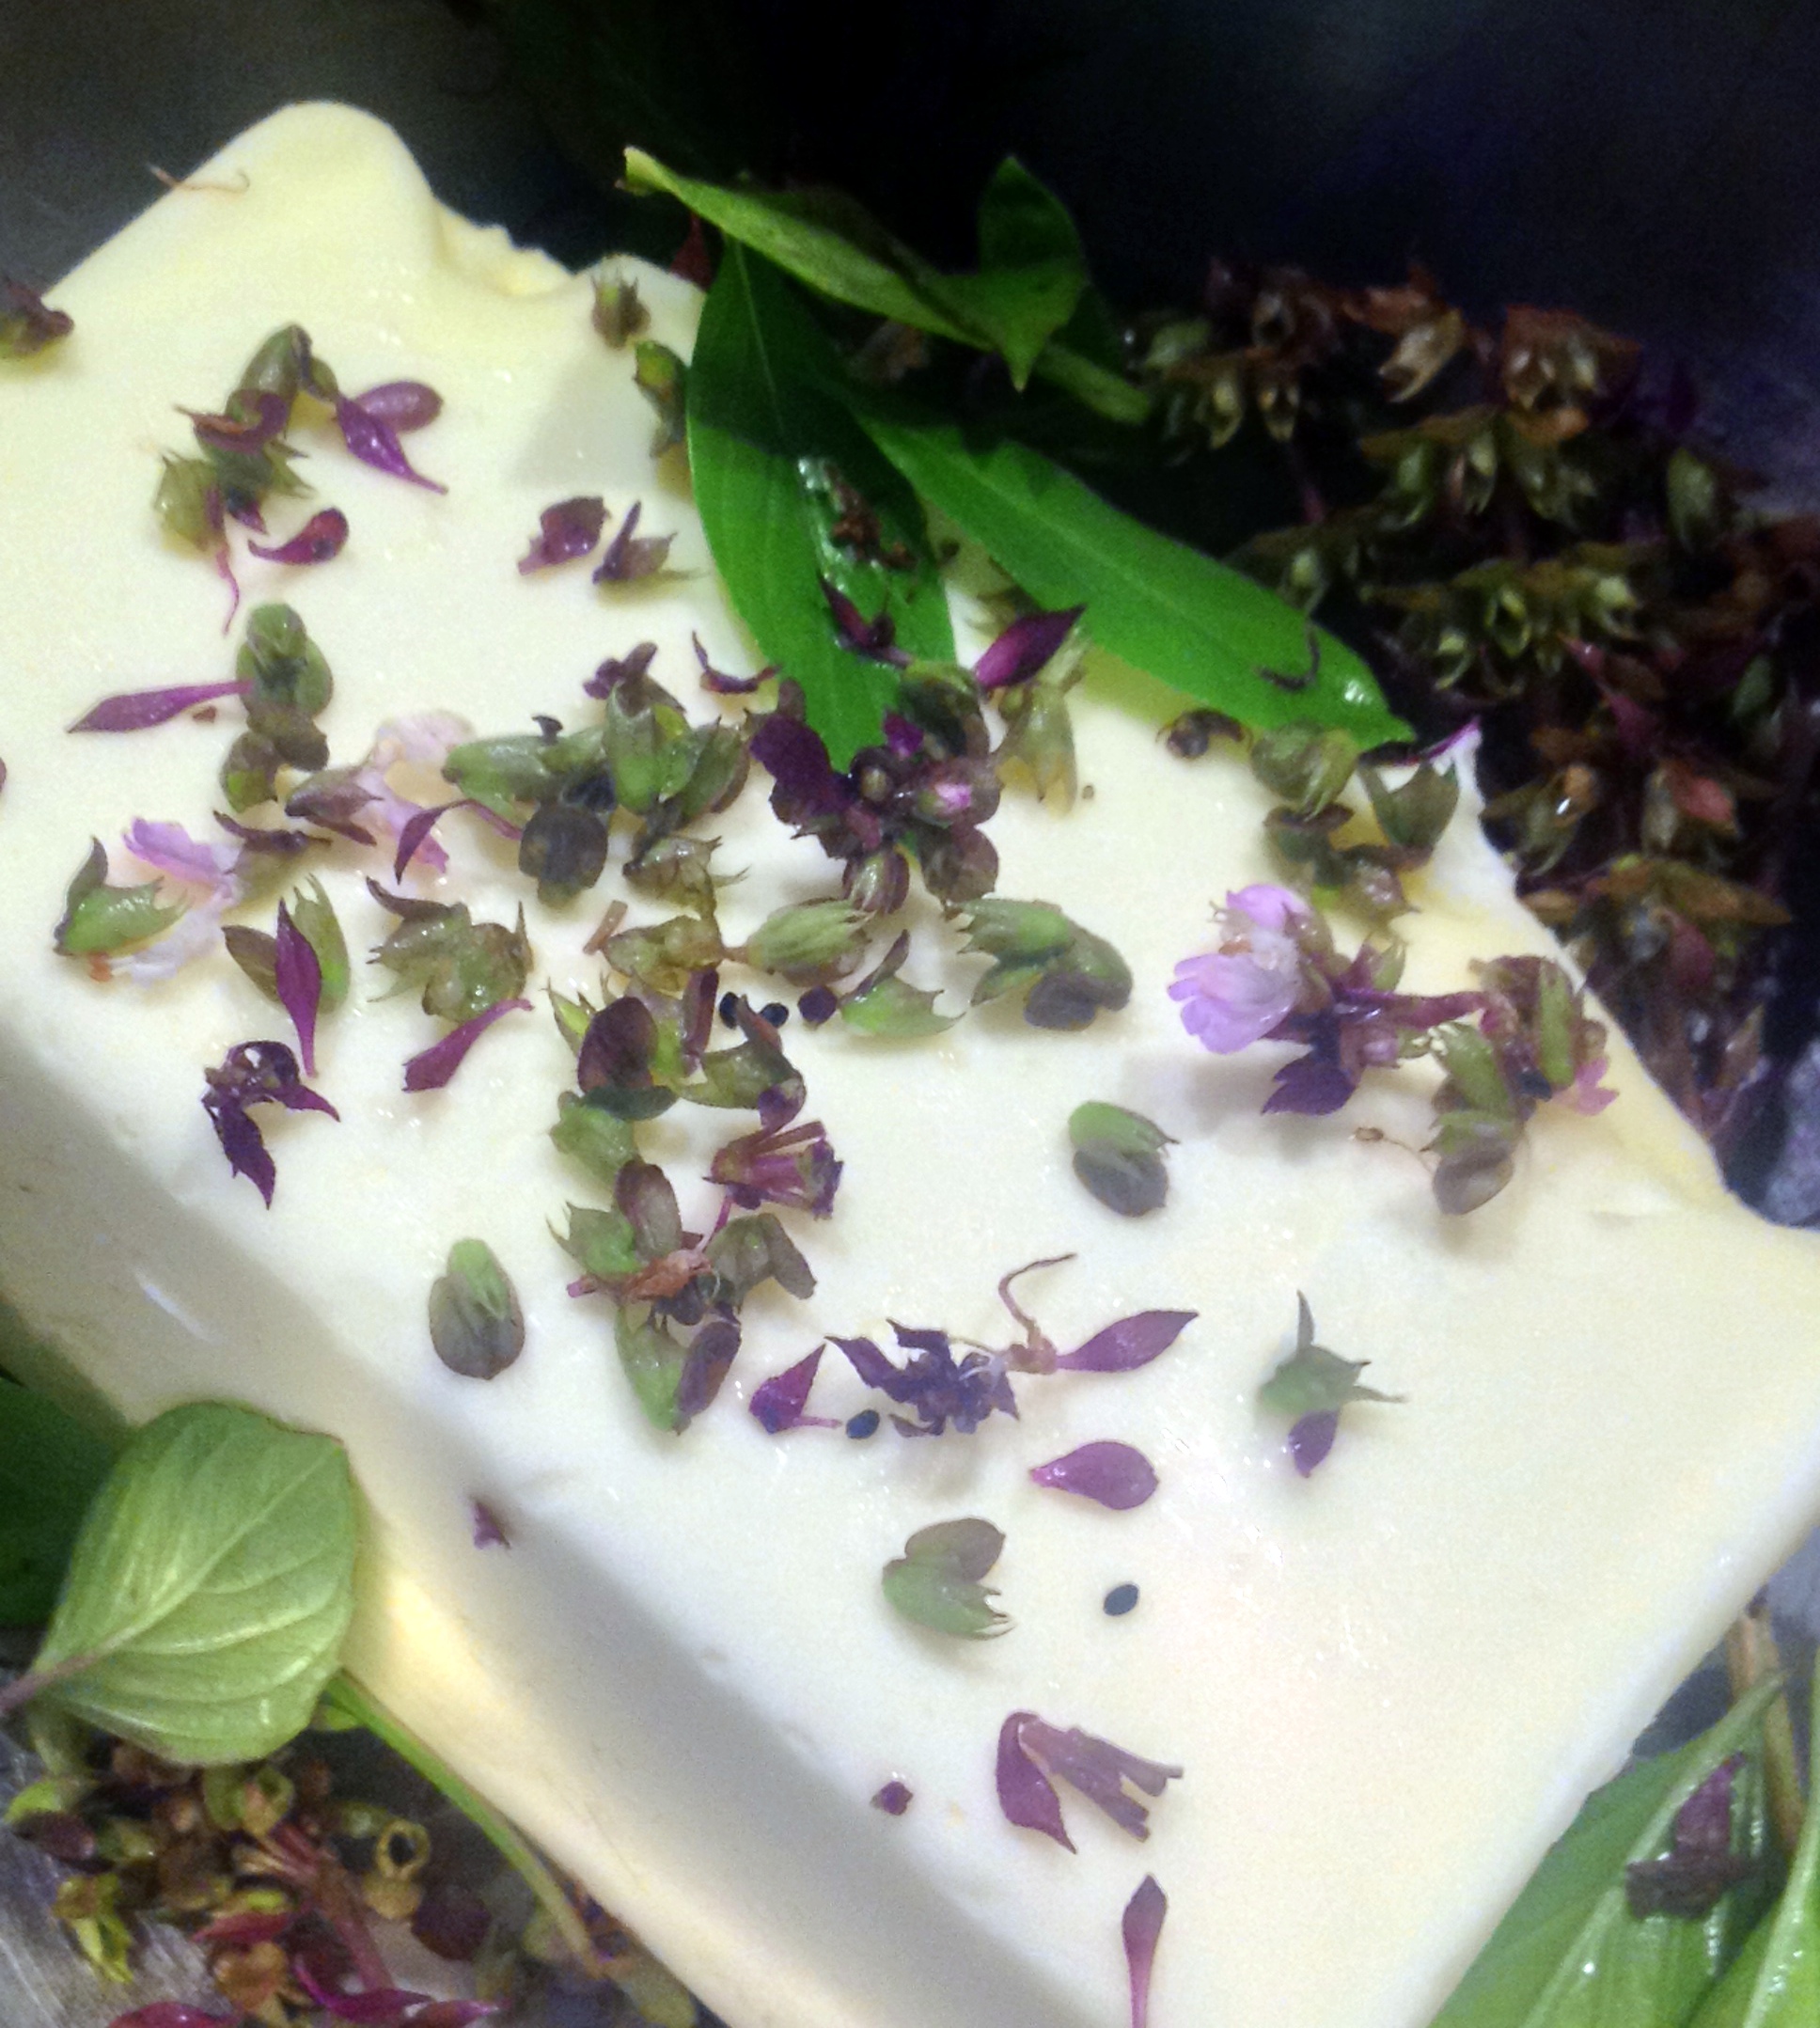
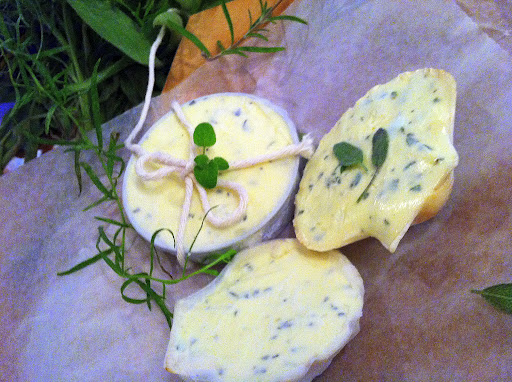
To make herbed butters:
Gather an assortment of sprigs of organically-grown herbs and/or edible flowers, chop or snip into bits and incorporate well into cold unsalted butter of the finest quality. Spread smoothly into tin molds, jar lids, any cutesy vessel on hand, or log roll with parchment if you want to make cookie-cutter slices later. Keep it simple or get creative with combos or a multitude of additions such as citrus zest (lime/cilantro, lemon/tarragon), boldly colorful juices such as carrot or beet (so as to use a bare minimum of liquid), garlic, crushed nuts or seeds (try hemp or chia), flowers such as nasturtium, viola, borage, or those bolting above the herbs or veggies.


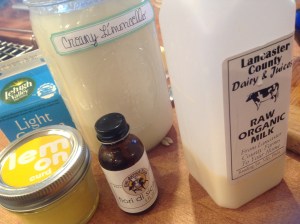 off with some raw organic milk. There’s simply nothing quite like it. Best “legal” local source for us (now that our friends formerly residing in Pennsylvania’s Lehigh Valley relocated to Delaware) is the
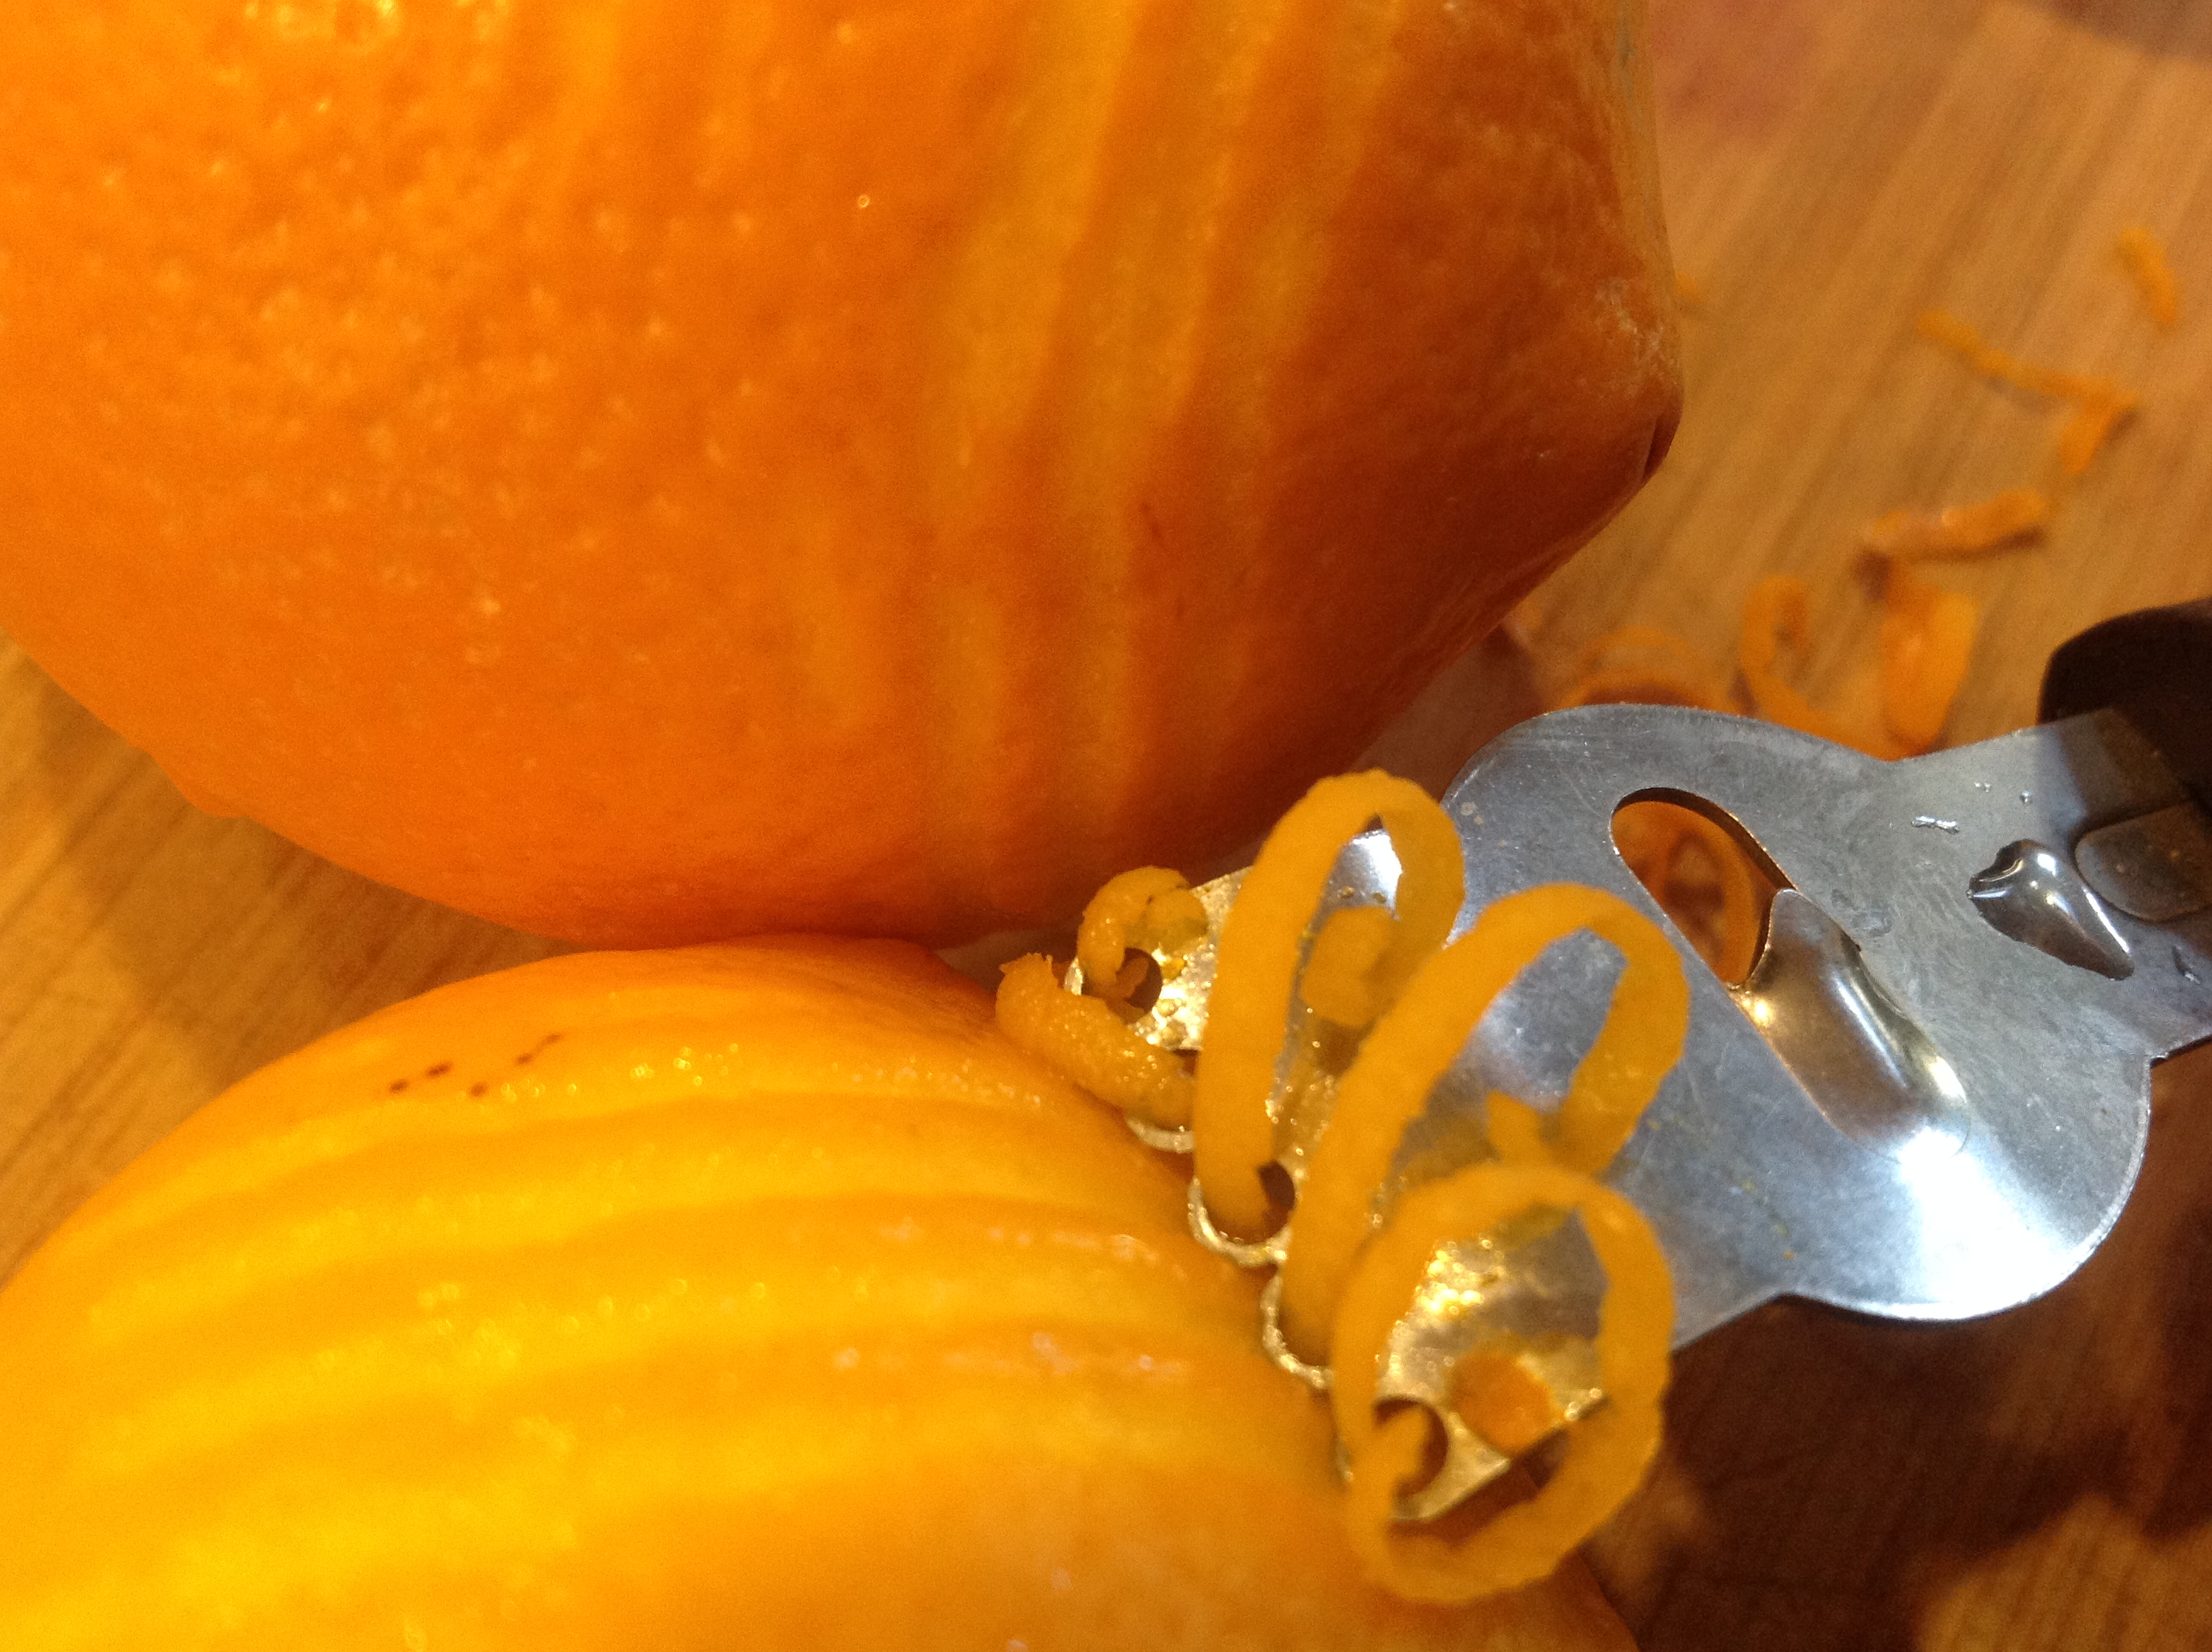


